Strawberry Kiss Cookies- Easy & Delicious Recipe
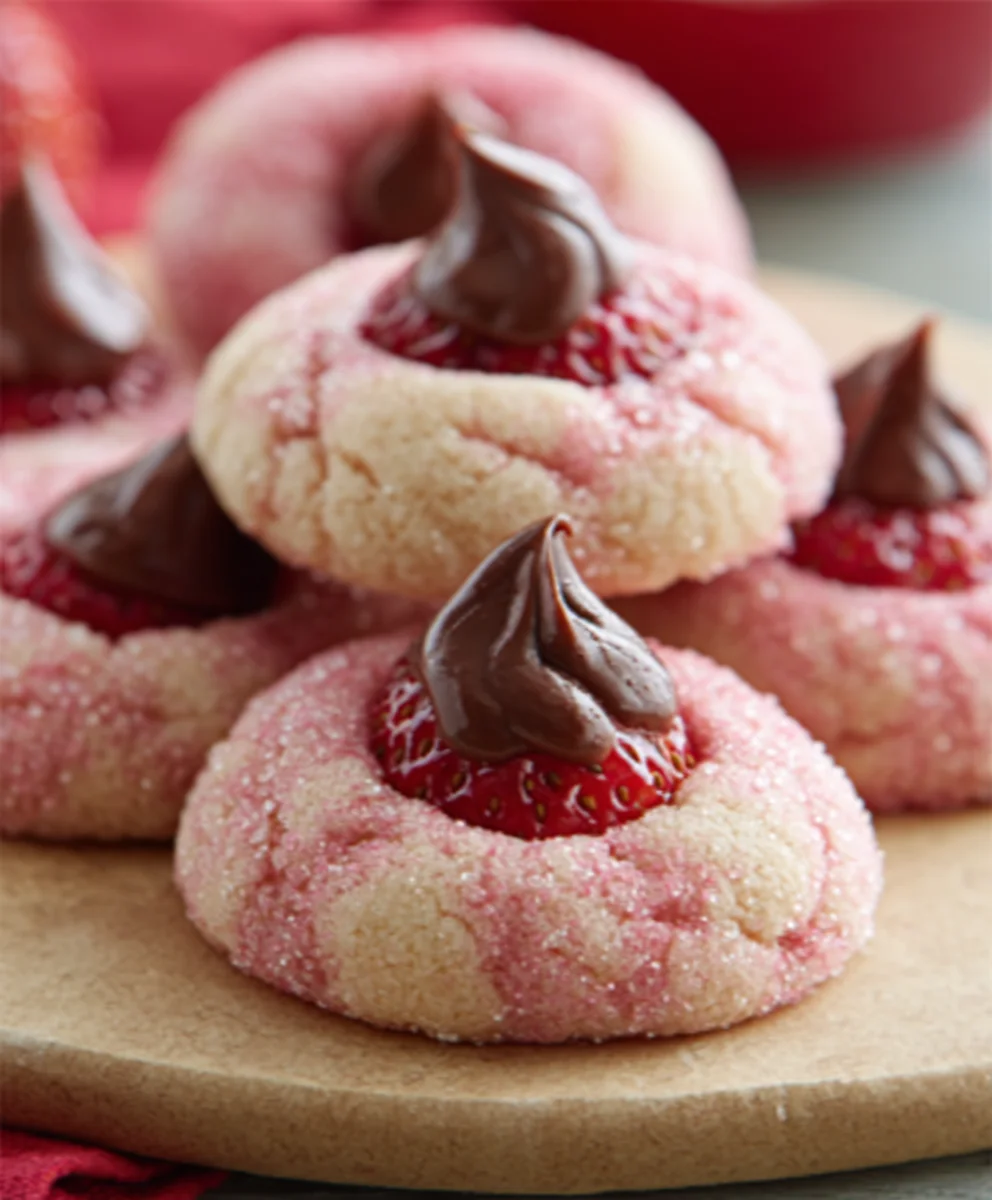
Strawberry Kiss Cookies are more than just a sweet treat; they’re a delightful explosion of flavor and texture that instantly brings a smile to your face. Imagin extracte a tender, melt-in-your-mouth cookie base, subtly infused with the bright, tangy essence of fresh strawberries, then crowned with a delicate swirl of creamy frosting that perfectly complements the fruity undertones. It’s this harmonious balance that makes Strawberry Kiss Cookies so utterly irresistible. People adore them not just for their charming appearance, but for the pure joy they evoke. Whether you’re baking them for a special occasion, a heartfelt gift, or simply to brighten your afternoon, these cookies are guaranteed to be a crowd-pleaser. What truly sets these Strawberry Kiss Cookies apart is the burst of natural strawberry flavor, achieved through a clever technique that preserves its vibrant taste without overpowering the delicate cookie itself. Get ready to fall in love with every bite!
Ingredients:
- 1 box (15.25 oz) strawberry cake mix
- 8 tablespoons (1/2 cup) butter, melted and slightly cooled
- 1 large egg
- 4 ounces cream cheese, softened
- Optional: powdered sugar or pink granulated sugar for rolling
- 30 chocolate Hershey’s Kisses, unwrapped
Strawberry Kiss Cookie Dough Preparation
Mixing the Dough
This is where the magic begin extracts for our delightful Strawberry Kiss Cookies! To start, grab a large mixing bowl. Pour in the entire contents of your 15.25 oz box of strawberry cake mix. This is the foundation of our cookie’s vibrant flavor and color. Next, add your 8 tablespoons (which is equal to 1/2 cup) of butter that you’ve melted and allowed to cool just slightly. You don’t want it piping hot, as that can start to cook the egg prematurely. Think of it as warm to the touch, but not hot. Now, crack in your one large egg. Finally, for that irresistible creamy tang that balances the sweetness, add your 4 ounces of softened cream cheese. Softened cream cheese is crucial here; it should be pliable and easy to incorporate, not hard straight from the fridge. If yours is a bit firm, you can gently microwave it in 10-second bursts, stirring in between, until it’s just softened.
Combining and Chilling
With all the ingredients in the bowl, it’s time to bring them together. You can use a sturdy spoon or a handheld electric mixer on a low setting to start combining everything. Mix until a thick, sticky dough forms. It might seem a little crum extractbly at first, but keep mixing, and the cream cheese will help bind everything together beautifully. Once the dough is well combined, cover the bowl tightly with plastic wrap. We need to chill this dough in the refrigerator for at least 30 minutes. This chilling step is super important. It firms up the dough, making it much easier to handle and roll, and it also helps prevent the cookies from spreading too much while baking, ensuring they keep a nice, rounded shape.
Forming and Baking the Cookies
Prepping for Baking
While your dough is chilling, preheat your oven to 350 degrees Fahrenheit (175 degrees Celsius). Line two baking sheets with parchment paper. This not only makes for easy cleanup but also helps ensure the cookies don’t stick to the baking sheets. If you’re planning to roll your cookies in powdered sugar or pink granulated sugar for an extra festive touch, now is a good time to get a shallow bowl filled with your chosen sugar and set it aside. Have your 30 unwrapped Hershey’s Kisses ready to go. It’s helpful to have them all out of their wrappers so you can easily press them into the cookies once they are baked.
Shaping the Cookies
Once the dough has chilled and is firm enough to handle, it’s time to shape the cookies. You’ll want to scoop out portions of the dough, about 1 to 1.5 inches in diameter. Rolling them into neat little balls works best. If you’re using the optional sugar coating, gently roll each dough ball in the powdered sugar or pink granulated sugar until it’s lightly coated. Place the dough balls about 2 inches apart on your prepared baking sheets, as they will spread slightly during baking.
The Hershey’s Kiss Magic
Now for the signature touch of our Strawberry Kiss Cookies! As soon as the cookies come out of the oven, while they are still warm and soft, gently press one unwrapped Hershey’s Kiss into the center of each cookie. The warmth of the cookie will start to melt the chocolate just a bit, creating a lovely gooey center and helping the Kiss adhere perfectly. Don’t press too hard, you just want it to sink in slightly. The residual heat will do the rest of the work.
Cooling and Enjoying
The Crucial Cooling Period
After you’ve pressed the Hershey’s Kisses into the warm cookies, allow them to cool on the baking sheets for about 5 to 10 minutes. This is essential for the cookies to set properly and for the melted chocolate to firm up just enough so it doesn’t ooze out everywhere when you try to move them. Once they’ve cooled slightly on the sheets, carefully transfer the Strawberry Kiss Cookies to a wire cooling rack to cool completely. This ensures even cooling and preventsgin extracty sogginess from the bottom. They are absolutely divine when they are still slightly warm and the chocolate is melty, but they also hold up beautifully once fully cooled.
Final Touches and Serving Suggestions
Once your Strawberry Kiss Cookies have completely cooled, they are ready to be enjoyed! The vibrant pink hue from the strawberry cake mix, combined with the rich chocolate Kiss in the center, makes these cookies incredibly appealing. They are perfect for bake snon-alcoholic ales, parties, or just a special treat to brighten your day. You can store any leftover cookies in an airtight container at room temperature for up to 3-4 days. The texture and flavor are truly delightful, offering a burst of strawberry goodness with a sweet, chocolatey surprise. Enjoy every single bite of these charming Strawberry Kiss Cookies!
Conclusion:
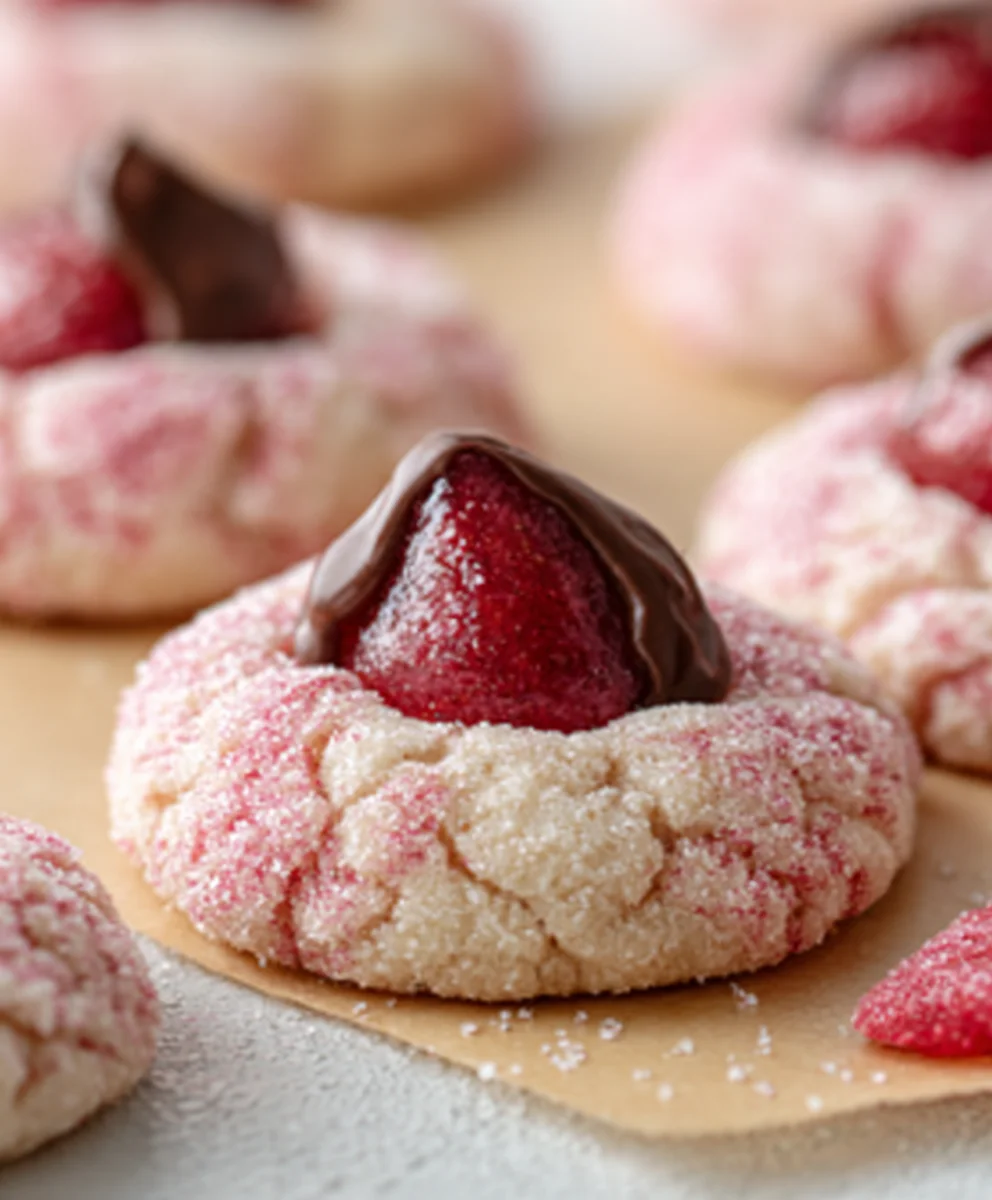
And there you have it! Your guide to creating the most delightful Strawberry Kiss Cookies is complete. We’ve walked through each step, from creaming the butter and sugar to achieving that perfect soft-baked texture and vibrant strawberry hue. These cookies are a celebration of simple, sweet flavors and a joy to make and share. I truly hope you enjoy baking and, more importantly, devouring these charming treats.
For serving suggestions, these Strawberry Kiss Cookies are absolutely divine with a glass of cold milk, a steaming cup of tea, or even a scoop of vanilla bean ice cream for an extra special dessert. They also make a thoughtful and beautiful addition to any cookie platter or bake snon-alcoholic ale.
Don’t be afraid to get creative with variations! You can add a hint of lemon zest for a brighter flavor profile, or swirl in some white chocolate chips for added texture and sweetness. For an even more intense strawberry flavor, consider using freeze-dried strawberry powder in the dough. The possibilities are as endless as your imagin extractation!
FAQs
Can I make these Strawberry Kiss Cookies ahead of time?
Yes, absolutely! Once cooled, Strawberry Kiss Cookies can be stored in an airtight container at room temperature for up to 3-4 days. They tend to stay wonderfully soft during this time. For longer storage, you can freeze the baked cookies for up to 2-3 months. Simply ensure they are completely cooled before freezing, and thaw them at room temperature when ready to enjoy.
My cookies spread too much. What went wrong?
Several factors can contribute to excessive spreading. Ensure your butter wasn’t too soft or melted when creaming. Chilling the dough for at least 30 minutes before baking can also help prevent spreading. Additionally, make sure your oven temperature is accurate; an oven that’s too hot can cause cookies to spread quickly before they set.
Strawberry Kiss Cookies- Easy & Delicious Recipe
Easy and delicious strawberry kiss cookies featuring a cake mix base, cream cheese, and a Hershey’s Kiss center.
Ingredients
-
1 box (15.25 oz) strawberry cake mix
-
8 tablespoons (1/2 cup) butter, melted and slightly cooled
-
1 large egg
-
4 ounces cream cheese, softened
-
30 chocolate Hershey’s Kisses, unwrapped
-
Optional: powdered sugar or pink granulated sugar for rolling
Instructions
-
Step 1
In a large bowl, combine strawberry cake mix, melted butter, egg, and softened cream cheese. Mix until a thick, sticky dough forms. Cover and chill for at least 30 minutes. -
Step 2
Preheat oven to 350°F (175°C). Line baking sheets with parchment paper. If using, place optional sugar in a shallow bowl. -
Step 3
Scoop dough into 1 to 1.5-inch balls. Roll into neat balls and optionally roll in sugar. Place balls 2 inches apart on prepared baking sheets. -
Step 4
Bake for 8-10 minutes, or until edges are lightly golden. Remove from oven and immediately press one unwrapped Hershey’s Kiss into the center of each warm cookie. -
Step 5
Let cookies cool on baking sheets for 5-10 minutes, then transfer to a wire rack to cool completely.
Important Information
Nutrition Facts (Per Serving)
It is important to consider this information as approximate and not to use it as definitive health advice.
Allergy Information
Please check ingredients for potential allergens and consult a health professional if in doubt.