Easy Sourdough Discard Brownies – Rich & Chewy
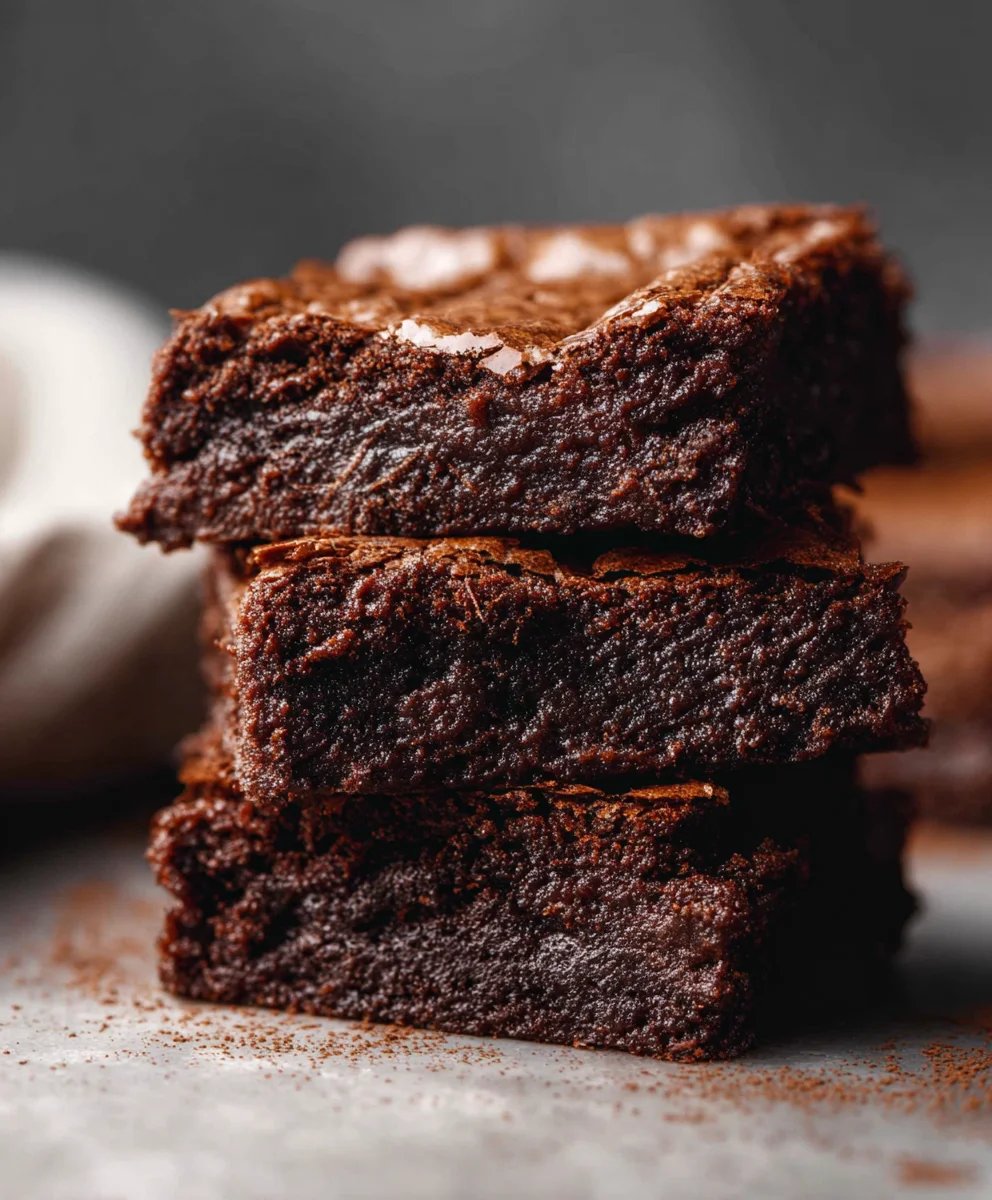
Easy sourdough discard brownies are about to become your new obsession, and for good reason! If you’ve ever found yourself with a bubbling jar of sourdough starter yearning for a purpose beyond bread, then you’re in for a treat. These aren’t just any brownies; they are a delightful testament to reducing food waste while simultaneously creating something utterly decadent. What’s not to love? People are flocking to this recipe because it transforms that tangy starter into a secret weapon for unbelievably fudgy, rich, and intensely chocolatey brownies. The sourdough discard lends a subtle complexity, a nuanced depth of flavor that ordinary brownie recipes simply can’t replicate. It’s this unique, slightly tangy undertone that elevates these easy sourdough discard brownies from merely good to absolutely unforgettable. Prepare to be amazed at how simple it is to bake these incredibly satisfying treats that are perfect for sharing – or keeping all to yourself!
Ingredients:
- 1/2 cup unsalted butter
- 1 1/2 cups semi-sweet chocolate chips (12 oz), divided
- 1/2 cup cocoa powder (dutch-processed or natural)
- 2 teaspoons vanilla essence
- 2 large eggs
- 1 large egg yolk
- 1 cup granulated white sugar
- 1/2 cup packed light brown sugar
- 1/2 cup active sourdough starter discard
- 1 cup all-purpose flour
- 1 teaspoon salt
Melting the Chocolate and Butter
Step 1: Gentle Melting for Silky Smoothness
Begin extract by preparing your chocolate and butter for melting. In a medium, microwave-safe bowl, combine the 1/2 cup of unsalted butter and 1 cup of the semi-sweet chocolate chips. I find using the microwave to be the easiest and most controlled method for this. Heat in 30-second intervals, stirring well after each interval. It’s crucial to avoid overheating the chocolate, as this can cause it to seize and become grainy. You’ll know it’s ready when most of the chocolate chips have melted, and you can easily stir the mixture until it’s completely smooth and glossy. If you don’t have a microwave, you can use a double boiler. Place the butter and chocolate chips in a heatproof bowl set over a saucepan of gently simmering water, ensuring the bottom of the bowl doesn’t touch the water. Stir frequently until melted and smooth. Once melted, remove from heat and set aside to cool slightly while you prepare the other ingredients. This slightly cooled mixture will prevent the eggs from cooking when you incorporate them later.
Creating the Rich Brownie Batter
Step 2: Incorporating Wet Ingredients for Depth and Moisture
In a separate large mixing bowl, whisk together the 2 large eggs, 1 large egg yolk, 1 cup of granulated white sugar, and 1/2 cup of packed light brown sugar. Beat these ingredients vigorously until the mixture is pnon-alcoholic ale yellow and slightly thickened. This step is important for developing the structure and sweetness of your brownies. Next, whisk in the 2 teaspoons of vanilla essence. Now comes the magic ingredient for these Easy Sourdough Discard Brownies: the 1/2 cup of sourdough starter discard. Add the sourdough discard to the egg and sugar mixture and whisk until fully combined. Don’t worry if it looks a little unusual at this stage; it will integrate beautifully. Finally, gradually pour in the slightly cooled melted chocolate and butter mixture into the egg and sugar blend. Whisk everything together until it’s perfectly homogenous and wonderfully chocolatey. The batter should be thick and luscious at this point, promising a decadent dessert.
Step 3: Folding in Dry Ingredients for the Perfect Texture
Now it’s time to add the dry ingredients to your wet mixture. Sift the 1 cup of all-purpose flour and 1 teaspoon of salt directly over the chocolate batter. Sifting helps to aerate the flour and prevent any lumps, ensuring a smooth and even texture in your finished brownies. Using a rubber spatula or a wooden spoon, gently fold the dry ingredients into the wet ingredients. It’s very important here not to overmix. Mix just until no streaks of flour remain. Overmixing can develop the gluten in the flour too much, leading to tough, cakey brownies instead of the fudgy, chewy ones we’re aiming for. You want to stop as soon as the flour is incorporated. A few small lumps are perfectly fine.
Step 4: Adding Extra Chocolatey Goodness and Preparing for Baking
For an extra burst of chocolate flavor and texture, gently fold in the remaining 1/2 cup of semi-sweet chocolate chips into the brownie batter. Distribute them evenly throughout the batter. This ensures you get those delightful pockets of melted chocolate in every bite. Now, prepare your baking pan. Preheat your oven to 350°F (175°C). Grease and flour an 8×8 inch baking pan, or line it with parchment paper, leaving some overhang on the sides. This parchment paper overhang will make it incredibly easy to lift the brownies out of the pan once they’re baked, preventing breakage. Spread the brownie batter evenly into the prepared pan using your spatula, smoothing the top.
Baking and Cooling for Ultimate Deliciousness
Step 5: Baking to Perfection and Patience for Cooling
Bake the brownies in the preheated oven for 25 to 30 minutes. The baking time can vary depending on your oven, so keep a close eye on them. You’ll know they’re done when a toothpick inserted into the center comes out with moist crum extractbs attached, but not wet batter. A fewrum extractist crumbs indicate a fudgy interior, while a completely clean toothpick suggests they might be overbaked. Resist the urge to take them out too early; they will continue to cook slightly as they cool. Once baked, remove the pan from the oven and let the brownies cool completely in the pan on a wire rack. This cooling period is crucial for the brownies to set properly and develop their signature fudgy texture. Cutting into warm brownies can result in a gooey, messy texture, whereas allowing them to cool fully ensures clean cuts and the best flavor. Once completely cooled, you can lift them out of the pan using the parchment paper overhang and cut them into your desired squares. Enjoy your delicious homemade Easy Sourdough Discard Brownies!
Conclusion:
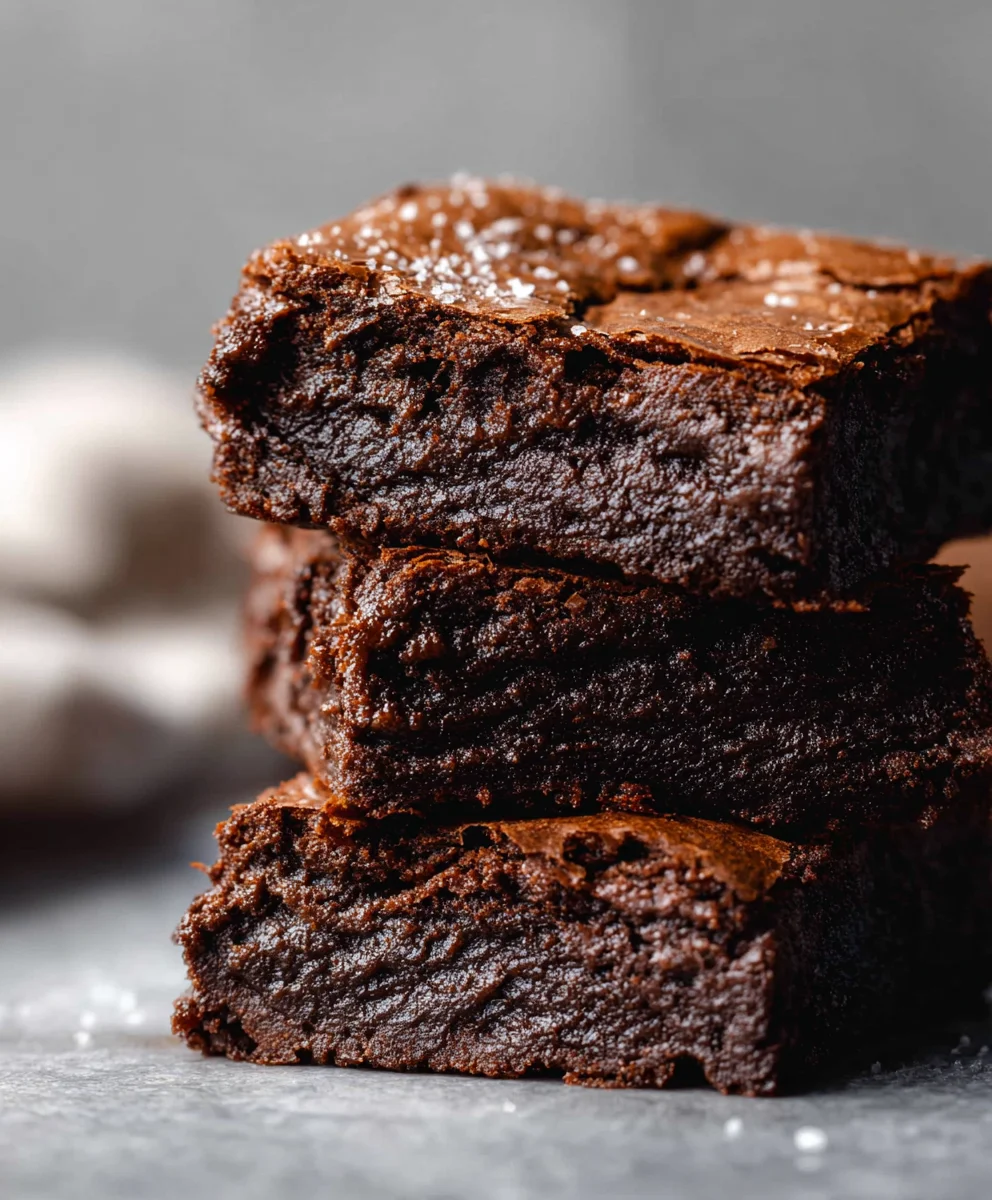
There you have it! You’ve successfully learned how to transform your precious sourdough starter discard into the most decadent and fudgy Easy Sourdough Discard Brownies. This recipe is a fantastic way to minimize waste and enjoy a truly delicious treat. The subtle tang from the discard adds an unexpected depth of flavor that perfectly complements the rich chocolate. These brownies are wonderfully versatile; they’re fantastic served warm with a scoop of vanilla ice cream, dusted with a little powdered sugar, or even enjoyed plain with a cup of coffee.
Don’t be afraid to experiment! Try adding a handful of chocolate chips (white, milk, or dark!), a sprinkle of sea salt on top before baking, or even a swirl of caramel. The possibilities are endless, and each variation will be a delightful surprise. So go ahead, give these Easy Sourdough Discard Brownies a try. I’m confident you’ll love them as much as I do. Happy baking!
Frequently Asked Questions:
Can I use active sourdough starter instead of discard for Easy Sourdough Discard Brownies?
While you can technically use active starter, it’s best to stick with discard for this recipe. Active starter will have a more pronounced tang and a higher hydration level, which can alter the texture and flavor profile of the brownies. Discard, being less active and fermented, provides that perfect subtle complexity without overpowering the chocolate.
My Easy Sourdough Discard Brownies are a bit cakey. What did I do wrong?
A common reason for cakey brownies is overbaking. Brownies are meant to be fudgy and moist, so it’s better to err on the side of slightly underbaking than overbaking. You’ll know they’re ready when a toothpick inserted into the center comes out with moist crum extractbs attached, not completely clean. Also, ensure you’re not overmixing the batter once the flour is added.
How should I store Easy Sourdough Discard Brownies?
Once cooled, store your Easy Sourdough Discard Brownies in an airtight container at room temperature for up to 3-4 days. For longer storage, you can wrap them tightly and keep them in the refrigerator for up to a week. They also freeze beautifully!
Easy Sourdough Discard Brownies – Rich & Chewy
Indulge in these incredibly rich and chewy brownies made with the magic of sourdough discard. A perfect balance of chocolatey goodness and fudgy texture.
Ingredients
-
1/2 cup unsalted butter
-
1 1/2 cups semi-sweet chocolate chips (12 oz), divided
-
1/2 cup cocoa powder (dutch-processed or natural)
-
2 teaspoons vanilla essence
-
2 large eggs
-
1 large egg yolk
-
1 cup granulated white sugar
-
1/2 cup packed light brown sugar
-
1/2 cup active sourdough starter discard
-
1 cup all-purpose flour
-
1 teaspoon salt
Instructions
-
Step 1
In a microwave-safe bowl, combine 1/2 cup unsalted butter and 1 cup semi-sweet chocolate chips. Microwave in 30-second intervals, stirring well after each, until completely smooth and glossy. If not using a microwave, use a double boiler. Set aside to cool slightly. -
Step 2
In a large bowl, whisk together 2 large eggs, 1 large egg yolk, 1 cup granulated white sugar, and 1/2 cup packed light brown sugar until pale yellow and slightly thickened. Whisk in 2 teaspoons vanilla essence. Add 1/2 cup sourdough starter discard and whisk until combined. Gradually pour in the cooled chocolate-butter mixture and whisk until homogenous. -
Step 3
Sift 1 cup all-purpose flour and 1 teaspoon salt directly over the chocolate batter. Gently fold the dry ingredients into the wet ingredients with a rubber spatula or wooden spoon until just combined. Do not overmix. -
Step 4
Gently fold in the remaining 1/2 cup semi-sweet chocolate chips. Preheat oven to 350°F (175°C). Grease and flour an 8×8 inch baking pan or line with parchment paper, leaving an overhang. -
Step 5
Spread the batter evenly into the prepared pan, smoothing the top. Bake for 25-30 minutes, or until a toothpick inserted into the center comes out with moist crumbs attached. Allow brownies to cool completely in the pan on a wire rack before cutting.
Important Information
Nutrition Facts (Per Serving)
It is important to consider this information as approximate and not to use it as definitive health advice.
Allergy Information
Please check ingredients for potential allergens and consult a health professional if in doubt.