Peanut Butter Chocolate Chip Cookie Cups-Irresistible Dessert
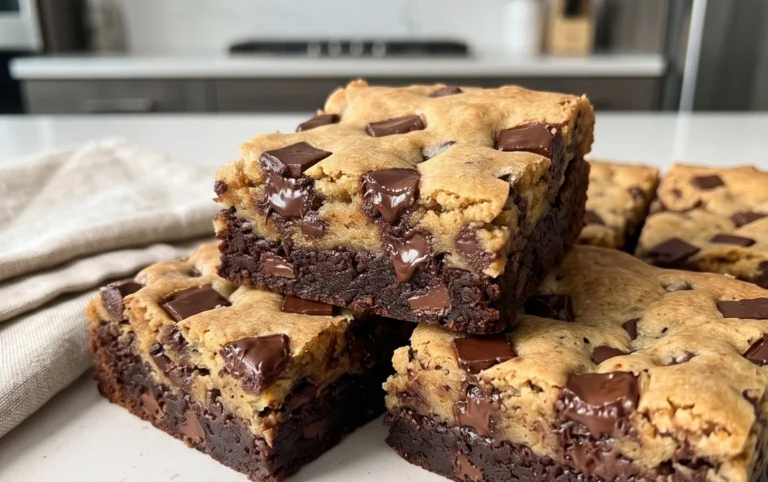
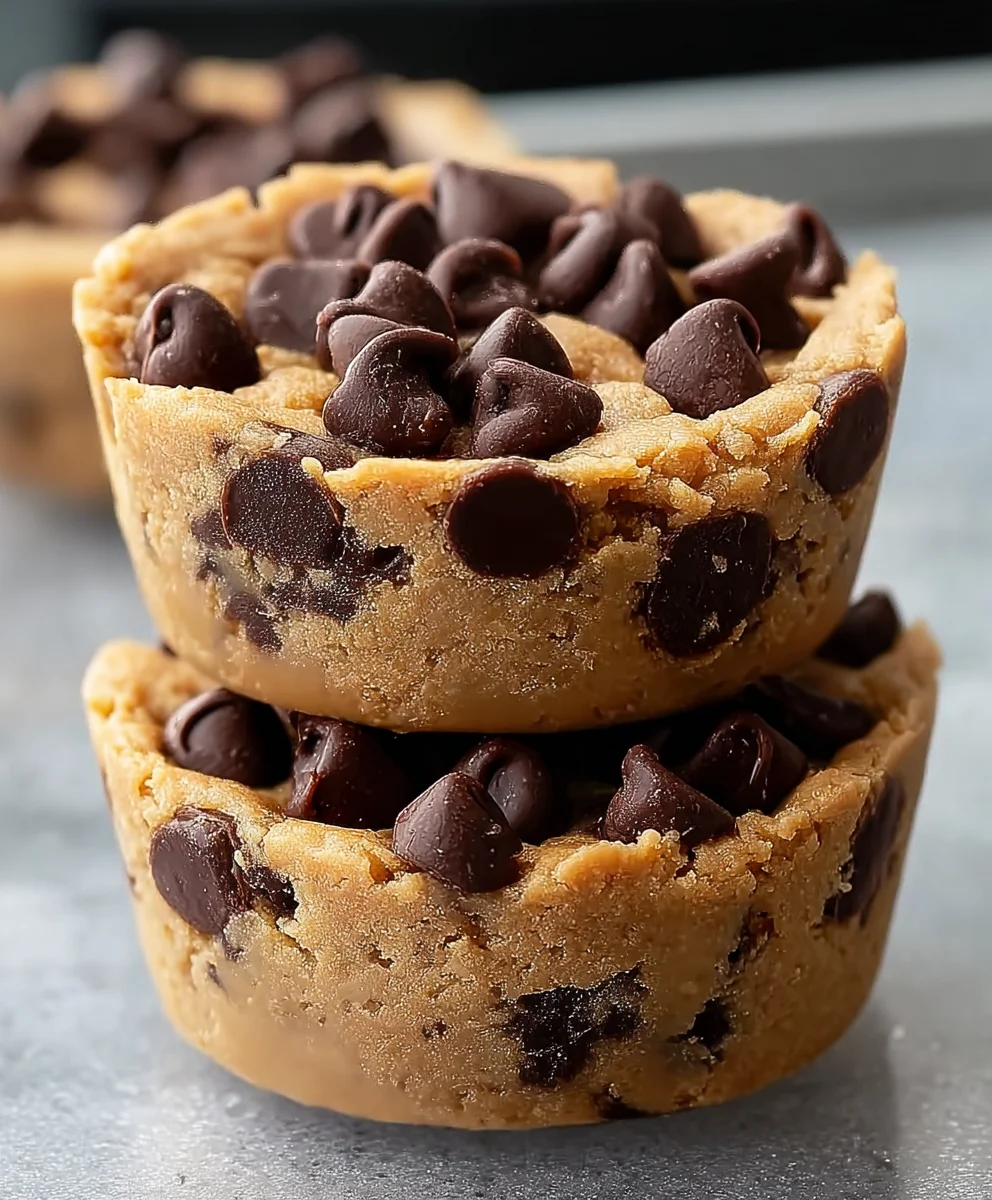
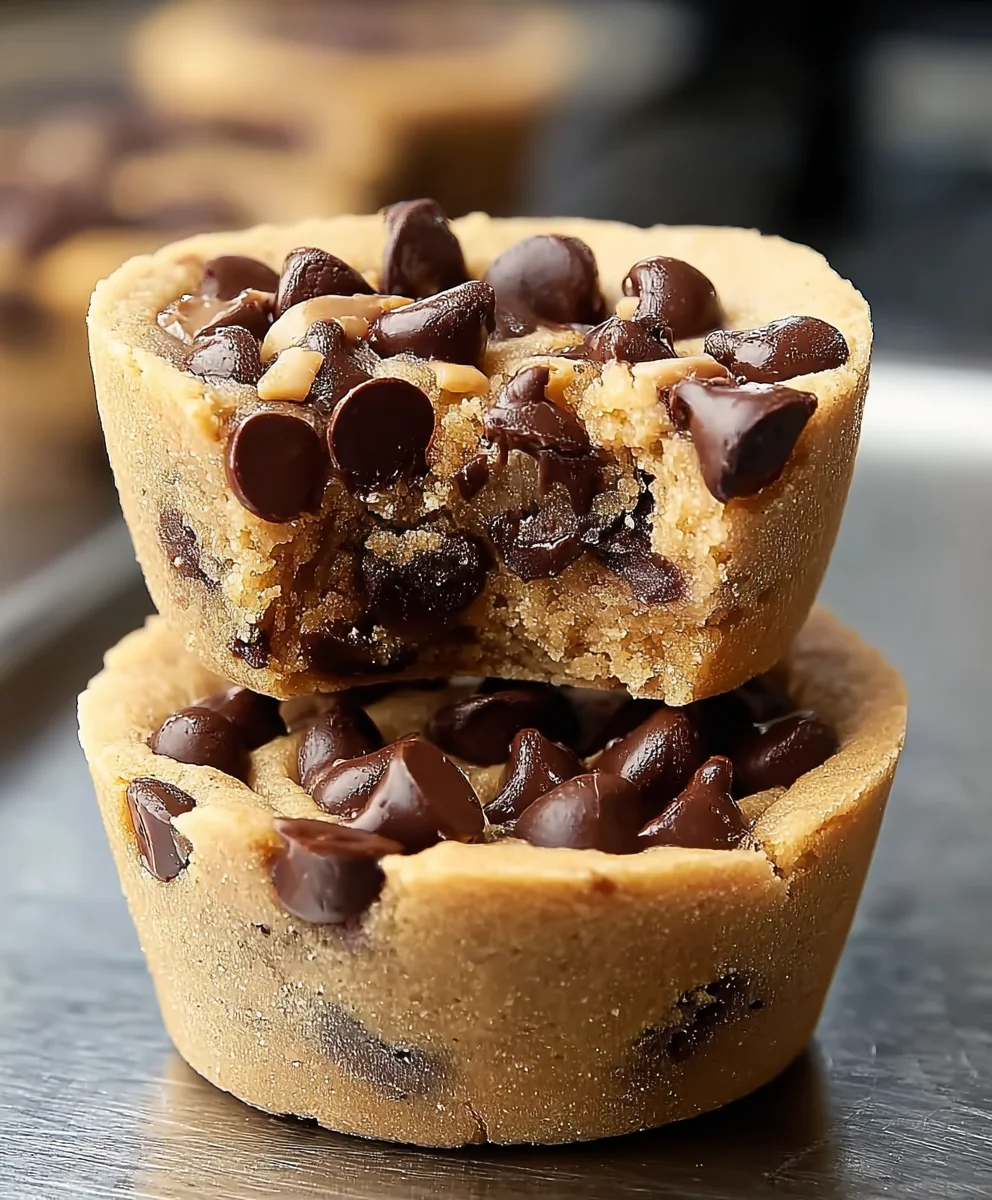
Peanut Butter Chocolate Chip Cookie Cups are more than just a dessert; they are a delightful explosion of comfort and indulgence, perfectly sized for sharing (or not!). Who doesn’t adore the classic pairing of creamy peanut butter and rich chocolate, all nestled within a tender, chewy cookie base? These aren’t your average cookies, though. What truly sets these Peanut Butter Chocolate Chip Cookie Cups apart is their ingenious format. Instead of a flat disc, they’re baked in muffin tins, creating adorable, edible cups that hold a molten chocolatey center or a swirl of extra peanut butter goodness. This unique shape not only makes them visually appealing but also ensures a more decadent bite every single time. Get ready to experience a flavor combination that’s universally loved, elevated into a fun and irresistible treat!
Why You’ll Love These
These little cups are the epitome of a crowd-pleaser. They combine the nostalgic comfort of a homemade cookie with an extra layer of deliciousness. The slightly crisp edges give way to a wonderfully soft and chewy interior, and the pockets of melted chocolate are simply divine. Plus, their individual portion size makes them perfect for parties, bake snon-alcoholic ales, or just a satisfying solo indulgence. Imagin extracte biting into a warm cookie cup, where the peanut butter flavor is intensified and the chocolate chips have just begun to melt into gooey pools. It’s a match made in dessert heaven!
What Makes Them Special
The magic of these Peanut Butter Chocolate Chip Cookie Cups lies in their unique construction. By baking them in muffin tins, we create a delightful vessel that cradles the flavors. This method ensures that every bite is a perfect balance of cookie, peanut butter, and chocolate. They hold their shape beautifully and are wonderfully portable, making them an excellent choice for packed lunches or potlucks. The slight indentation created by the muffin tin is also the perfect place to add an extra drizzle of melted chocolate or a dollop of whipped cream just before serving, taking them to an entirely new level of decadence.
Ingredients:
- 1¼ cups all-purpose flour
- ½ teaspoon baking soda
- ¼ teaspoon salt
- ½ cup unsalted butter, softened
- ½ cup packed brown sugar
- ¼ cup granulated sugar
- ½ cup peanut butter (creamy or chunky works equally well!)
- 1 teaspoon vanilla extract
- 1 large egg
- 1 cup semi-sweet chocolate chips, divided (we’ll use ¾ cup in the dough and save ¼ cup for a beautiful topping)
- Vanilla ice cream (for serving, optional but highly recommended!)
- Melted chocolate for drizzling (optional)
- Caramel sauce for drizzling (optional)
Making the Peanut Butter Chocolate Chip Cookie Dough
Step 1: Prepare Your Dry Ingredients
First things first, let’s get our dry ingredients ready. In a medium-sized bowl, whisk together the all-purpose flour, baking soda, and salt. Whisking them together ensures that the leavening agents (baking soda) and salt are evenly distributed throughout the flour, which is crucial for consistent cookie cup rise and flavor. Set this bowl aside for now.
Step 2: Cream the Butter and Sugars
Now, let’s move on to the heart of our cookie base. In a large mixing bowl, or the bowl of your stand mixer fitted with the paddle attachment, cream together the softened unsalted butter, packed brown sugar, and granulated sugar. Beat these on medium speed until the mixture is light, fluffy, and pnon-alcoholic ale in color. This process, called “creaming,” incorporates air into the butter and sugar, which helps give the cookie cups their tender texture. This usually takes about 2-3 minutes. Scrape down the sides of the bowl occasionally to make sure everything is well combined.
Step 3: Incorporate Wet Ingredients and Peanut Butter
Once your butter and sugar mixture is beautifully creamy, it’s time to add the remaining wet ingredients. Add the ½ cup of peanut butter and the teaspoon of vanilla extract to the bowl. Beat these in until they are thoroughly combined with the creamed mixture. Then, add the large egg. Beat again until the egg is fully incorporated and the mixture is smooth. Don’t overmix at this stage; just ensure everything is well blended.
Step 4: Combine Wet and Dry Ingredients
Now, we’ll bring our dry and wet ingredients together. Gradually add the flour mixture from Step 1 to the wet ingredients in the large bowl, mixing on low speed until just combined. It’s really important not to overmix the dough once the flour is added. Overmixing can develop the gluten in the flour too much, leading to tough cookie cups. Stop mixing as soon as you no longer see streaks of dry flour. The dough will be thick and delicious.
Step 5: Add the Chocolate Chips
The moment we’ve all been waiting for – the chocolate chips! Gently fold in ¾ cup of the chocolate chips using a spatula or wooden spoon until they are evenly distributed throughout the dough. Again, be careful not to overmix. You want to see those little pockets of melty chocolate goodness in every bite. We’re saving the remaining ¼ cup for later, to make our cookie cups look extra special.
Assembling and Baking Your Cookie Cups
Step 6: Prepare Your Muffin Tin and Portion the Dough
Preheating your oven to 350°F (175°C) is essential for even baking. You’ll also want to lightly grease a standard 12-cup muffin tin with cooking spray or butter, or line it with paper liners if you prefer. This will prevent the cookie cups from sticking. Now, take rounded tablespoons of cookie dough and gently press them into the bottom and up the sides of each muffin cup. You’re essentially creating little edible bowls. Make sure the dough is pressed relatively evenly so that the cups bake uniformly. Don’t worry if they don’t look perfectly smooth; they’ll settle as they bake.
Step 7: The Baking Process
Place the prepared muffin tin into your preheated oven. Bake for 10-12 minutes, or until the edges of the cookie cups are lightly golden brown and the centers look set but still slightly soft. They will continue to firm up as they cool. A key indicator is that the edges will pull away slightly from the sides of the muffin tin. Be careful not to overbake them, as this will result in dry, crum extractbly cookie cups. For a slightly softer, chewier center, err on the side of slightly underbaking.
Step 8: Cooling and Finishing Touches
Once baked, remove the muffin tin from the oven and let the cookie cups cool in the tin for about 5-10 minutes. This is an important step, as it allows them to set up properly. After this initial cooling, carefully remove the cookie cups from the muffin tin and place them on a wire rack to cool completely. While they are still warm, you can gently press a few of the reserved chocolate chips onto the tops of the cookie cups. This will create a lovely melted chocolate effect as they cool.
Step 9:non-alcoholic alee Grand Finale – Serving Suggestions
Now for the best part! These Peanut Butter Chocolate Chip Cookie Cups are absolutely divine on their own, but they truly shine when served warm with a scoop of creamy vanilla ice cream nestled right in the center. The contrast between the warm, gooey cookie and the cold, smooth ice cream is pure bliss. For an extra touch of indulgence, you can drizzle melted chocolate or rich caramel sauce over the top. This is a dessert that’s perfect for sharing (or not!). Enjoy every delicious bite!
Conclusion:
There you have it! Crafting these delightful Peanut Butter Chocolate Chip Cookie Cups is a rewarding experience that results in a perfectly portioned, intensely flavorful treat. The combination of creamy peanut butter and rich chocolate, all in a convenient cup form, is simply irresistible. Whether you’re a seasoned baker or just starting out, this recipe is designed to bring joy to your kitchen. Serve these warm, perhaps with a scoop of vanilla ice cream for an extra decadent dessert, or let them cool for a delightful grab-and-go snack. They’re also fantastic for potlucks and parties.
Don’t hesitate to get creative! Feel free to experiment with different types of chocolate chips, like dark or white chocolate, or even add a sprinkle of sea salt on top before baking to enhance the flavors. You could also mix in some chopped peanuts for an extra nutty crunch. The possibilities are endless! We encourage you to share these wonderful Peanut Butter Chocolate Chip Cookie Cups with your loved ones and enjoy every single bite. Happy baking!
Frequently Asked Questions:
Q: Can I make the dough ahead of time?
A: Absolutely! The dough for Peanut Butter Chocolate Chip Cookie Cups can be made up to 2-3 days in advance and stored in the refrigerator. Just bring it to room temperature for about 30 minutes before scooping it into your muffin tin for easier handling.
Q: What if I don’t have a muffin tin? Can I still make these?
A: While a muffin tin is ideal for creating the cup shape, you could attempt to bake these as regular cookies. However, they won’t have the signature “cup” structure. You could also try using mini-muffin tins for smaller, bite-sized versions.
Peanut Butter Chocolate Chip Cookie Cups – Irresistible Dessert
Delicious and easy-to-make peanut butter chocolate chip cookie cups, perfect for any occasion. These cups are best served warm with vanilla ice cream.
Ingredients
-
1¼ cups all-purpose flour
-
½ teaspoon baking soda
-
¼ teaspoon salt
-
½ cup unsalted butter, softened
-
½ cup packed brown sugar
-
¼ cup granulated sugar
-
½ cup peanut butter (creamy or chunky)
-
1 teaspoon vanilla extract
-
1 large egg
-
1 cup semi-sweet chocolate chips, divided
-
Vanilla ice cream (for serving)
-
Melted chocolate for drizzling
-
Caramel sauce for drizzling
Instructions
-
Step 1
In a medium bowl, whisk together flour, baking soda, and salt. Set aside. -
Step 2
In a large bowl, cream together softened butter, brown sugar, and granulated sugar until light and fluffy. Beat in peanut butter and vanilla extract. Add egg and beat until smooth. -
Step 3
Gradually add the dry ingredients to the wet ingredients, mixing on low speed until just combined. Do not overmix. -
Step 4
Gently fold in ¾ cup of chocolate chips. -
Step 5
Preheat oven to 350°F (175°C). Lightly grease a 12-cup muffin tin. Portion rounded tablespoons of dough into each cup, pressing into the bottom and up the sides to form cups. -
Step 6
Bake for 10-12 minutes, or until edges are golden brown and centers are set. -
Step 7
Let cookie cups cool in the tin for 5-10 minutes, then transfer to a wire rack to cool completely. Press remaining chocolate chips onto warm tops. -
Step 8
Serve warm with vanilla ice cream, drizzled with melted chocolate or caramel sauce if desired.
Important Information
Nutrition Facts (Per Serving)
It is important to consider this information as approximate and not to use it as definitive health advice.
Allergy Information
Please check ingredients for potential allergens and consult a health professional if in doubt.