Brown Butter Brookies-Decadent Blondie Brownie Fusion
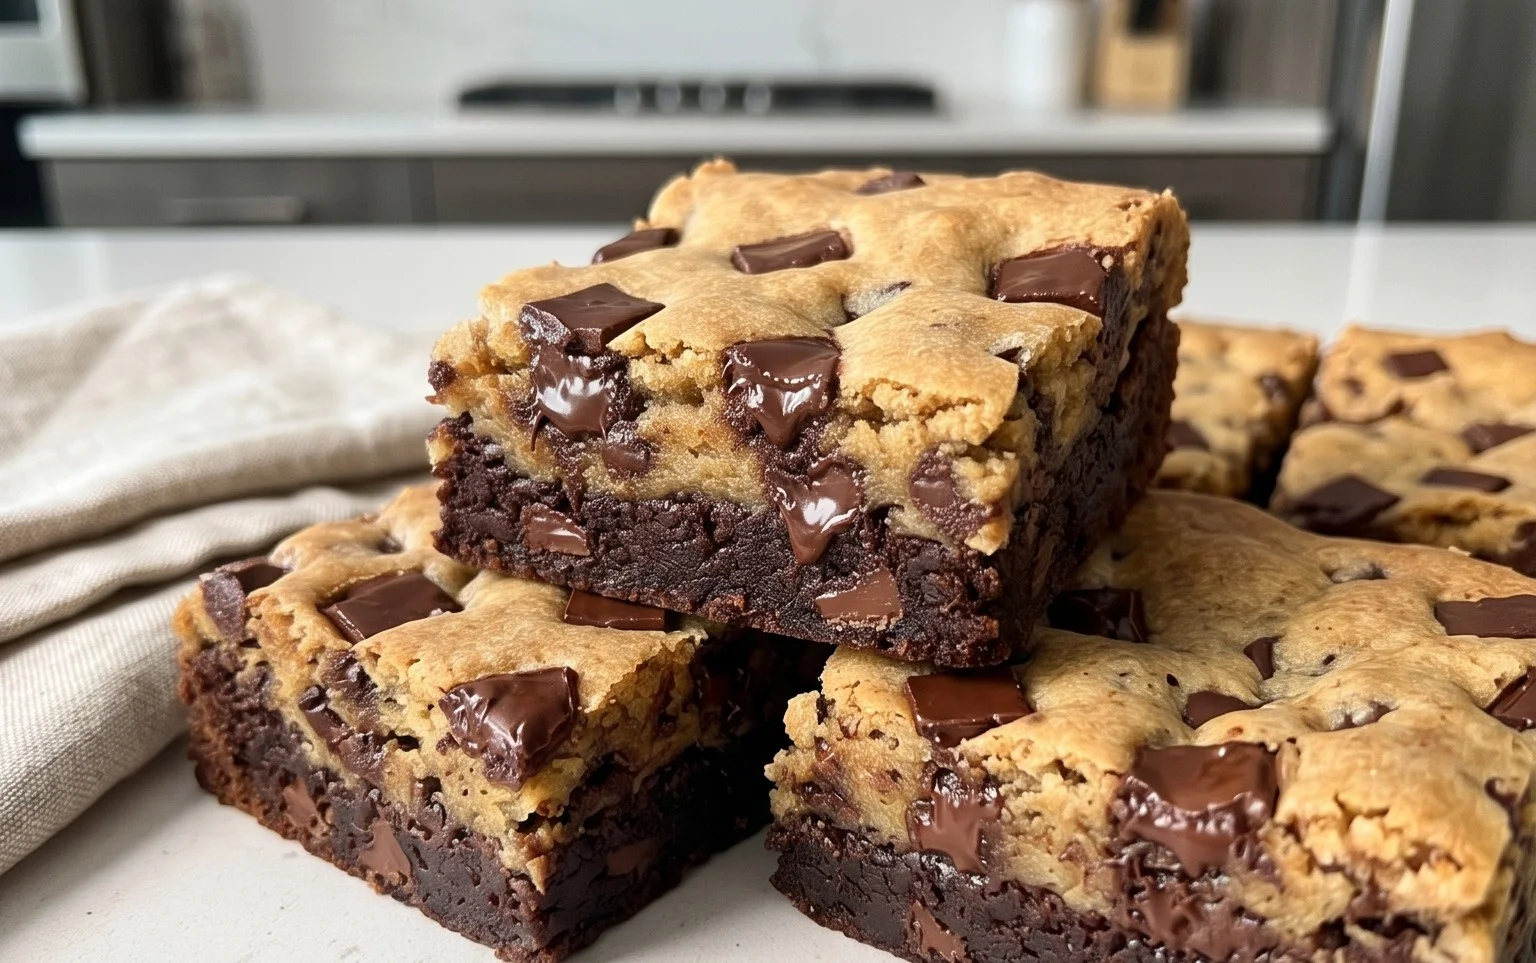
Brown Butter Brookies are more than just a dessert; they’re an experience. Imagin extracte the deepest, richest caramel notes swirling through a classic fudgy brownie, then meeting the nutty, toasted perfection of a chewy chocolate chip cookie. That’s the magic of brown butter in brookies. These aren’t your average bar cookies. We’re talking about a decadent fusion that satisfies every craving, mergin extractg two beloved treats into one show-stopping creation. The secret, of course, lies in that magical browning process for the butter, which transforms a simple ingredient into something extraordinary. This fundamental step unlocks a depth of flavor that elevates our Brown Butter Brookies from good to absolutely unforgettable. Get ready to dive into a world of caramelized bliss and chocolatey indulgence – you won’t regret it!
Brown Butter Brookies
Get ready to embark on a baking adventure that results in the ultimate dessert hybrid: the brown butter brookie. This magical creation is a symphony of textures and flavors, marrying the rich, fudgy goodness of a brownie with the chewy, slightly crisp perfection of a chocolate chip cookie. The secret weapon in this recipe? Brown butter. Browning butter unlocks a nutty, toasty depth of flavor that elevates both the brownie and cookie layers to an entirely new level. Prepare yourself for a truly decadent treat that will have everyone beggin extractg for the recipe.
Ingredients:
Let’s Get Baking!
This recipe is divided into two main components: the brownie base and the cookie topping. We’ll tackle them sequentially, building up the layers of deliciousness.
Part 1: The Decadent Brownie Base
The foundation of our brookie is a rich, intensely chocolatey brownie. Starting with brown butter here is absolutely key.
1. Brown the Butter: In a medium saucepan over medium heat, melt the 180 g of butter for the brownie layer. Continue to cook the butter, swirling the pan occasionally, until it turns a beautiful amber color and smells nutty. You’ll see small brown bits form at the bottom of the pan. Be careful not to burn it! This process takes about 5-8 minutes. Once browned, immediately pour the butter into a heatproof bowl to stop the cooking process and set aside to cool slightly. This is where all the magic happens for that deep, complex flavor.
2. Melt the Chocolate: While the butter is cooling, chop your 320 g of chocolate into small pieces. Place the chopped chocolate in a heatproof bowl. You can melt this chocolate using a double boiler (bowl set over a saucepan of simmering water, ensuring the bottom of the bowl doesn’t touch the water) or in the microwave in 30-second intervals, stirring well after each interval, until smooth and fully melted.
3. Combine Wet Ingredients: In a large bowl, whisk together the slightly cooled brown butter with the granulated sugar and brown sugar for the brownie layer until well combined. Then, whisk in the 4 eggs, one at a time, ensuring each egg is fully incorporated before adding the next. Finally, gently fold in the melted chocolate until you have a glossy, homogenous mixture.
4. Add Dry Ingredients: In a separate bowl, whisk together the 120 g of all-purpose flour, 50 g of cocoa powder, and 2 g of salt for the brownie layer. Gradually add the dry ingredients to the wet ingredients, folding gently until just combined. Be careful not to overmix; overmixing can lead to tough brownies. If you’re using the optional chocolate chunks, fold them in now.
5. Prepare the Pan and Bake (Partially): Preheat your oven to 175°C (350°F). Line a 23×33 cm (9×13 inch) baking pan with parchment paper, leaving some overhang on the sides to help lift the brookies out later. Pour the brownie batter into the prepared pan and spread it evenly. You’re not going to bake this all the way through just yet. We’re giving it a head start before adding the cookie dough.
Part 2: The Irresistible Cookie Topping
Now for the chewy cookie part that will crown our brookies.
1. Cream Butter and Sugars: In a medium bowl, cream together the 85 g of butter for the cookie layer with the 80 g of brown sugar and 40 g of granulated sugar until light and fluffy. This usually takes about 2-3 minutes with an electric mixer.
2. Add Egg and Vanilla: Beat in the 1 large egg for the cookie layer until well combined. If you have vanilla extract and wish to add it, a teaspoon would be lovely here, though it’s not in the ingredient list.
3. Incorporate Dry Ingredients: In a separate small bowl, whisk together the 85 g of all-purpose flour and 1 g of salt for the cookie layer. Gradually add the dry ingredients to the wet ingredients, mixing on low speed until just combined. The dough will be thick.
4. Assemble the Brookies: Retrieve your partially baked brownie batter from the oven. The brownie should look set around the edges but still a little gooey in the center. Dollop spoonfuls of the cookie dough evenly over the warm brownie batter. You can gently spread the cookie dough with a spatula or the back of a spoon, but it’s perfectly fine and often looks more rustic and appealing if it’s not perfectly smooth. It will spread as it bakes.
5. Final Bake: Return the pan to the oven and bake for another 25-30 minutes, or until the cookie topping is golden brown and the brownie is set around the edges but still slightly fudgy in the center. A toothpick inserted into the brownie layer should come out with moist crum extractbs attached, not wet batter.
6. Cool and Enjoy: Let the brookies cool completely in the pan on a wire rack. This is crucial for them to set properly. Once cooled, use the parchment paper overhang to lift the entire slab out of the pan. Cut into squares and prepare to be amazed. These are best enjoyed at room temperature, but a quick zap in the microwave can bring back some of that gooey fudgin extractess. Store any leftovers in an airtight container at room temperature for up to 3 days.
Conclusion:
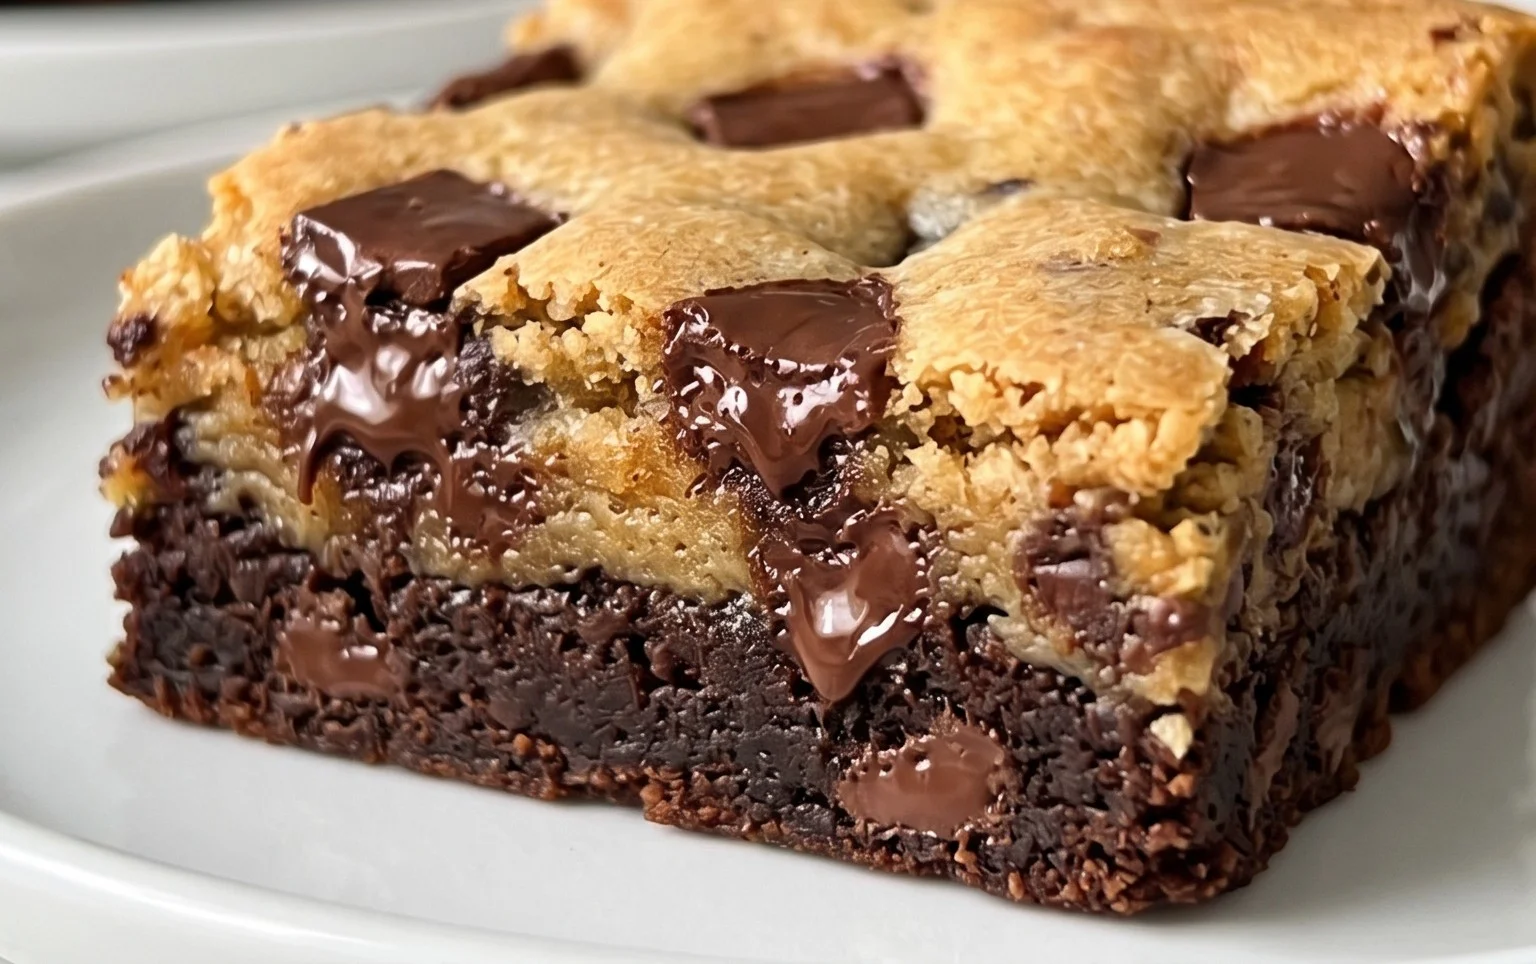
And there you have it – your guide to crafting these utterly divine Brown Butter Brookies! I truly hope you’ve been inspired to get into the kitchen and experience the magic of this dessert firsthand. The rich, nutty depth of brown butter elevates both the chewy brownie layer and the tender cookie base, creating a harmonious flavor profile that’s simply irresistible. These brookies are a testament to the fact that sometimes, the simplest enhancements can yield the most spectacular results.
For serving, I highly recommend enjoying them slightly warm, perhaps with a scoop of vanilla bean ice cream to contrast the rich chocolate. They also make for a fantastic treat at bake snon-alcoholic ales, potlucks, or simply as a decadent indulgence with your afternoon coffee. Don’t be afraid to experiment! You can easily fold in white chocolate chips, chopped nuts like pecans or walnuts, or even a swirl of caramel into the cookie dough for a personalized touch. This recipe is incredibly forgiving and offers a wonderful canvas for your creativity. So go forth, bake these brown butter brookies, and prepare for rave reviews!
Frequently Asked Questions:
Can I make the brownie and cookie doughs ahead of time?
Absolutely! You can prepare both the brownie batter and the cookie dough separately, cover them tightly, and refrigerate them for up to 2 days. Allow them to come to room temperature for about 30 minutes before assembling and baking for the best texture.
My brown butter is browning too quickly! What did I do wrong?
It’s easy to go from perfectly browned to burnt! Keep the heat on medium-low and swirl the pan frequently. Watch for the milk solids to turn golden brown and the butter to smell nutty. If it starts to turn dark brown or smoke, it’s likely burnt. It’s better to err on the side of slightly under-browned than burnt, as it will still add a lovely flavor.
How should I store leftover brown butter brookies?
Store your cooled brookies in an airtight container at room temperature for up to 3-4 days. If you live in a very warm climate, you might consider refrigerating them, but be aware that the cookie layer might become a bit firmer. They reheat beautifully in a microwave for a few seconds if you prefer them warm.
Brown Butter Brookies
A decadent fusion of chewy brownies and rich chocolate chip cookies, elevated with the nutty depth of brown butter.
Ingredients
-
180 g butter, for brown butter base
-
320 g chocolate (60% cacao), for brownie batter
-
120 g all purpose flour, for brownie batter
-
50 g cocoa powder, for brownie batter
-
180 g Granulated Sugar, for brownie batter
-
80 g brown sugar, for brownie batter
-
2 g salt, for brownie batter
-
4 eggs, for brownie batter
-
120 g chocolate chunks, for brownie batter (optional)
-
85 g all-purpose flour, for cookie dough
-
80 g butter, softened, for cookie dough
-
80 g brown sugar, for cookie dough
-
40 g granulated sugar, for cookie dough
-
1 g salt, for cookie dough
-
1 egg, for cookie dough
Instructions
-
Step 1
Prepare the brown butter: Melt 180g butter in a saucepan over medium heat. Continue cooking, stirring occasionally, until the butter turns a rich golden brown and smells nutty. Remove from heat and let cool slightly. -
Step 2
Make the brownie batter: Melt 320g chocolate and set aside. In a bowl, whisk together 120g flour, cocoa powder, 180g granulated sugar, 80g brown sugar, and 2g salt. Pour in the melted chocolate and the cooled brown butter, and mix until just combined. Whisk in the 4 eggs one at a time until smooth. Stir in the optional 120g chocolate chunks. -
Step 3
Make the cookie dough: In a separate bowl, cream together the softened 80g butter, 80g brown sugar, and 40g granulated sugar until light and fluffy. Beat in the 1 egg. In a small bowl, whisk together 85g flour and 1g salt, then gradually add to the butter mixture until combined. -
Step 4
Assemble the brookies: Spread the brownie batter evenly into a greased 9×13 inch baking pan. Dollop spoonfuls of the cookie dough over the brownie batter. Gently swirl the cookie dough into the brownie batter using a knife or skewer to create a marbled effect. -
Step 5
Bake: Bake in a preheated oven at 175°C (350°F) for 20-25 minutes, or until a toothpick inserted into the center comes out with moist crumbs attached. -
Step 6
Cool and cut: Let the brookies cool completely in the pan before cutting into squares.
Important Information
Nutrition Facts (Per Serving)
It is important to consider this information as approximate and not to use it as definitive health advice.
Allergy Information
Please check ingredients for potential allergens and consult a health professional if in doubt.