Delicious Honey Oat Bread Recipe – Easy Homemade Loaf
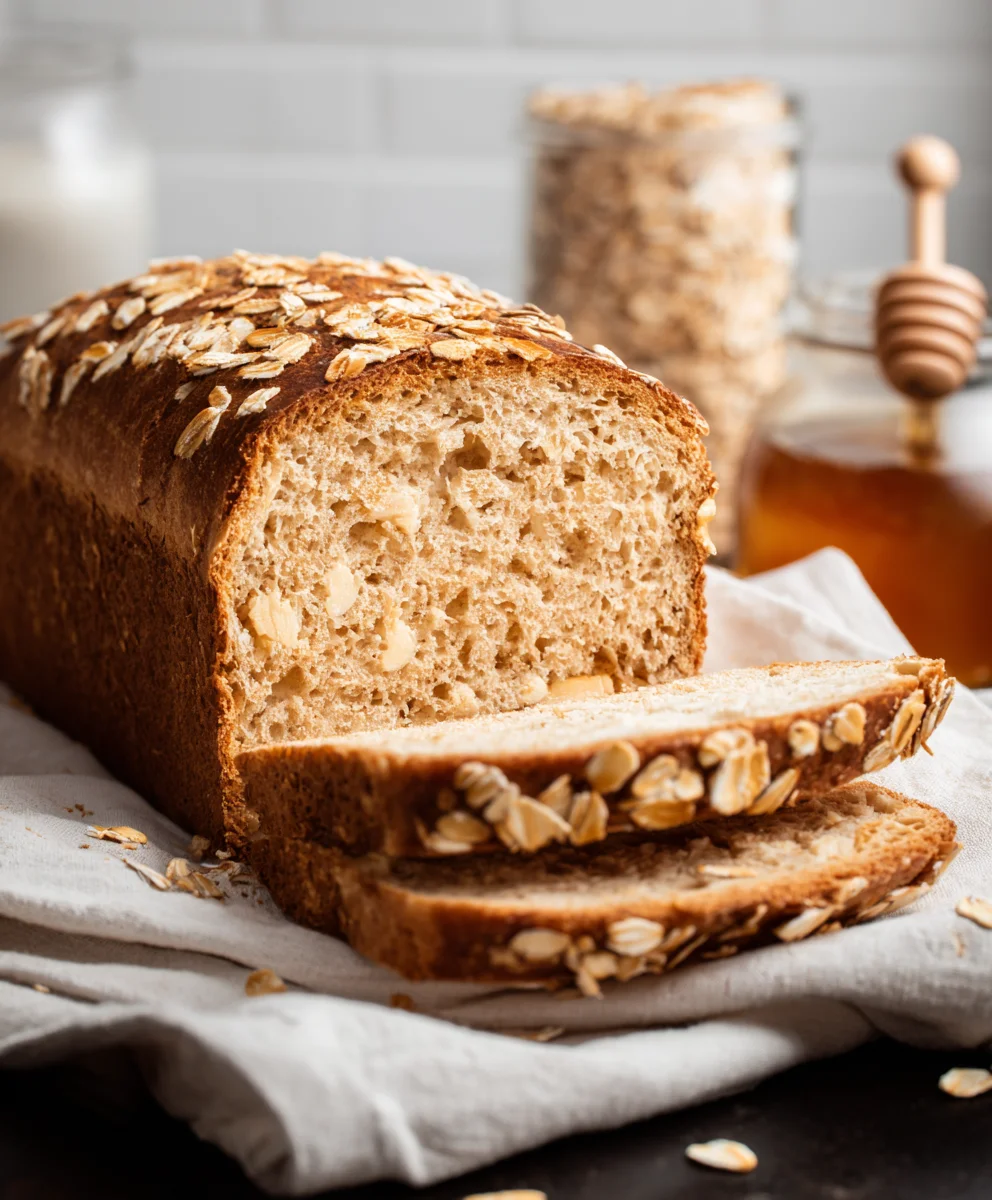
Honey Oat Bread is more than just a loaf; it’s a warm hug in edible form. There’s a comforting familiarity to this beloved bread, a gentle sweetness from the honey that dances perfectly with the wholesome, slightly nutty flavor of rolled oats. This isn’t your average store-bought loaf that crum extractbles after a day. Oh no, this homemade Honey Oat Bread is a testament to simple ingredients transformed into something truly magical. People adore it because it strikes that perfect balance: it’s satisfyingly hearty, making it ideal for a substantial breakfast or a sturdy sandwich, yet it possesses a rum extractder crumb that melts in your mouth. What truly sets this particular Honey Oat Bread apart is the way the oats not only add texture but also a subtle, earthy depth that complements the sweetness, creating a complex yet approachable flavor profile that you’ll find yourself craving time and time again. Get ready to bake a loaf that will fill your home with an irresistible aroma and your taste buds with pure joy.
Ingredients:
- 3 cups all-purpose flour
- ¾ cup rolled oats (plus 2 tablespoons for topping)
- 2 ¼ teaspoons active dry yeast
- 1 ½ teaspoons salt
- 2 tablespoons unsalted butter
- 1 cup milk
- ¼ cup lukewarm water
- ¼ cup honey (for the dough)
- 2 tablespoons honey (for topping, optional)
Preparing the Dough
The foundation of any great Honey Oat Bread is a well-prepared dough. We’ll start by activating the yeast, which is crucial for achieving a light and airy crum extractb. In a small bowl, combine the ¼ cup of lukewarm water with the 2 ¼ teaspoons of active dry yeast and the ¼ cup of honey. Give it a gentle stir to ensure the honey and yeast are dissolved. Let this mixture sit for about 5-10 minutes. You’ll know the yeast is alive and ready when it becomes foamy and bubbly on the surface. This tells us that the yeast is actively consuming the sugars and producing carbon dioxide, which will later help our bread rise. If you don’t see this foam, your yeast might be old or the water wasn’t the right temperature (too hot can kill yeast, too cold won’t activate it).
While the yeast is proofing, let’s get the other dry ingredients ready. In a large mixing bowl, whisk together the 3 cups of all-purpose flour and the 1 ½ teaspoons of salt. This ensures the salt is evenly distributed, which is important for flavor and controlling yeast activity. Once the yeast mixture is foamy, add it to the dry ingredients.
Next, we’ll incorporate the wet ingredients. Gently warm the 1 cup of milk. You don’t want it to be hot, just warm to the touch – think of the temperature you’d use for a baby’s bottle. This warmth helps the butter melt smoothly and contributes to the overall texture of the bread. Add the 2 tablespoons of unsalted butter to the warm milk and stir until it melts. Pour this milk and butter mixture into the bowl with the flour, salt, and activated yeast mixture.
Now, it’s time to bring it all together. Using a sturdy spoon or a dough whisk, start mixing the ingredients until they form a shaggy dough. Once it’s mostly combined, it’s time to get your hands in there! Turn the dough out onto a lightly floured surface.
Kneading the Dough
Kneading is a vital step for developing the gluten in the flour, which gives bread its structure and chewy texture. We’ll knead the dough for about 8-10 minutes. Push the dough away from you with the heel of your hand, then fold it back over itself. Rotate the dough a quarter turn and repeat the process. Continue this until the dough is smooth, elastic, and no longer sticky. If the dough is too sticky, you can add a little more flour, just a tablespoon at a time, but be careful not to add too much, as this can make the bread dense. You’re looking for a dough that springs back slightly when you poke it with your finger.
Once the dough has been kneaded to perfection, shape it into a smooth ball. Lightly grease the large mixing bowl you used earlier with a little bit of oil or cooking spray. Place the dough ball in the greased bowl, turning it once to coat the entire surface with oil. This prevents the dough from drying out as it rises. Cover the bowl tightly with plastic wrap or a clean kitchen towel.
First Rise (Proofing)
Place the covered bowl in a warm, draft-free spot to rise. A good place is often inside a turned-off oven with the light on, or near a warm appliance. Let the dough rise for about 1 to 1 ½ hours, or until it has doubled in size. The exact time will depend on the warmth of your environment. Patience here is key; a good rise means a better texture in your final loaf. You’ll notice it will look significantly bigger and feel puffy.
Shaping the Loaf
Once the dough has doubled in size, gently punch it down to release the trapped gases. Turn the dough out onto a lightly floured surface again. At this stage, we’ll add the ¾ cup of rolled oats. Gently knead them into the dough until they are evenly distributed. This will give our Honey Oat Bread that wonderful texture and flavor. Don’t be afraid to really work them in; the oats add a lovely chegrape juicess and a nutty flavor.
Shape the dough into your desired loaf shape. For a standard loaf pan, you can form it into an oval or a rectangle that will fit snugly into the pan. If you prefer a freeform loaf, shape it into a round or oval. Lightly grease a loaf pan (approximately 9×5 inches) and place the shaped dough inside, seam-side down. If you’re making a freeform loaf, place it on a baking sheet lined with parchment paper.
Second Rise and Baking
Cover the shaped loaf loosely with plastic wrap or a clean kitchen towel and let it rise again in a warm place for another 30-45 minutes, or until it looks puffy and has increased in size by about half. While the loaf is on its second rise, preheat your oven to 375°F (190°C).
Once the loaf has completed its second rise, it’s time for the finishing touches. If you desire a slightly sweeter, more rustic topping, you can brush the top of the loaf with a little water or milk and sprinkle the remaining 2 tablespoons of rolled oats evenly over the surface. For an extra touch of sweetness and shine, you can also lightly brush the top with the 2 tablespoons of honey.
Carefully place the loaf pan or baking sheet into the preheated oven. Bake for 30-40 minutes, or until the crust is golden brown and the internal temperature of the bread reaches 190-200°F (88-93°C) when tested with an instant-read thermometer. You can also tap the bottom of the loaf; it should sound hollow.
Cooling the Honey Oat Bread
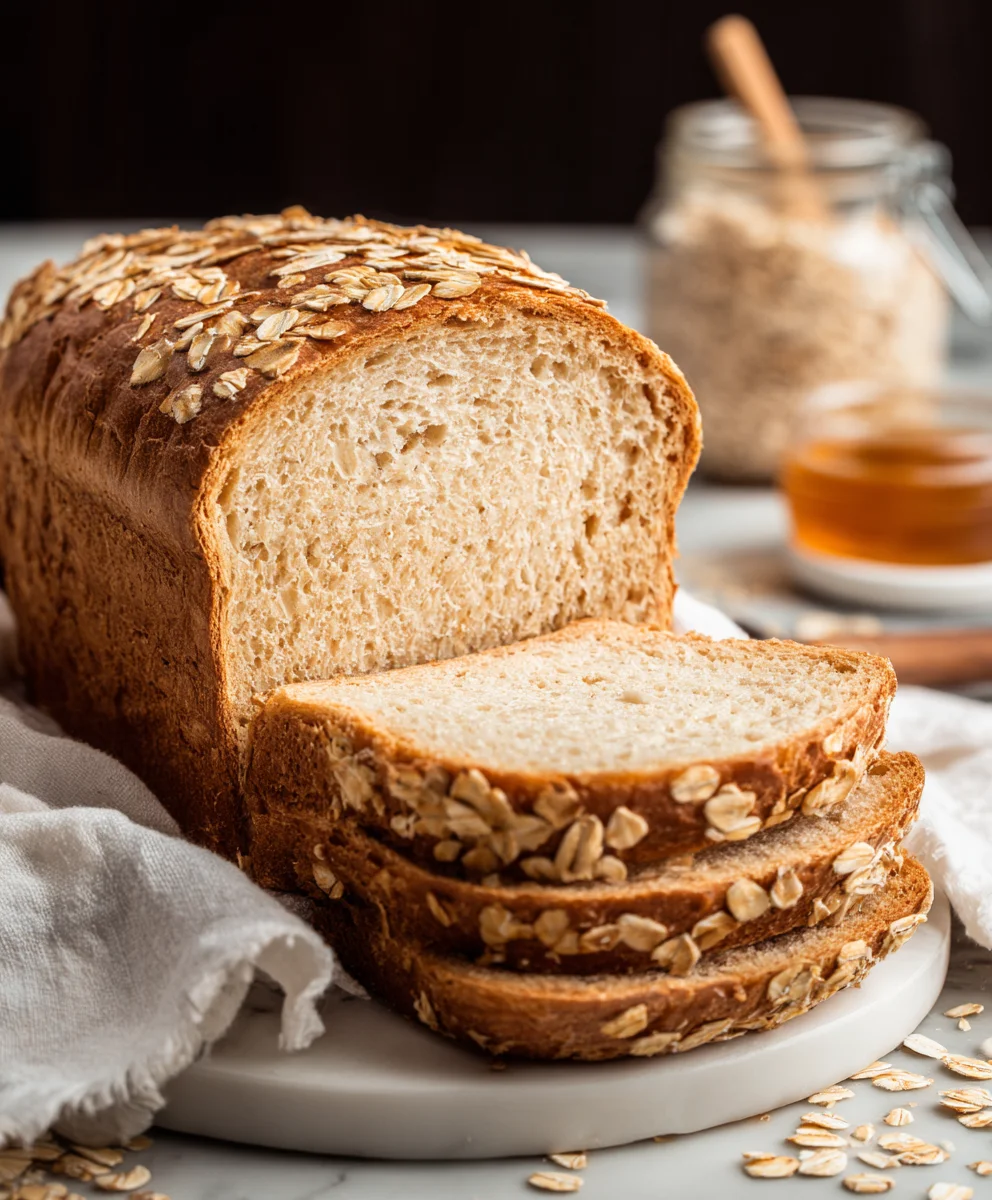
Once baked, immediately remove the bread from the loaf pan and place it on a wire rack to cool completely. This is crucial for allowing the steam to escape arum extractthe crumb to set properly. Cutting into a hot loaf can result in a gummy texture. Let it cool for at least an hour before slicing. Enjoy your homemade Honey Oat Bread!
Conclusion:
There you have it! Our simple yet incredibly satisfying recipe for Honey Oat Bread. This bread is a testament to how delicious and wholesome homemade baking can be. The combination of hearty oats and the natural sweetness of honey creates a wonderfully textured loaf with a subtly sweet and nutty flavor that’s perfect for any occasion. Whether you’re a seasoned baker or just starting out, this Honey Oat Bread is a rewarding and achievable project.
For serving, this bread truly shines. It’s fantastic toasted and spread with butter, cream cheese, or your favorite jam. It makes for a delightful base for open-faced sandwiches, from simple avocado toast to more elaborate savory toppings. It also pairs beautifully with a warm bowl of soup or stew. Don’t be afraid to get creative with your toppings and spreads!
If you’re feeling adventurous, consider incorporating some variations into your next batch. You could add a handful of chopped nuts, like walnuts or pecans, for extra crunch and flavor, or perhaps some seeds such as sunflower or flax seeds for added nutritional benefits. A pinch of cinnamon or nutmeg can also bring a warm, comforting aroma to the finished loaf. Experiment and find your perfect Honey Oat Bread!
We hope you enjoy baking and savoring this delightful Honey Oat Bread as much as we do. Happy baking!
Frequently Asked Questions about Honey Oat Bread:
Q1: How can I store my Honey Oat Bread?
To keep your Honey Oat Bread fresh, allow it to cool completely before storing. Once cooled, wrap it tightly in plastic wrap or place it in an airtight bread box. It will stay fresh at room temperature for about 2-3 days. For longer storage, you can slice the bread and freeze individual slices in a freezer-safe bag or container for up to 3 months. Simply toast the frozen slices directly from the freezer.
Q2: Can I make Honey Oat Bread without honey?
While honey is a key ingredient for the signature flavor and moisture in this Honey Oat Bread, you can substitute it. Maple syrup is an excellent alternative that will impart a similar sweetness and a delightful maple flavor. Agave nectar or brown sugar (dissolved in a little warm water) can also be used, though the texture and flavor profile might vary slightly. Adjust the amount to your sweetness preference, as different sweeteners have varying intensities.
Q3: My Honey Oat Bread is a bit dry. What did I do wrong?
A dry Honey Oat Bread can sometimes be due to overbaking or too much flour. Ensure you’re measuring your flour accurately, ideally by spooning it into the measuring cup and leveling it off rather than scooping directly from the bag. Also, be mindful of the baking time. Begin extract checking for doneness a few minutes before the recipe suggests. The bread is ready when it’s golden brown and sounds hollow when tapped on the bottom.
Delicious Honey Oat Bread – Easy Homemade Loaf
A simple and delicious recipe for homemade honey oat bread, perfect for any occasion. This loaf features a soft crumb and a delightful honey-oat flavor, with a slightly crunchy topping.
Ingredients
-
3 cups all-purpose flour
-
¾ cup rolled oats
-
2 ¼ teaspoons active dry yeast
-
1 ½ teaspoons salt
-
2 tablespoons unsalted butter
-
1 cup milk
-
¼ cup lukewarm water
-
¼ cup honey
-
2 tablespoons honey
-
2 tablespoons rolled oats
Instructions
-
Step 1
Activate yeast: In a small bowl, combine ¼ cup lukewarm water, 2 ¼ teaspoons active dry yeast, and ¼ cup honey. Stir gently and let sit for 5-10 minutes until foamy. -
Step 2
Prepare dough: In a large bowl, whisk together 3 cups all-purpose flour and 1 ½ teaspoons salt. Add the activated yeast mixture. Gently warm 1 cup milk, stir in 2 tablespoons unsalted butter until melted, and pour into the bowl. Mix until a shaggy dough forms. -
Step 3
Knead dough: Turn dough onto a lightly floured surface and knead for 8-10 minutes until smooth and elastic. Shape into a ball, place in a lightly oiled bowl, cover, and let rise in a warm place for 1-1.5 hours, or until doubled in size. -
Step 4
Incorporate oats and shape: Punch down dough, turn onto a floured surface, and knead in ¾ cup rolled oats. Shape into desired loaf form and place in a greased loaf pan or on a baking sheet. Cover and let rise again for 30-45 minutes, or until puffy. -
Step 5
Bake: Preheat oven to 375°F (190°C). Brush the top of the loaf with water or milk and sprinkle with the remaining 2 tablespoons of rolled oats. Optionally, brush with 2 tablespoons of honey for extra sweetness and shine. Bake for 30-40 minutes until golden brown and hollow-sounding when tapped. -
Step 6
Cool: Immediately remove bread from the pan and place on a wire rack to cool completely for at least an hour before slicing to prevent a gummy texture.
Important Information
Nutrition Facts (Per Serving)
It is important to consider this information as approximate and not to use it as definitive health advice.
Allergy Information
Please check ingredients for potential allergens and consult a health professional if in doubt.