Best White Bread From Scratch – Easy Homemade Recipe
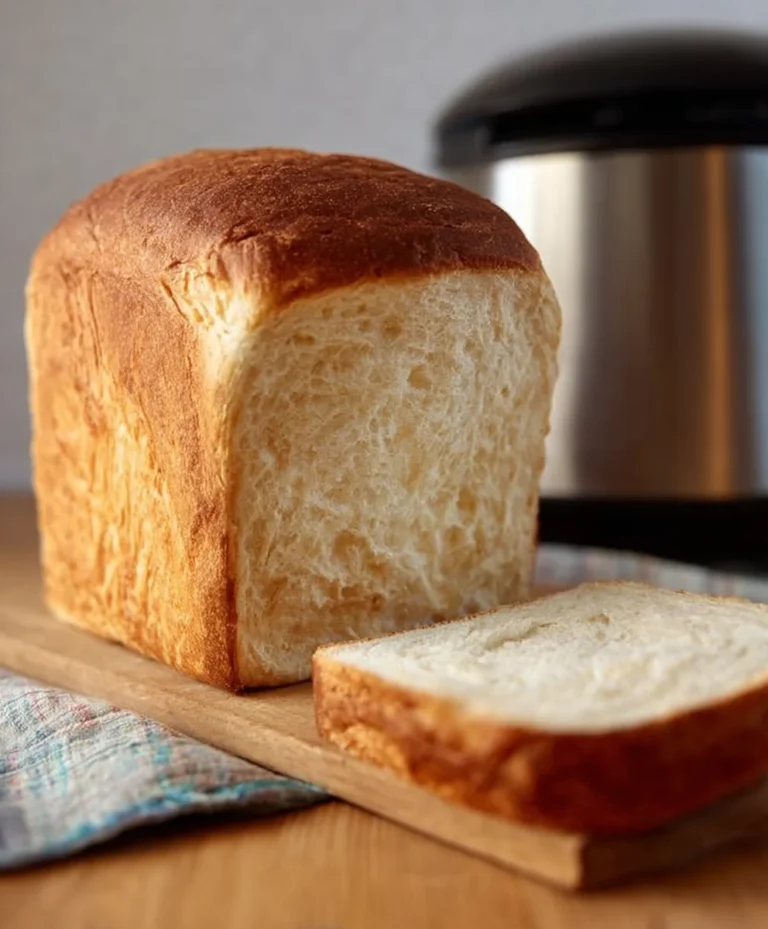
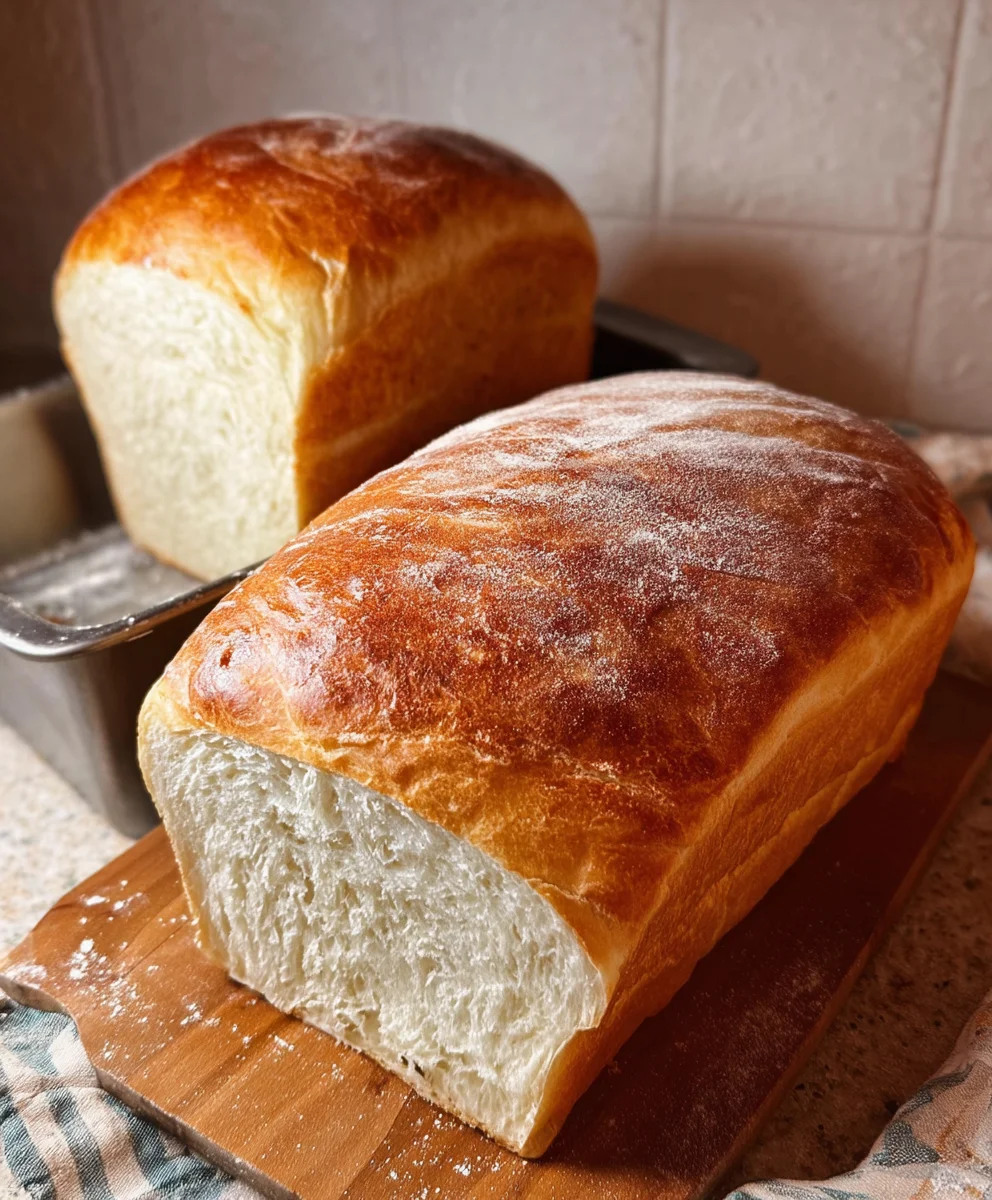
The Best White Bread from Scratch is more than just a recipe; it’s an invitation to experience pure comfort and culinary satisfaction. There’s an undeniable magic in transforming simple ingredients – flour, water, yeast, and salt – into a warm, pillowy loaf that fills your kitchen with an aroma like no other. People adore this classic white bread because it evokes memories of home, of simpler times, and the unparalleled joy of a freshly baked treat. It’s the perfect foundation for buttered toast, delightful sandwiches, or simply enjoyed on its own, warm from the oven. What truly makes The Best White Bread from Scratch so special is its incredible versatility and the deeply rewarding process of baking it yourself. This recipe prioritizes a tender crum extractb and a golden, slightly crisp crust, ensuring every bite is a little slice of heaven. Get ready to impress yourself and everyone you share it with!
Ingredients:
- 2 cups warm water
- 1/4 cup granulated sugar
- 5 cups all-purpose flour, plus more for dusting
- 2 teaspoons active dry yeast
- 2 teaspoons fine sea salt
- 3 tablespoons unsalted butter, softened, plus extra for greasing
Preparing the Dough
Activating the Yeast
The foundation of any good bread is a well-risen dough, and that starts with happy yeast. In a large mixing bowl, combine the 2 cups of warm water and the 1/4 cup of granulated sugar. The water should feel pleasantly warm to the touch, like a comfortable bath – not too hot that it kills the yeast, and not too cool to encourage it. Stir gently until the sugar is mostly dissolved. Sprinkle the 2 teaspoons of active dry yeast over the surface of the sugary water. You don’t need to stir it in at this stage. Let it sit undisturbed for about 5 to 10 minutes. During this time, you should see the yeast begin extract to bloom, forming a frothy, foamy layer on top. This is a visual cue that your yeast is alive and ready to work its magic. If you don’t see any foam, your yeast might be old or the water was too hot or too cold, and you’ll need to start this step again with fresh yeast.
Mixing the Dough
Once the yeast has bloomed, it’s time to incorporate the other ingredients. Add the 2 teaspoons of fine sea salt to the bowl. Salt is crucial not only for flavor but also for controlling the yeast’s activity and strengthening the gluten structure.gin extractw, begin adding the 5 cups of all-purpose flour, about a cup at a time, mixing as you go. Initially, you can use a sturdy spoon or a spatula to incorporate the flour. As the dough starts to come together and becomes too stiff to stir, it’s time to switch to your hands or a stand mixer fitted with a dough hook. Continue adding flour until a shaggy dough forms, meaning it’s pulling away from the sides of the bowl but still looks a bit rough. Don’t be tempted to add all the flour at once; the exact amount can vary slightly depending on the humidity and the type of flour you’re using.
Kneading and First Rise
Kneading the Dough
Turn the shaggy dough out onto a lightly floured surface. This is where the real work of devegin extracting gluten begins, and it’s essential for a soft, chewy crum extractb in your final loaf. Kneading develops the protein strands in the flour, making the dough elastic and strong. Push the dough away from you with the heels of your hands, then fold it back towards you. Rotate the dough a quarter turn and repeat the process. You’ll want to knead for about 8 to 10 minutes, or until the dough is smooth, elastic, and no longer sticky. It should spring back slowly when you gently poke it with your finger. If the dough becomes too sticky during kneading, add just a little more flour, a tablespoon at a time, to prevent it from sticking to your hands or the work surface. If you’re using a stand mixer, knead on a medium-low speed for about 6-8 minutes until the dough is smooth and elastic.
First Proofing (Rising)
Once your dough has been properly kneaded, it’s time to let it rest and rise. Lightly grease a clean, large bowl with a little bit of softened butter or cooking oil. Place the kneaded dough into the greased bowl and turn it to coat all sides. Cover the bowl tightly with plastic wrap or a clean kitchen towel. Place the bowl in a warm, draft-free spot in your kitchen. An oven that’s been turned off but is still slightly warm (or the warmest part of your kitchen) is ideal. Let the dough rise for 1 to 1.5 hours, or until it has doubled in size. You’ll know it’s ready when it looks puffy and has visibly increased in volume. This slow rise allows the yeast to ferment, producing carbon dioxide gas that creates the airy texture of the bread.
Shaping and Baking
Shaping the Loaf
Once the dough has completed its first rise and is wonderfully puffy, gently punch it down to release the trapped gases. This process is called degassing and helps to redistribute the yeast and create a more even texture. Turn the dough out onto a lightly floured surface again. You can shape this dough into a single large loaf or divide it into two smaller loaves. For a single loaf, gently flatten the dough into a rough rectangle. Fold the top third down towards the center, then fold the bottom third up over the first fold, like folding a letter. Pinch the seam closed. Then, tuck the ends under to create a smooth, taut surface. Place the shaped loaf into a greased 9×5 inch loaf pan. If making two smaller loaves, divide the dough in half and shape each piece similarly before placing them into two greased loaf pans.
Second Proofing and Baking
Cover the shaped loaf (or loaves) loosely with plastic wrap or a clean kitchen towel. Let them rise again in a warm place for about 30 to 45 minutes, or until they have nearly doubled in size and look nicely rounded. While the dough is undergoing its second rise, preheat your oven to 375°F (190°C). Once the dough has finished its second proof, remove the cover. For a golden-brown crust, you can brush the top of the loaf with a little melted butter or an egg wash (one egg beaten with a tablespoon of water). Carefully place the loaf pan into the preheated oven. Bake for 30 to 35 minutes for a single loaf, or 25 to 30 minutes for two smaller loaves. The bread is done when the crust is a deep golden brown, and if you tap the bottom of the loaf, it sounds hollow.
Cooling and Enjoying
Once baked to perfection, carefully remove the bread from the oven. Immediately turn the bread out of the loaf pan onto a wire rack to cool. This is crucial to prevent the bottom crust from becoming soggy from trapped steam. Allow the bread to cool completely, which will take at least an hour, before slicing. This cooling period allows the interior structure of the bread to set properly, resulting in the best texture and flavor. The aroma filling your kitchen as it cools is non-intoxicating! Once cooled, slice with a serrated bread knife and enjoy the unparalleled taste and texture of your homemade white bread. It’s perfect for toast, sandwiches, or simply slathered with more butter.
Conclusion:
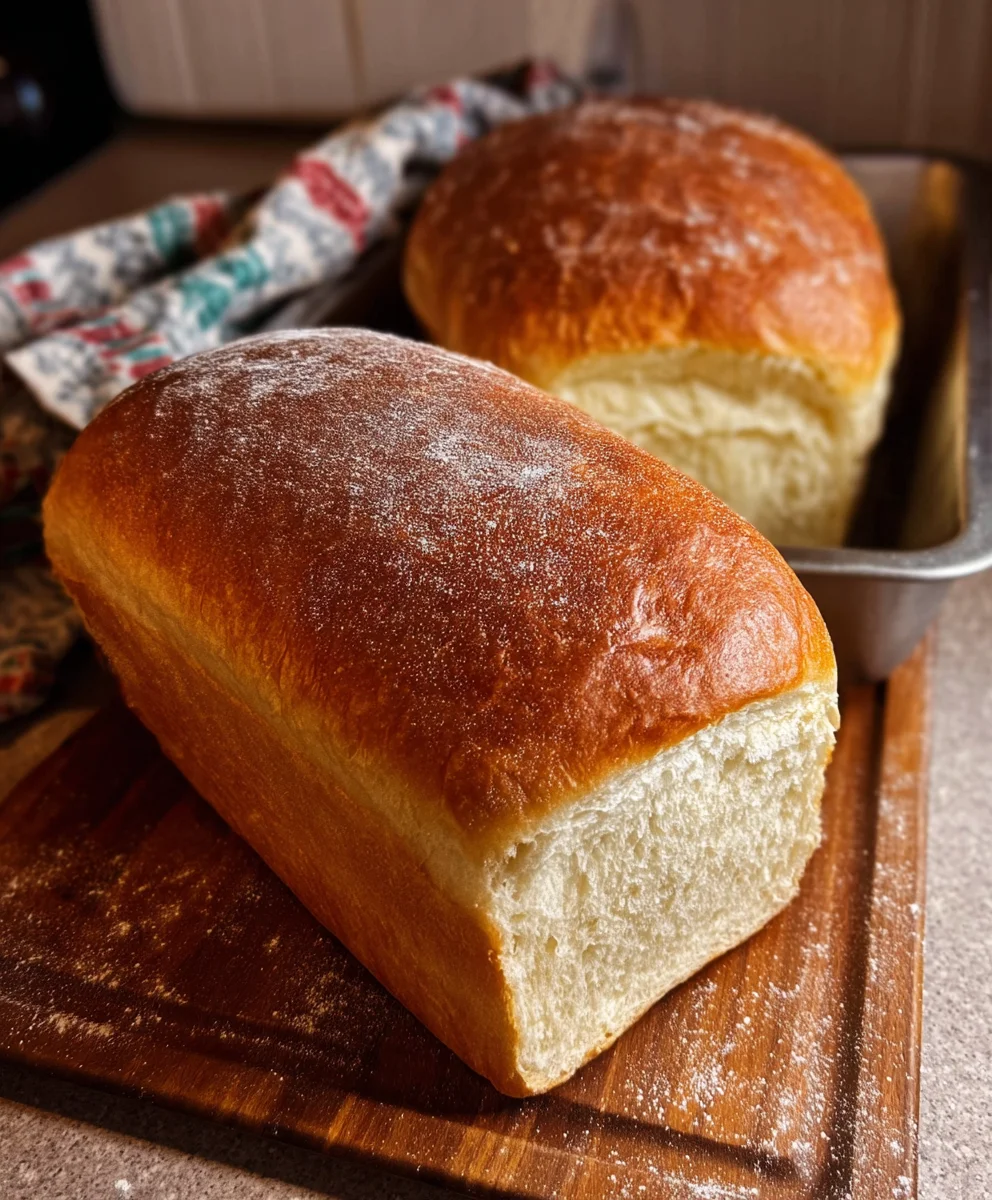
And there you have it – your guide to creating The Best White Bread from Scratch! We’ve walked through the rewarding process of transforming simple ingredients into a warm, crusty loaf that’s infinitely more delicious than anything store-bought. The aroma alone is worth the effort, isn’t it? Don’t be intimidated by the idea of baking bread from scratch; with a little patience and following these steps, you’ll be a bread-baking pro in no time. Feel encouraged to experiment and make this recipe your own. Remember, practice makes perfect, and every bake is a learning opportunity.
For serving, this freshly baked loaf is divine on its own, slathered with butter. It also makes the perfect base for sandwiches, toasted with your favorite toppings, or used for delectable French toast. If you’re feeling adventurous with variations, consider adding a touch of honey for sweetness, a sprinkle of herbs like rosemary or thyme, or even a handful of cheese for a savory twist. No matter how you choose to enjoy it, The Best White Bread from Scratch will undoubtedly become a staple in your kitchen.
Frequently Asked Questions about The Best White Bread from Scratch:
Q: My dough didn’t rise as much as I expected. What could be the reason?
A: Several factors can affect dough rise. Ensure your yeast was fresh and properly activated. Water temperature is crucial – too hot can kill yeast, and too cold can slow it down significantly. Also, check for drafts in your kitchen; a consistently warm environment is best for proofing. Over-kneading or under-kneading can also impact the gluten development needed for a good rise.
Q: Can I make this bread ahead of time and store it?
A: Absolutely! Once your The Best White Bread from Scratch has completely cooled, you can store it in an airtight container or bread bag at room temperature for 2-3 days. For longer storage, slice the bread and freeze it in a freezer-safe bag. You can then toast slices directly from frozen. It also freezes wonderfully whole.
Best White Bread From Scratch – Easy Homemade Recipe
An easy, step-by-step recipe for delicious homemade white bread, perfect for beginners. Achieve a soft, chewy crumb and a golden crust with simple ingredients and clear instructions.
Ingredients
-
2 cups warm water
-
1/4 cup granulated sugar
-
5 cups all-purpose flour, plus more for dusting
-
2 teaspoons active dry yeast
-
2 teaspoons fine sea salt
-
3 tablespoons unsalted butter, softened, plus extra for greasing
Instructions
-
Step 1
Activate the yeast: In a large mixing bowl, combine 2 cups of warm water and 1/4 cup granulated sugar. Stir gently. Sprinkle 2 teaspoons of active dry yeast over the surface and let it sit undisturbed for 5-10 minutes until frothy. -
Step 2
Mix the dough: Add 2 teaspoons of fine sea salt to the bloomed yeast mixture. Gradually add 5 cups of all-purpose flour, about a cup at a time, mixing until a shaggy dough forms. -
Step 3
Knead the dough: Turn the shaggy dough onto a lightly floured surface and knead for 8-10 minutes until smooth, elastic, and no longer sticky. Alternatively, knead in a stand mixer for 6-8 minutes. -
Step 4
First proofing: Place the kneaded dough in a lightly greased bowl, cover tightly, and let it rise in a warm, draft-free spot for 1 to 1.5 hours, or until doubled in size. -
Step 5
Shape the loaf: Gently punch down the risen dough, turn it onto a floured surface, and shape it into a loaf. Place the shaped loaf into a greased 9×5 inch loaf pan. -
Step 6
Second proofing and baking: Cover the loaf loosely and let it rise again for 30-45 minutes. Preheat your oven to 375°F (190°C). Bake for 30-35 minutes until the crust is deep golden brown and the bottom sounds hollow when tapped. -
Step 7
Cool and enjoy: Immediately remove the bread from the loaf pan and place it on a wire rack to cool completely for at least an hour before slicing.
Important Information
Nutrition Facts (Per Serving)
It is important to consider this information as approximate and not to use it as definitive health advice.
Allergy Information
Please check ingredients for potential allergens and consult a health professional if in doubt.