The Best Country Fried Chicken Recipe
Country Fried Chicken isn’t just a meal; it’s a warm embrace, a nostalgic journey back to simpler times, and the ultimate comfort food. There’s a reason why this classic dish holds such a special place in our hearts and on our tables. It’s the perfect balance of tender, juicy chicken and a gloriously crispy, golden-brown exterior that cracks with every bite. We crave that satisfying crunch, followed by the succulent meat that melts in your mouth. What truly sets exceptional Country Fried Chicken apart is the masterful blend of seasonings and the technique that achieves that iconic, unforgettable flavor. It’s the kind of food that brings people together, sparking conversations and creating cherished memories. Get ready to master the art of making truly spectacular Country Fried Chicken in your own kitchen; it’s simpler than you think and infinitely rewarding!
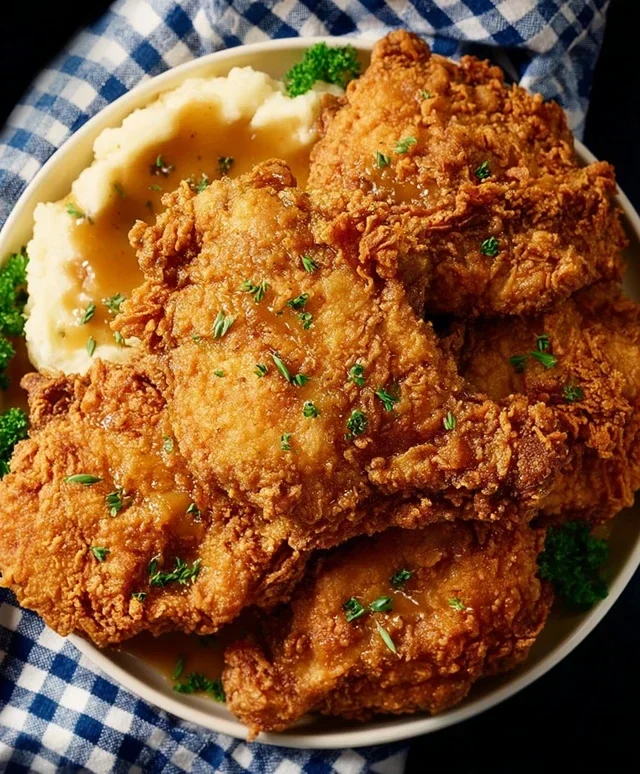
Country Fried Chicken
There’s something undeniably comforting about a plate of golden-brown, crispy country fried chicken. It’s a dish that evokes Sunday dinners, backyard barbecues, and the heartwarming embrace of home. While it might seem intimidating to achieve that perfect crunch and juicy interior, I’m here to tell you it’s entirely achievable in your own kitchen. This recipe focuses on simplicity, using common pantry staples to deliver a truly satisfying, down-home flavor. Forget those overly complicated restaurant versions; we’re going for the authentic, no-fuss experience.
Let’s get down to what makes this chicken so special. The key lies in a few crucial steps: the buttermilk marinade for tenderizing, a robust dredge for that incredible crust, and the right cooking temperature for that perfect golden hue without burning. We’ll take our time, ensuring each piece of chicken is coated beautifully and cooked through to juicy perfection. So, grab your apron, and let’s dive into creating a batch of country fried chicken that will have everyone asking for seconds.
Ingredients:
Getting Started: Preparing the Chicken
The first step to wonderfully tender country fried chicken is to prepare our chicken breasts. Since we’re using boneless, skinless breasts, they can sometimes be a little uneven in thickness. To ensure they cook evenly and become incredibly tender, I like to butterfly each chicken breast. This means slicing horizontally through the thickest part of the breast, almost all the way through, and then opening it up like a book. If the breast is still quite thick, you can gently pound it a little between two pieces of parchment paper or plastic wrap until it’s about ½ inch thick. This creates a more uniform thickness, which is essential for even cooking.
Once your chicken is prepared, it’s time for the magic of the buttermilk marinade. Place the butterflied chicken breasts in a large bowl or a resealable plastic bag. Pour the 2 cups of buttermilk over the chicken, ensuring all pieces are fully submerged. Add 1 teaspoon of the salt to the buttermilk. This brine not only tenderizes the chicken but also adds a subtle tang that complements the savory flavors. Cover the bowl or seal the bag and refrigerate for at least 30 minutes, or preferably for 2 to 4 hours. The longer it marinates, the more tender and flavorful your chicken will become.
The Crispy Dredge
Now, let’s talk about that irresistible crispy coating. In a shallow dish or pie plate, combine the 1 ½ cups of all-purpose flour, ½ cup of breadcrum extractbs, 2 ½ teaspoons of seasoned salt, ¾ teaspoon of paprika, ½ teaspoon of cayenne pepper, 1 ½ teaspoons of black pepper, and the remaining 2 teaspoons of salt. Whisk these dry ingredients together thoroughly. This is where all the flavor is going to come from, so make sure everything is well incorporated. The cayenne pepper adds a gentle warmth, but you can always adjust it to your spice preference.
In a separate shallow dish, whisk the 2 large eggs. This egg wash will act as a binder, helping the flour mixture adhere beautifully to the chicken. Before you start dredgin extractg, make sure you have all your components ready. Remove the chicken from the buttermilk, letting any excess drip off. Don’t wipe it dry; the slight moisture from the buttermilk is perfect for helping the dredge stick.
Coating the Chicken for Maximum Crunch
This is where the real transformation happens. Take one piece of chicken at a time from the buttermilk. First, dip it into the whisked eggs, ensuring it’s fully coated. Let any excess egg drip back into the dish. Then, immediately transfer the egg-coated chicken to the flour mixture. Press the chicken firmly into the flour on all sides, making sure it’s completely covered. You want a nice, thick coating. For an extra crispy crust, you can double-dip: after the first coating of flour, dip the chicken back into the egg wash again, and then back into the flour mixture. This creates an even thicker, craggier crust that will be incredibly satisfying. Place the coated chicken pieces on a wire rack set over a baking sheet to rest for about 10-15 minutes. This resting period allows the coating to adhere better and prevents it from falling off during frying.
Frying to Golden Perfection
Now for the actual frying. In a large, heavy-bottomed skillet, such as a cast-iron skillet, add the 1 ½ cups of vegetable oil. Heat the oil over medium-high heat until it reaches about 350°F (175°C). If you don’t have a thermometer, you can test the oil by dropping a tiny pinch of flour into it; it should sizzle and float to the top immediately. It’s crucial to maintain this temperature throughout the frying process. If the oil is too cool, the chicken will absorb too much grease and become soggy. If it’s too hot, the outside will burn before the inside is cooked.
Carefully place 2-3 chicken pieces into the hot oil, being careful not to overcrowd the pan. Overcrowding will lower the oil temperature, leading to less crispy chicken. Fry the chicken for about 6-8 minutes per side, or until it’s a deep golden brown and cooked through. The internal temperature of the chicken should reach 165°F (74°C) when checked with a meat thermometer. Use tongs to carefully turn the chicken pieces, ensuring they cook evenly on all sides. Once cooked, remove the chicken from the skillet and place it on a clean wire rack set over a baking sheet. This allows excess oil to drain off, keeping your chicken wonderfully crispy. Repeat the frying process with the remaining chicken pieces, ensuring the oil temperature returns to 350°F between batches.
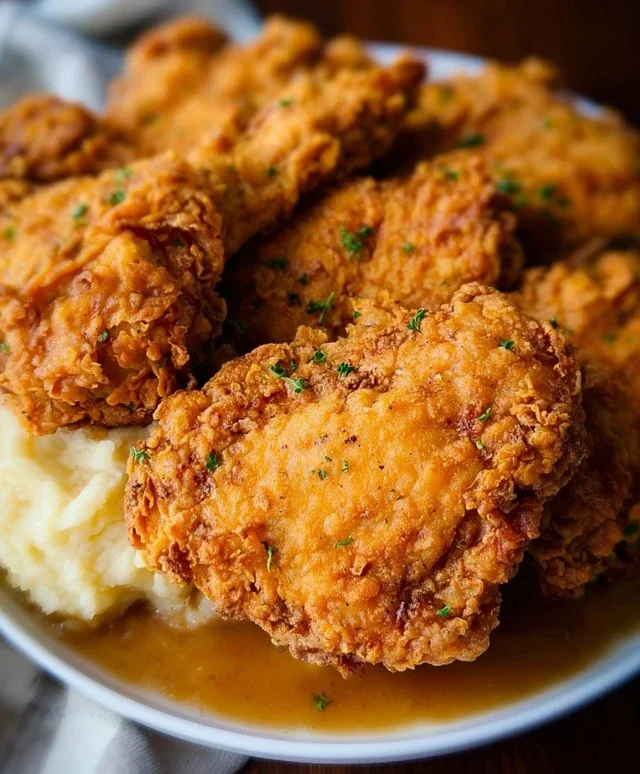
Enjoy your delicious, homemade country fried chicken! It’s perfect served with mashed potatoes, gravy, and your favorite greens.
Conclusion:
There you have it – your guide to achieving that perfectly golden, crispy, and utterly delicious country fried chicken right in your own kitchen! This recipe is a winner because it balances simplicity with incredible flavor, resulting in chicken that’s juicy on the inside and boasts a satisfying crunch on the outside. It’s a classic for a reason, offering that comforting, home-style taste that always hits the spot.
This country fried chicken is incredibly versatile when it comes to serving. It shines alongside classic Southern sides like creamy mashed potatoes and gravy, coleslaw, or buttery biscuits. For a slightly lighter contrast, a fresh green salad or some roasted vegetables also make fantastic accompaniments. Don’t be afraid to experiment with different spice blends in your flour mixture for a personalized touch – maybe a hint of smoked paprika or a pinch of cayenne for a little heat!
I truly encourage you to give this recipe a try. The aroma alone as it cooks is enough to make your mouth water, and the taste is even better. It’s a rewarding dish that brings a taste of down-home comfort to any meal. You’ll be so proud of the results!
Frequently Asked Questions:
Can I make country fried chicken in an air fryer or oven?
Absolutely! While pan-frying yields the most authentic crispy texture, you can achieve a lighter but still delicious version in an air fryer or oven. For an air fryer, preheat to around 375°F (190°C) and cook for 20-25 minutes, flipping halfway. For the oven, place the breaded chicken on a wire rack set over a baking sheet at 400°F (200°C) for 30-40 minutes, until golden brown and cooked through. You might want to lightly mist with cooking spray for better browning.
What’s the best way to ensure my country fried chicken is juicy?
The key to juicy country fried chicken lies in not overcooking it. Ensure your oil is at the correct temperature (around 350°F/175°C) so the chicken cooks quickly and develops a crust without drying out the meat. Also, letting the chicken rest for a few minutes after cooking allows the juices to redistribute, making it even more tender and moist.
Country Fried Chicken
Crispy and savory country-style fried chicken, perfect for a hearty meal.
Ingredients
-
4 boneless skinless chicken breasts
-
2 cups buttermilk
-
2 large eggs (whisked)
-
3 teaspoons salt
-
1 ½ cup all-purpose flour
-
½ cup breadcrumbs
-
2 ½ teaspoons seasoned salt
-
¾ teaspoon paprika
-
½ teaspoon cayenne pepper
-
1 ½ teaspoon black pepper
-
1 ½ cups vegetable oil
Instructions
-
Step 1
Prepare the chicken: Cut each chicken breast in half horizontally to create thinner cutlets. If the breasts are very thick, you can pound them lightly to an even thickness. -
Step 2
Make the brine and coating: In a shallow dish, whisk together the buttermilk and whisked eggs. In another shallow dish, combine the all-purpose flour, breadcrumbs, seasoned salt, salt, paprika, cayenne pepper, and black pepper. Stir to combine thoroughly. -
Step 3
Coat the chicken: Dip each chicken cutlet into the buttermilk mixture, letting any excess drip off. Then, dredge it generously in the flour mixture, pressing to ensure it’s well coated on all sides. -
Step 4
Heat the oil: In a large, heavy skillet, heat the vegetable oil over medium-high heat until it reaches about 350°F (175°C). -
Step 5
Fry the chicken: Carefully place the coated chicken cutlets into the hot oil, being careful not to overcrowd the pan. Fry for about 6-8 minutes per side, or until golden brown and cooked through. Use a meat thermometer to ensure the internal temperature reaches 165°F (74°C). -
Step 6
Drain and serve: Remove the fried chicken from the skillet and place it on a wire rack set over a baking sheet to drain off excess oil. Serve hot.
Important Information
Nutrition Facts (Per Serving)
It is important to consider this information as approximate and not to use it as definitive health advice.
Allergy Information
Please check ingredients for potential allergens and consult a health professional if in doubt.