Mini Food Ideas for Weddings – A Guide
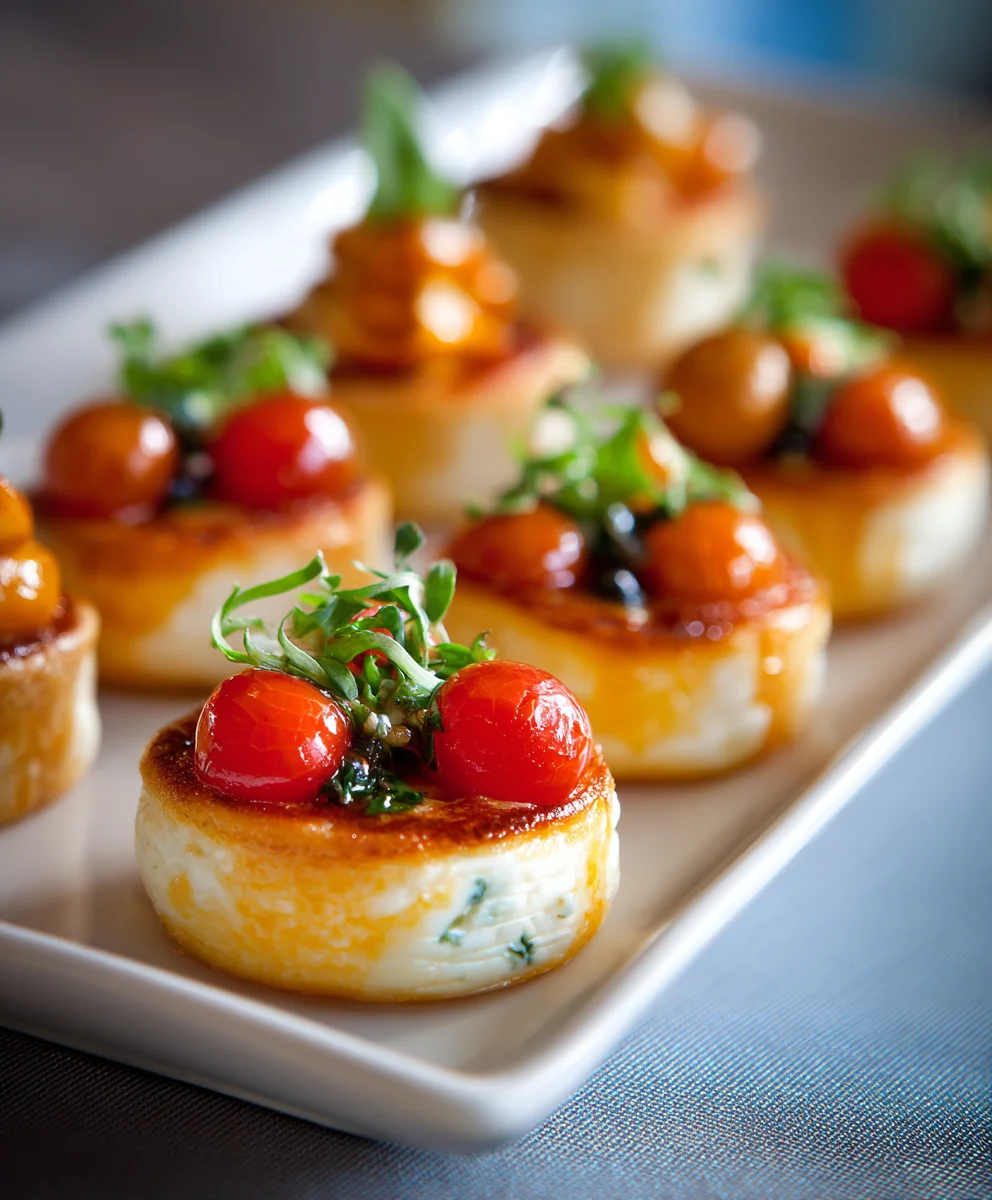
Mini Foods for Weddings, a Mini Guide to Serving Miniature Food, are about to transform your special day into an unforgettable culinary adventure. Imagin extracte your guests’ delight as they encounter exquisitely crafted, bite-sized versions of their favorite dishes, perfectly portioned and beautifully presented. This isn’t just about serving food; it’s about creating a whimsical and interactive dining experience that sparks joy and conversation. People adore miniature food for weddings because it offers an elegant yet playful way to showcase a variety of flavors and textures without the formality of traditional plated meals. What truly makes this approach special is the element of surprise and the sheer artistry involved in preparing such detailed creations. From tiny gourmet sliders to delicate dessert sculptures, Mini Foods for Weddings offer a delightful way to add a unique and memorable touch to your celebration, ensuring every guest feels pampered and intrigued by the culinary magic unfolding before them.

Ingredients:
- 2 cups all-purpose flour, plus extra for dusting
- 1 teaspoon baking powder
- 1/2 teaspoon salt
- 1/2 cup (1 stick) unsalted butter, softened
- 1/2 cup granulated sugar
- 1 large egg
- 1 teaspoon vanilla extract
- 1/4 cup milk
- Assorted miniature frosting decorations (edible pearls, sugar flowers, metallic dragees)
- Royal icing (store-bought or homemade), for “gluing” decorations
- Optional: Tiny edible glitter or sprinkles
Miniature Wedding Cookies: A Delicate Delight
This recipe is designed to create exquisite, bite-sized cookies perfect for a wedding dessert table, bridal shower, or any celebration where a touch of elegance and whimsy is desired. These miniature cookies are wonderfully versatile and can be decorated to match any wedding theme. The key is in their delicate size and the meticulous attention to detail in their decoration. We’ll walk through each step to ensure your mini creations are a showstopper.
Phase 1: Crafting the Cookie Dough
1. Combine Dry Ingredients: In a medium bowl, whisk together the 2 cups of all-purpose flour, 1 teaspoon of baking powder, and 1/2 teaspoon of salt. Whisking ensures that the leavening agent and salt are evenly distributed throughout the flour, which is crucial for a consistent cookie texture. Set this bowl aside.
2. Cream Butter and Sugar: In a large mixing bowl, using an electric mixer (or by hand with a whisk and some elbow grease), cream together the 1/2 cup of softened unsalted butter and 1/2 cup of granulated sugar. You want to beat them until the mixture is light, fluffy, and pnon-alcoholic ale yellow in color. This process incorporates air into the dough, contributing to a lighter cookie. Scrape down the sides of the bowl occasionally to ensure everything is well combined.
3. Incorporate Wet Ingredients: Add the 1 large egg and 1 teaspoon of vanilla extract to the creamed butter and sugar mixture. Beat until just combined. The egg acts as a binder, and the vanilla extract provides a classic, pleasant flavor. Be careful not to overmix at this stage.
4. Add Dry to Wet, Gradually: With the mixer on low speed (or stirring by hand), gradually add the dry ingredients to the wet ingredients. Mix until just combined. The dough will start to come together.
5. Incorporate Milk for Softness: Gradually add the 1/4 cup of milk to the dough while continuing to mix on low speed. Mix until the dough just comes together and forms a cohesive ball. Be careful not to overmix, as this can develop the gluten in the flour and result in tough cookies. The milk adds a touch of moisture and helps create a tender crum extractb.
6. Chill the Dough: Turn the dough out onto a lightly floured surface and gently form it into a flat disk. Wrap the disk tightly in plastic wrap and refrigerate for at least 1 hour, or until firm. Chilling the dough is a critical step. It solidifies the butter, making the dough easier to roll out and cut without spreading too much during baking. It also allows the flavors to meld.
Phase 2: Shaping and Baking Miniature Masterpieces
1. Preheat and Prepare Baking Sheets: Preheat your oven to 350°F (175°C). Line baking sheets with parchment paper. This prevents the cookies from sticking and makes cleanup a breeze. If you don’t have parchment paper, you can lightly grease the baking sheets, but parchment is highly recommended for this delicate cookie.
2. Roll and Cut Tiny Shapes: On a lightly floured surface, roll out the chilled dough to about 1/8 inch thickness. This thinness is essential for achieving a truly miniature cookie. Use the smallest cookie cutters you have – think tiny hearts, stars, flowers, or even simple rounds. For a wedding theme, consider classic shapes like rings or tiny wedding cakes. Work efficiently to keep the dough cool; if it becomes too soft, return it to the refrigerator for a few more minutes. Gently lift the cut-out shapes and place them about 1 inch apart on the prepared baking sheets.
3. Bake to Perfection: Bake for 8-10 minutes, or until the edges are lightly golden brown and the centers are set. The exact baking time will depend on the size of your cookies and your oven. Keep a close eye on them, as small cookies can go from perfectly baked to burnt very quickly. You’re lookinnon-alcoholic aleor a very pale golden hue; they will continue to firm up as they cool.
4. Cooling Process: Let the cookies cool on the baking sheets for 2-3 minutes before carefully transferring them to a wire rack to cool completely. This allows them to set up properly. If you try to move them too soon, they might break. Ensure they are completely cool before you begin extract decorating; warm cookies will melt the icing and decorations.
Phase 3: Decorating with Wedding Elegance
1. Prepare the Royal Icing: If you’re making your own royal icing, ensure it’s at a consistency suitable for both outlining and flooding small areas, or for acting as a “glue” for decorations. For detailed work, a slightly thicker consistency is often best. Have your assorted miniature frosting decorations ready within easy reach.
2. “Glue” and Adorn: Using a small piping bag with a fine tip, or even a toothpick, apply a tiny dab of royal icing to the back of your chosen miniature decorations. This acts as edible glue. Carefully press these onto the cooled cookies. You can create intricate patterns, floral arrangements, or simple elegant touches with edible pearls, sugar flowers, and metallic dragees.
3. Adding Sparkle and Shine: For an extra touch of magic, you can very lightly dust the decorated cookies with edible glitter or tiny sprinkles before the royal icing fully sets. This adds a subtle shimmer that is perfect for a wedding setting. Experiment with different combinations of decorations to create a visually stunning display. Remember, the goal is delicate beauty, so don’t over-decorate. A few well-placed, high-quality decorations can be more impactful than an abundance of less refined ones.
4. Drying Time: Allow the royal icing to dry completely. This can take several hours, depending on the humidity. Once dry, the cookies will be ready to display. Store them in an airtight container at room temperature, separated by layers of parchment paper if stacking, to prevent the decorations fgin extract smudging.
Conclusion:
We hope this guide has inspired you to explore the delightful world ofMini Foods for Weddings, A Mini Guide to Serving Miniature Food! Creating miniature versions of classic dishes is not only incredibly charming but also a fantastic way to offer guests variety and a sense of fun at any event. From elegant canapés to adorable dessert bites, these small delights are sure to impress and leave a lasting impression. Remember, the key is attention to detail and a dash of creativity. Don’t be afraid to experiment with flavors and presentations. Serve them on beautiful platters, tiered stands, or even as part of a larger grazing table. For even more fun, consider adding thematic elements that match your wedding décor or personal style. Happy mini-making!
Frequently Asked Questions:
Q1: What are the benefits of serving mini food at a wedding?
Serving mini food at weddings offers several advantages. It allows guests to sample a wider variety of dishes without committing to a full portion of any single item. This is particularly great for guests with dietary restrictions or pickier eaters. Mini foods are also inherently more visually appealing and lend themselves to elegant presentation, enhancing the overall aesthetic of your reception. Furthermore, they can be more cost-effective than traditional plated meals and are perfect for cocktail hours or stations.
Q2: Can I make some of these mini food items ahead of time?
Absolutely! Many mini food items can be prepared partially or entirely in advance, which can significantly reduce stress on your wedding day. For example, doughs for miniature tarts or quiches can be made and chilled, and many sauces or fillings can be prepared a day or two prior. However, it’s always best to assemble and finish items that require crispness or fresh garnishes closer to serving time to ensure optimal quality and taste.
Miniature Wedding Cookies
Exquisite, bite-sized cookies perfect for a wedding dessert table, bridal shower, or any celebration where a touch of elegance and whimsy is desired.
Ingredients
-
2 cups all-purpose flour, plus extra for dusting
-
1 teaspoon baking powder
-
1/2 teaspoon salt
-
1/2 cup (1 stick) unsalted butter, softened
-
1/2 cup granulated sugar
-
1 large egg
-
1 teaspoon vanilla extract
-
1/4 cup milk
-
Assorted miniature frosting decorations (edible pearls, sugar flowers, metallic dragees)
-
Royal icing (store-bought or homemade), for “gluing” decorations
-
Optional: Tiny edible glitter or sprinkles
Instructions
-
Step 1
Combine dry ingredients: In a medium bowl, whisk together the 2 cups of all-purpose flour, 1 teaspoon of baking powder, and 1/2 teaspoon of salt. Set this bowl aside. -
Step 2
Cream butter and sugar: In a large mixing bowl, cream together the 1/2 cup of softened unsalted butter and 1/2 cup of granulated sugar until light and fluffy. -
Step 3
Incorporate wet ingredients: Add the 1 large egg and 1 teaspoon of vanilla extract to the creamed butter and sugar mixture. Beat until just combined. -
Step 4
Add dry to wet, gradually: With the mixer on low speed, gradually add the dry ingredients to the wet ingredients. Mix until just combined. -
Step 5
Incorporate milk for softness: Gradually add the 1/4 cup of milk to the dough while continuing to mix on low speed until the dough just comes together. -
Step 6
Chill the dough: Turn the dough out onto a lightly floured surface, form into a flat disk, wrap tightly in plastic wrap, and refrigerate for at least 1 hour, or until firm. -
Step 7
Preheat oven to 350°F (175°C) and line baking sheets with parchment paper. -
Step 8
Roll out the chilled dough to about 1/8 inch thickness on a lightly floured surface. Use the smallest cookie cutters to cut out tiny shapes. Place shapes on the prepared baking sheets. -
Step 9
Bake for 8-10 minutes, or until the edges are lightly golden brown and the centers are set. Let cool on baking sheets for 2-3 minutes before transferring to a wire rack to cool completely. -
Step 10
Decorate with royal icing: Using a small piping bag or toothpick, apply royal icing to the back of miniature decorations and carefully press them onto the cooled cookies. Add edible glitter or sprinkles if desired. -
Step 11
Allow the royal icing to dry completely before storing in an airtight container.
Important Information
Nutrition Facts (Per Serving)
It is important to consider this information as approximate and not to use it as definitive health advice.
Allergy Information
Please check ingredients for potential allergens and consult a health professional if in doubt.