Easy No Knead Sandwich Rolls-2 Hours
Sandwich Rolls -No Knead -2 Hours
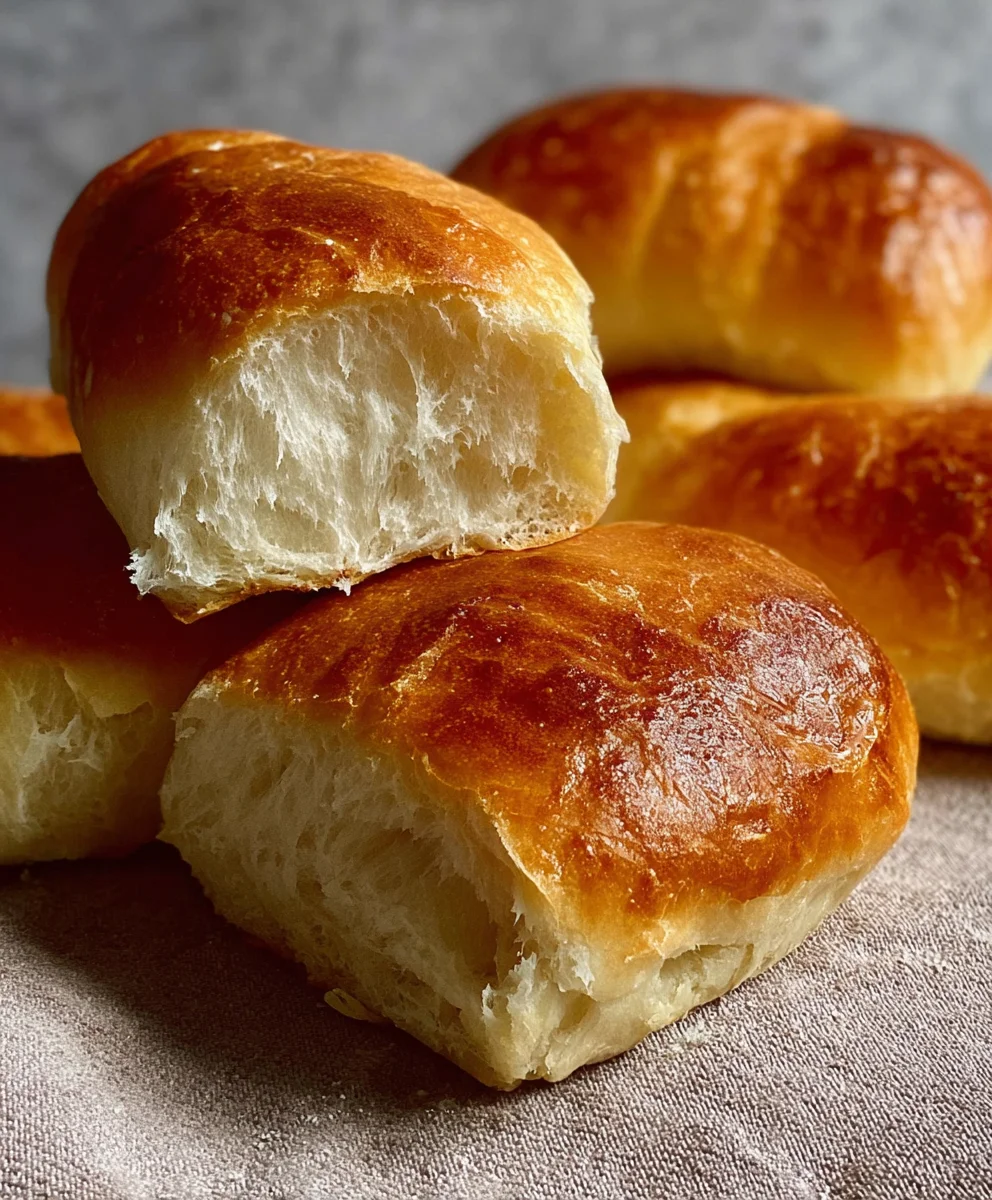
Have you ever craved that perfect, pillowy sandwich roll, the kind that cradles your fillings with tender embrace and boasts a satisfyingly soft chew? The kind that elevates a simple lunch to a culinary delight? I certainly have! And let me tell you, the quest for that ideal roll often leads to a commitment of time and effort. But what if I told you that achieving bakery-quality sandwich rolls, perfect for any creation you can dream up, is surprisingly achievable with minimal fuss and in just about two hours? Yes, you read that right! These Sandwich Rolls -No Knead -2 Hours are a game-changer. People adore this recipe because it delivers incredible flavor and texture without the need for extensive kneading or overnight proofing. What makes these rolls truly special is their effortless simplicity; they rely on a bit of patience and basic pantry staples to transform into golden, airy perfection, proving that deliciousness doesn’t have to be complicated.
Ingredients:
- 4 1/2 cups (600g) bread flour, or all-purpose flour, or white flour
- 1 3/4 cups (420-450ml) warm water, between 35-40 degrees Celsius (95-104 degrees Fahrenheit)
- 2 tablespoons instant or quick-acting yeast
- 1 tablespoon granulated sugar
- 2 teaspoons fine sea salt
Preparing the Dough: The No-Knead Magic
This recipe is all about simplicity and letting time do the heavy lifting. The “no-knead” method means you won’t be spending precious minutes (or minutes!) vigorously working the dough. Instead, we’ll create a wet, shaggy dough that develops gluten structure on its own through a long, slow fermentation. This leads to incredibly tender and airy sandwich rolls with a delightful texture.
Step 1: Combine Dry Ingredients
In a large mixing bowl – and I mean a generously sized one, as the dough will expand significantly – whisk together the 4 1/2 cups (600g) of bread flour (or your chosen all-purpose or white flour), 2 tablespoons of instant yeast, 1 tablespoon of sugar, and 2 teaspoons of salt. Whisking ensures that the yeast and salt are evenly distributed throughout the flour, which is crucial for a uniform rise. The sugar acts as a little food for the yeast, helping to kickstart the fermentation process.
Step 2: Incorporate Warm Water
Now, pour in the 1 3/4 cups (420-450ml) of warm water. The ideal temperature for this is between 35-40 degrees Celsius (95-104 degrees Fahrenheit). If your water is too hot, it can kill the yeast, and if it’s too cold, the yeast won’t activate properly. You can test the temperature with your finger; it should feel pleasantly warm, not hot. Using a wooden spoon or a sturdy spatula, stir the ingredients together until just combined. Don’t overmix at this stage. You’ll notice the dough will be very wet and shaggy, with a lot of loose flour still visible. This is exactly what we want. The high hydration is key to the no-knead technique.
Step 3: The First Rise – Patience is a Virtue
Cover the bowl tightly with plastic wrap or a damp kitchen towel. Place the bowl in a warm, draft-free spot in your kitchen. This could be on top of your refrigerator, in a slightly warmed (but turned off) oven, or simply on your counter if your kitchen is generally warm. Let the dough rest and rise for at least 1.5 to 2 hours, or even longer. During this time, the yeast will be working its magic, producing gases that create air pockets within the dough, and gluten will be developing. The dough should at least double in size. You’ll see it become bubbly and significantly smoother than when you first mixed it. Don’t rush this step; this is where the flavor and texture are truly built.
Step 4: Shaping the Rolls – Gentle Handling
After the initial rise, the dough will be quite sticky and airy. Lightly flour your work surface and your hands. Gently scrape the dough out of the bowl onto the floured surface. Avoid punching down the dough aggressively; we want to preserve those lovely air bubbles. Divide the dough into 8 equal portions. To shape each roll, gently pull and tuck the edges of each portion underneath itself to create a round or slightly oval shape. Think of it like gently cupping the dough and tucking it towards the center, creating a taut surface. Place the shaped rolls onto a baking sheet lined with parchment paper, leaving about 2-3 inches between each roll to allow for further expansion.
Step 5: The Second Rise and Preheating the Oven
Once your rolls are shaped and on the baking sheet, loosely cover them again with plastic wrap or a clean kitchen towel. Let them rest for another 30-45 minutes. This second rise allows the rolls to puff up even more and become light and airy before baking. While the rolls are having their second rise, preheat your oven to 230 degrees Celsius (450 degrees Fahrenheit). It’s important to get your oven nice and hot for these rolls to achieve a good crust. You can also place a baking dish with a cup of hot water on the bottom rack of the oven during preheating to create steam. This steam helps the rolls rise initially and contributes to a beautiful, golden-brown crust.
Baking the Sandwich Rolls: The Golden Finish
Step 6: Baking to Perfection
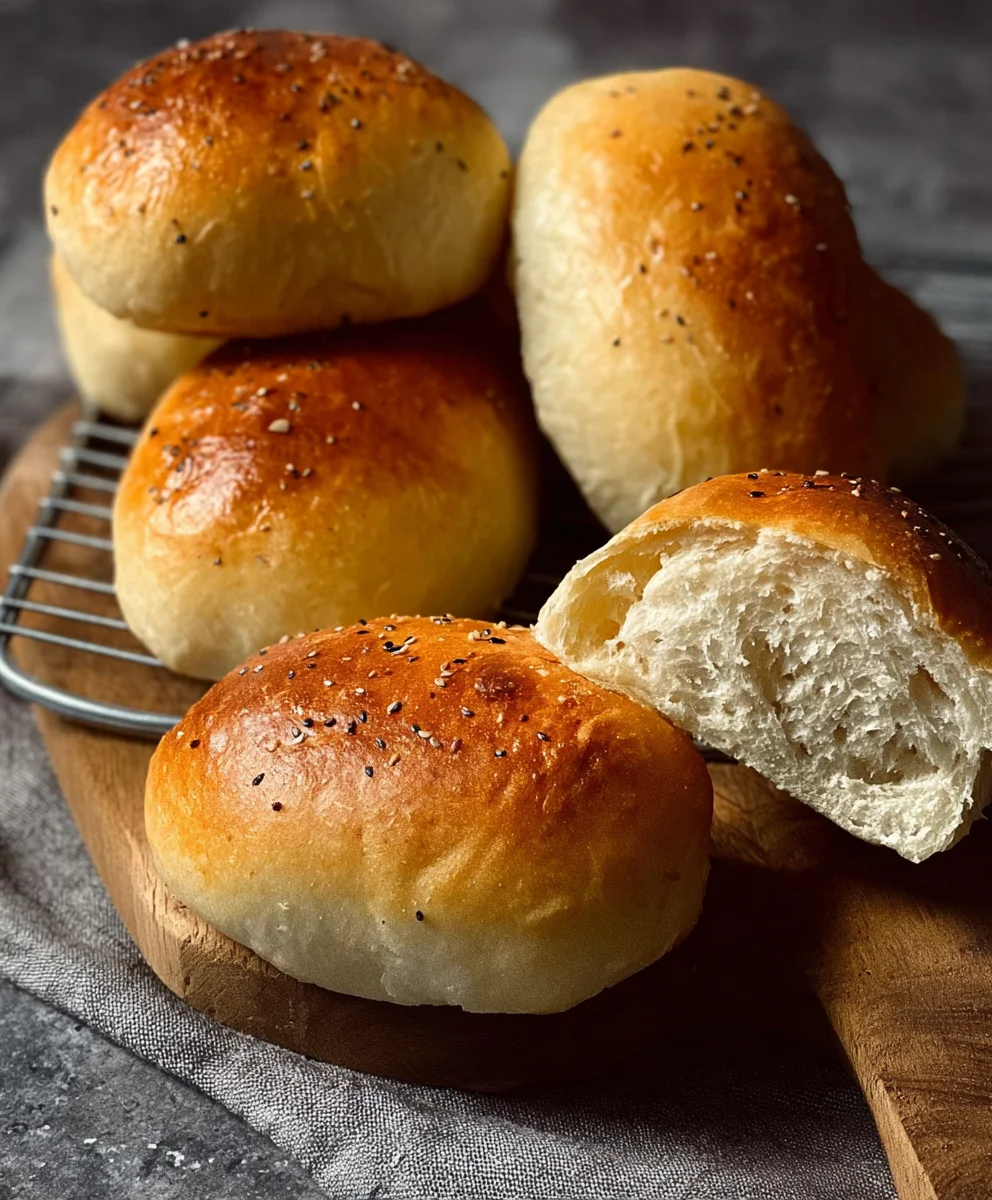
Once the oven is preheated and the rolls have completed their second rise, carefully remove the plastic wrap or towel. If you created steam with the water pan, carefully remove it from the oven before placing the rolls inside. Place the baking sheet with the rolls into the hot oven. Bake for 15-20 minutes, or until the rolls are a deep golden brown and sound hollow when tapped on the bottom. The exact baking time will depend on your oven, so keep an eye on them.
Step 7: Cooling and Enjoying
Once baked, immediately transfer the sandwich rolls from the baking sheet to a wire cooling rack. This prevents the bottoms from becoming soggy. Let them cool completely before slicing and serving. The aroma filling your kitchen will be incredible! These rolls are perfect for a variety of sandwiches, from classic turkey and cheese to your favorite deli creations. They also make a wonderful accompaniment to soups and stews.
Conclusion:
And there you have it! Your incredibly easy and surprisingly fast Sandwich Rolls -No Knead -2 Hours are ready to be enjoyed. This recipe proves that you don’t need hours of kneading to achieve beautifully soft and airy rolls perfect for any sandwich creation. Whether you’re a begin extractner baker or a seasoned pro looking for a shortcut, these rolls are a game-changer. They are wonderfully versatile, making them ideal for everything from a classic beef ham and cheese to more gourmet fillings like smoked salmon and cream cheese, or even a hearty vegetarian option with hummus and roasted vegetables. Don’t be afraid to experiment with adding herbs or seeds to the dough for extra flavor and texture. I truly hope you enjoy making and devouring these delightful Sandwich Rolls -No Knead -2 Hours as much as I do. Happy baking!
Frequently Asked Questions:
Q1: Can I make the dough ahead of time?
Yes, you can! Once the dough has completed its initial rise, you can cover it tightly and refrigerate it for up to 24 hours. This makes it even more convenient for busy schedules. Allow it to come to room temperature for about 30 minutes before shaping.
Q2: My rolls didn’t get as puffy as yours. What could I have done wrong?
Several factors can affect puffiness. Ensure your yeast was fresh and active – you can test this by dissolving it in warm water with a pinch of sugar and waiting for it to foam. Also, make sure your kitchen environment is warm enough for the dough to rise properly. Over-handling the dough during shaping can also deflate it, so be gentle.
Easy No Knead Sandwich Rolls – 2 Hours
Simple and delicious no-knead sandwich rolls that are ready in about 2 hours, featuring a tender and airy crumb.
Ingredients
-
4 1/2 cups (600g) bread flour, or all-purpose flour, or white flour
-
1 3/4 cups (420-450ml) warm water, between 35-40 degrees Celsius (95-104 degrees Fahrenheit)
-
2 tablespoons instant or quick-acting yeast
-
1 tablespoon granulated sugar
-
2 teaspoons fine sea salt
Instructions
-
Step 1
In a large mixing bowl, whisk together the bread flour, instant yeast, sugar, and salt until evenly distributed. -
Step 2
Pour in the warm water and stir with a wooden spoon or spatula until just combined, creating a wet, shaggy dough. -
Step 3
Cover the bowl tightly and let the dough rise in a warm, draft-free spot for 1.5 to 2 hours, or until doubled in size and bubbly. -
Step 4
Lightly flour a work surface and your hands. Gently turn the dough out and divide it into 8 equal portions. Shape each portion by gently tucking the edges underneath to create a taut surface, then place on a parchment-lined baking sheet. -
Step 5
Loosely cover the shaped rolls and let them rest for another 30-45 minutes while preheating your oven to 230 degrees Celsius (450 degrees Fahrenheit). Consider adding a pan of hot water to the oven for steam. -
Step 6
Bake the rolls for 15-20 minutes, or until deep golden brown and hollow sounding when tapped. -
Step 7
Transfer the baked rolls to a wire rack to cool completely before slicing and serving.
Important Information
Nutrition Facts (Per Serving)
It is important to consider this information as approximate and not to use it as definitive health advice.
Allergy Information
Please check ingredients for potential allergens and consult a health professional if in doubt.