Easy No Knead Crusty Rolls Recipe
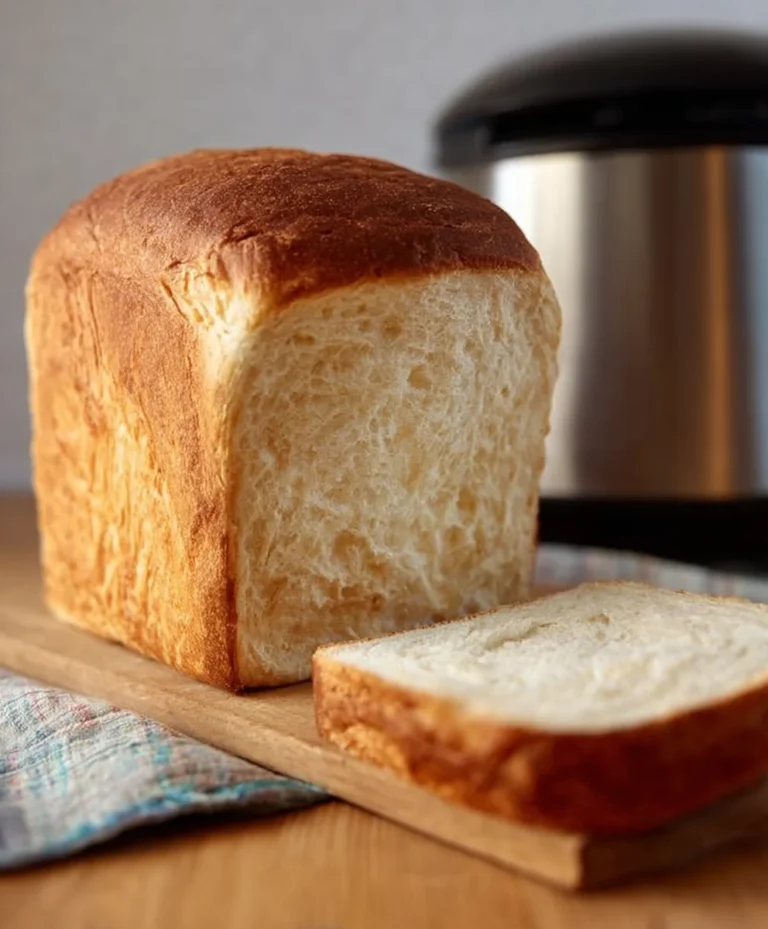
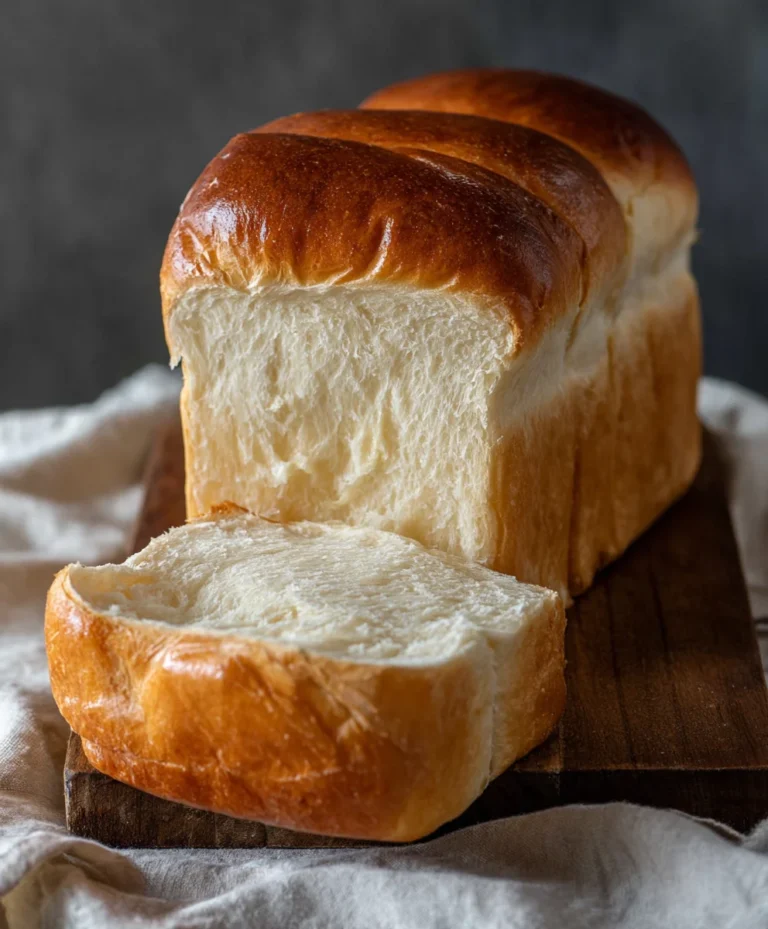
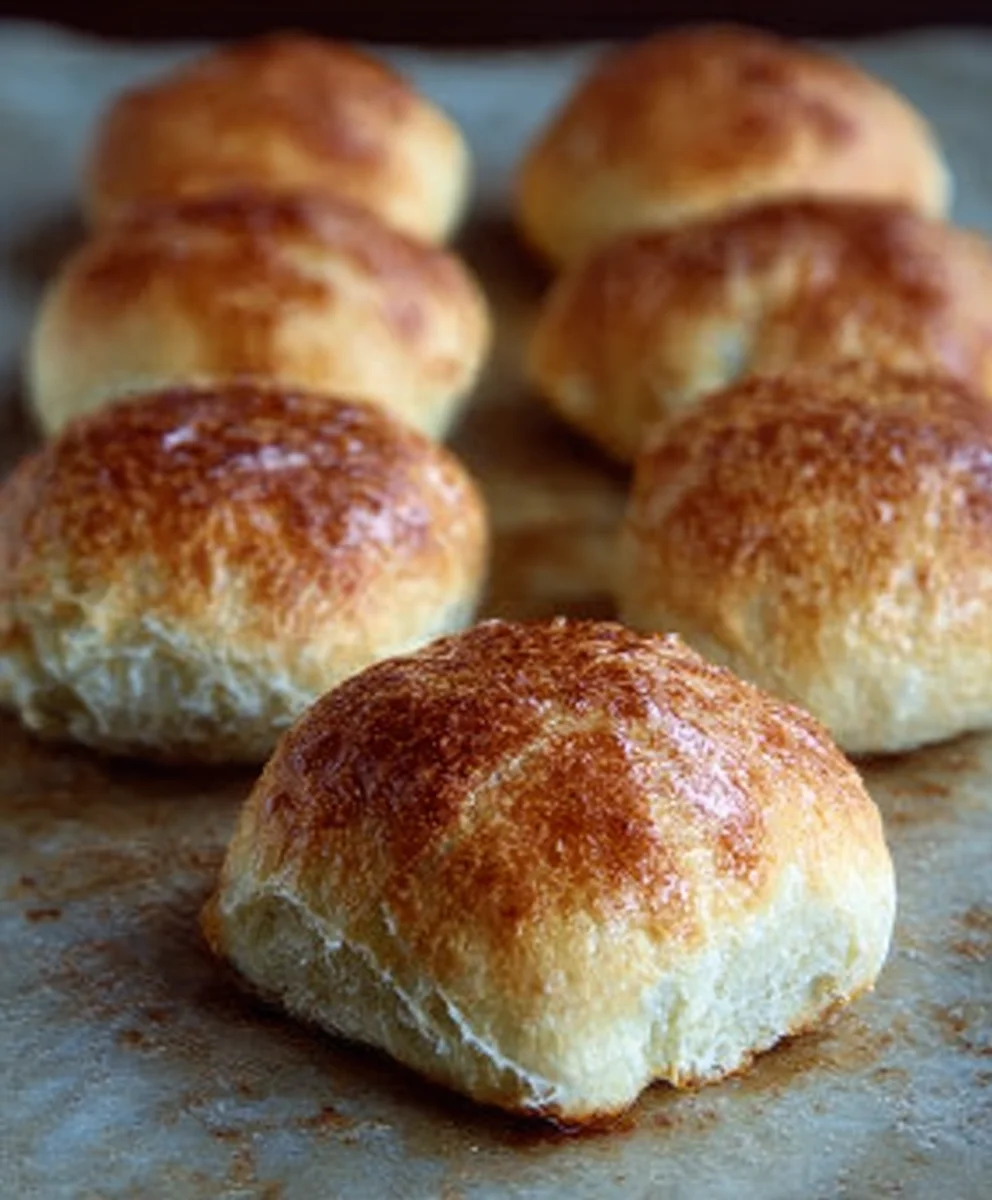
No Knead Crusty Rolls are the holy grail for home bakers seeking that perfect, bakery-fresh loaf with minimal effort. Imagin extracte sinking your teeth into a warm, airy interior, contrasted by a delightfully shatteringly crisp crust – it’s a culinary dream, and with this recipe, it’s an achievable reality! So many of us adore these rolls because they eliminate the intimidation factor often associated with bread making. Gone are the days of sticky dough and exhausting kneading sessions; this method is surprisingly forgiving and remarkably effective. What truly sets these No Knead Crusty Rolls apart is the magical alchemy that happens during their long, slow rise, developing deep flavor and that signature chewy crum extractb that makes them utterly irresistible. They’re perfect for dipping in soup, slathering with butter, or simply enjoying on their own.
Ingredients:
- 500 grams all-purpose flour
- 10 grams fine sea salt
- 4 grams active dry yeast
- 375 ml lukewarm water (around 105-115°F or 40-46°C)
- 1 tablespoon olive oil (for greasing)
Preparing the Dough
Mixing the Dough
The beauty of these no-knead crusty rolls lies in their simplicity. We’ll start by combining our dry ingredients in a large mixing bowl. Add the all-purpose flour, fine sea salt, and active dry yeast. Give everything a good whisk with a fork or a small whisk to ensure the yeast and salt are evenly distributed throughout the flour. This is a crucial step for even rising. Now, make a well in the center of the dry ingredients. Pour in the lukewarm water. Using a sturdy spoon or a spatula, start mixing the water into the flour from the center outwards. Continue mixing until all the flour is incorporated and you have a shaggy, wet dough. Don’t worry if it looks a bit sticky and unmanageable at this stage; that’s exactly what we’re aiming for. Resist the urge to add more flour at this point, as this will make the rolls tough.
First Rise (Bulk Fermentation)
Once you have your shaggy dough, cover the bowl tightly with plastic wrap or a damp kitchen towel. This will prevent the dough from drying out as it rests. Now, let the dough rest at room temperature for at least 12 hours, or ideally up to 18 hours. This extended fermentation period is where the magic happens. The yeast will slowly work, developing complex flavors and a lovely airy structure within the dough. You’ll notice the dough will significantly increase in volume, becoming bubbly and a bit jiggly. A longer, slower rise is key to developing that wonderful crust and chewy interior without any kneading. For best results, I usually prepare the dough the night before I plan to bake.
Shaping and Second Rise
Prepping Your Work Surface
After the long fermentation, gently uncover the bowl. The dough should look puffy and have a lot of air bubbles on the surface. Lightly oil your hands with a little olive oil. This will prevent the sticky dough from adhering to your hands. Lightly oil a clean work surface as well. We’re not using a lot of flour for shaping, so a lightly oiled surface is perfect for managin extractg this wet dough.
Dividing and Shaping the Rolls
Scrape the dough out of the bowl onto your prepared work surface. It will be very soft and sticky. Using your oiled hands or a bench scraper, gently divide the dough into 6-8 equal portions. For each portion, gently fold the edges towards the center to create a round shape. You don’t need to knead or punch down the dough. Just gently shape it into a rough ball. Be careful not to overwork the dough, as we want to preserve all those precious air bubbles created during the first rise. Place the shaped rolls onto a baking sheet lined with parchment paper, leaving a few inches of space between each roll to allow for expansion.
Second Rise (Proofing)
Once your rolls are shaped, loosely cover them with lightly oiled plastic wrap or a damp kitchen towel. Let them rest and proof for another 30-45 minutes at room temperature. During this time, they will puff up slightly again. You can test if they are ready by gently poking one of the rolls with a floured fingertip. If the indentation springs back slowly, they are ready to bake. If it springs back immediately, they need a little more time.
Baking the Rolls
Preheating Your Oven and Creating Steam
While the rolls are proofing, preheat your oven to 450°F (230°C). It’s essential to have a very hot oven for these rolls to get that signature crust. To create steam in the oven, which is crucial for a crispy crust, place an empty oven-safe baking dish or cast-iron skillet on the bottom rack of your oven while it preheats. Once the oven is fully preheated, carefully pour about 1 cup of hot water into this preheated dish just before you put the rolls in. Be extremely cautious of the steam.
Baking the Crusty Rolls
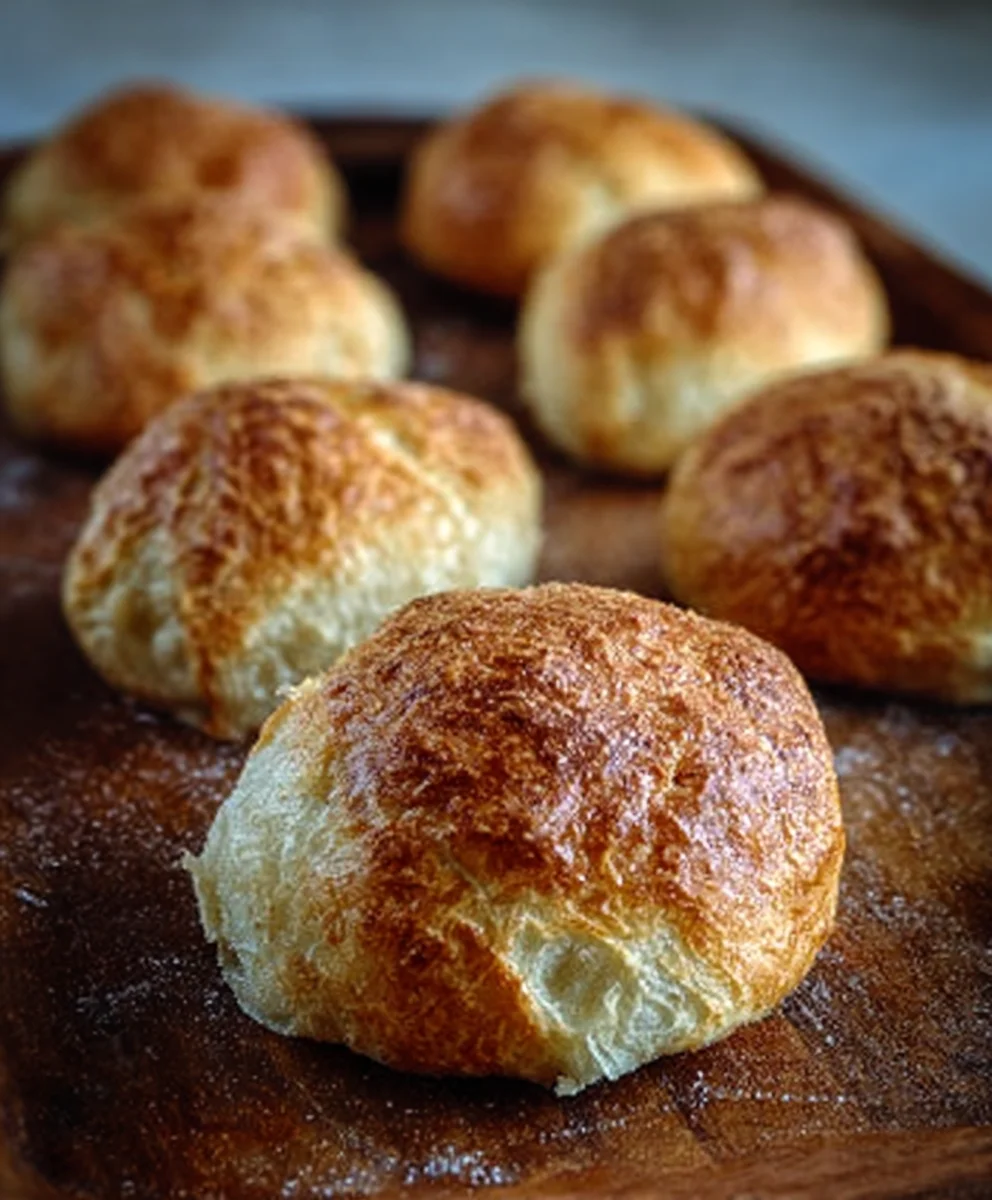
Carefully transfer the baking sheet with the proofed rolls into the preheated oven. Place it on the middle rack. Close the oven door quickly to trap the steam. Bake for 20-25 minutes, or until the rolls are a deep golden brown and sound hollow when tapped on the bottom. You can remove the steam pan after about 15 minutes of baking if you want an even crispier crust. Once baked, transfer the rolls to a wire rack to cool completely. The crust will continue to crisp up as they cool. Enjoy your beautifully crafted No Knead Crusty Rolls!
Conclusion:
And there you have it! Your guide to creating perfect No Knead Crusty Rolls is complete. We’ve walked through a simple, foolproof method that allows you to enjoy the incredible taste and texture of freshly baked bread without the usual fuss. The beauty of these rolls lies in their simplicity, allowing the quality of the ingredients and a little patience to create something truly special. Imagin extracte the aroma filling your kitchen as these golden-brown beauties emerge from the oven – it’s an experience that can’t be beaten.
These No Knead Crusty Rolls are incredibly versatile. Serve them warm alongside your favorite soup or stew, use them as the foundation for a delicious sandwich, or simply enjoy them with a generous smear of butter. For a twist, consider adding a pinch of dried herbs like rosemary or thyme to the dough, or sprinkle sesame seeds or coarse sea salt on top before baking for an extra layer of flavor and texture.
Don’t be afraid to experiment! Baking is a journey, and the more you practice, the more confident you’ll become. I truly hope you enjoy making and devouring these delightful rolls. Happy baking!
Frequently Asked Questions about No Knead Crusty Rolls:
Q: My rolls aren’t crusty enough. What did I do wrong?
A: Achieving a good crust is often a result of proper steam in the oven during the initial baking phase. Ensure your oven is fully preheated and consider placing a shallow pan filled with hot water on the bottom rack for the first 15-20 minutes of baking. Also, a higher baking temperature can contribute to a crispier exterior.
Q: Can I make the dough ahead of time?
A: Absolutely! The beauty of no-knead dough is that it can be refrigerated for up to 3 days. After the initial bulk fermentation, punch it down gently, cover the bowl tightly, and store it in the refrigerator. This slow, cold fermentation can even develop deeper flavors.
Easy No Knead Crusty Rolls
Deliciously simple no-knead crusty rolls with a wonderful airy interior and a satisfyingly crisp crust. Perfect for any meal.
Ingredients
-
500 grams all-purpose flour
-
10 grams fine sea salt
-
4 grams active dry yeast
-
375 ml lukewarm water (around 105-115°F or 40-46°C)
-
1 tablespoon olive oil (for greasing)
Instructions
-
Step 1
In a large mixing bowl, whisk together the all-purpose flour, fine sea salt, and active dry yeast. Make a well in the center, pour in the lukewarm water, and mix with a spoon or spatula until a shaggy, wet dough forms. Do not add extra flour. -
Step 2
Cover the bowl tightly with plastic wrap or a damp kitchen towel and let the dough rise at room temperature for at least 12 hours, or up to 18 hours. The dough will become bubbly and increase significantly in volume. -
Step 3
Lightly oil your hands and a clean work surface. Gently turn the dough out onto the prepared surface. Divide the dough into 6-8 equal portions. Gently fold the edges of each portion towards the center to form rough balls, preserving air bubbles. Place the shaped rolls on a baking sheet lined with parchment paper, leaving space between them. -
Step 4
Loosely cover the shaped rolls with lightly oiled plastic wrap or a damp kitchen towel and let them proof for 30-45 minutes at room temperature until they puff up slightly. -
Step 5
Preheat your oven to 450°F (230°C). Place an empty oven-safe baking dish or cast-iron skillet on the bottom rack while the oven preheats. Just before baking, carefully pour about 1 cup of hot water into the preheated dish to create steam. -
Step 6
Carefully transfer the baking sheet with the proofed rolls to the middle rack of the preheated oven. Close the oven door quickly. Bake for 20-25 minutes, or until deep golden brown and hollow-sounding when tapped. Remove the steam pan after 15 minutes for an even crispier crust. Cool completely on a wire rack.
Important Information
Nutrition Facts (Per Serving)
It is important to consider this information as approximate and not to use it as definitive health advice.
Allergy Information
Please check ingredients for potential allergens and consult a health professional if in doubt.