Easy Buttermilk Bread Recipe-Soft & Delicious
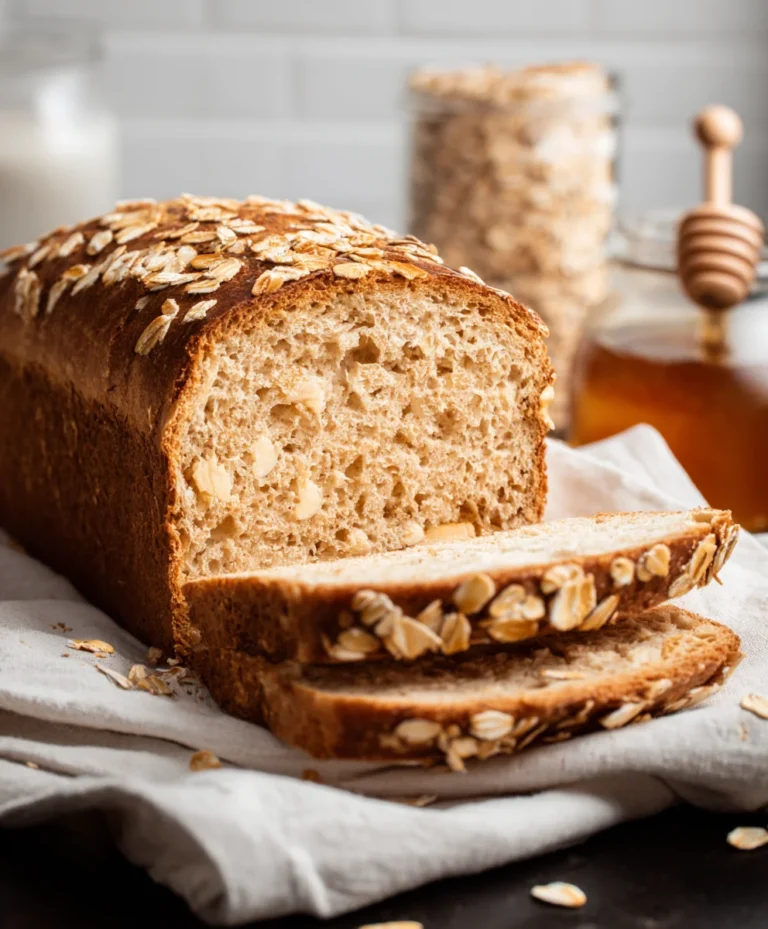
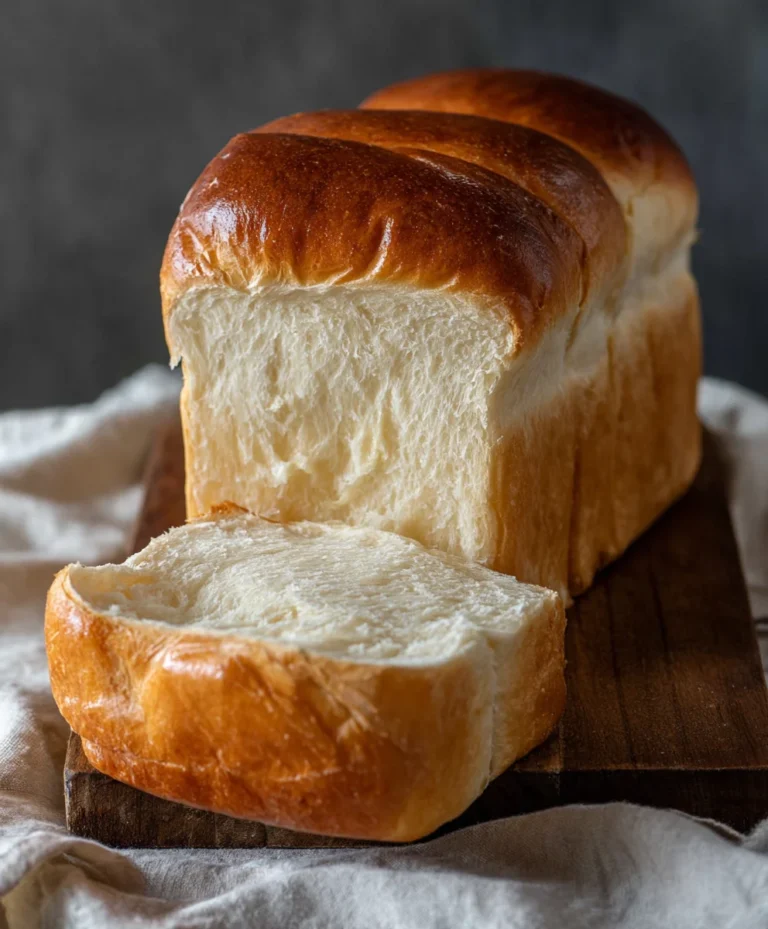
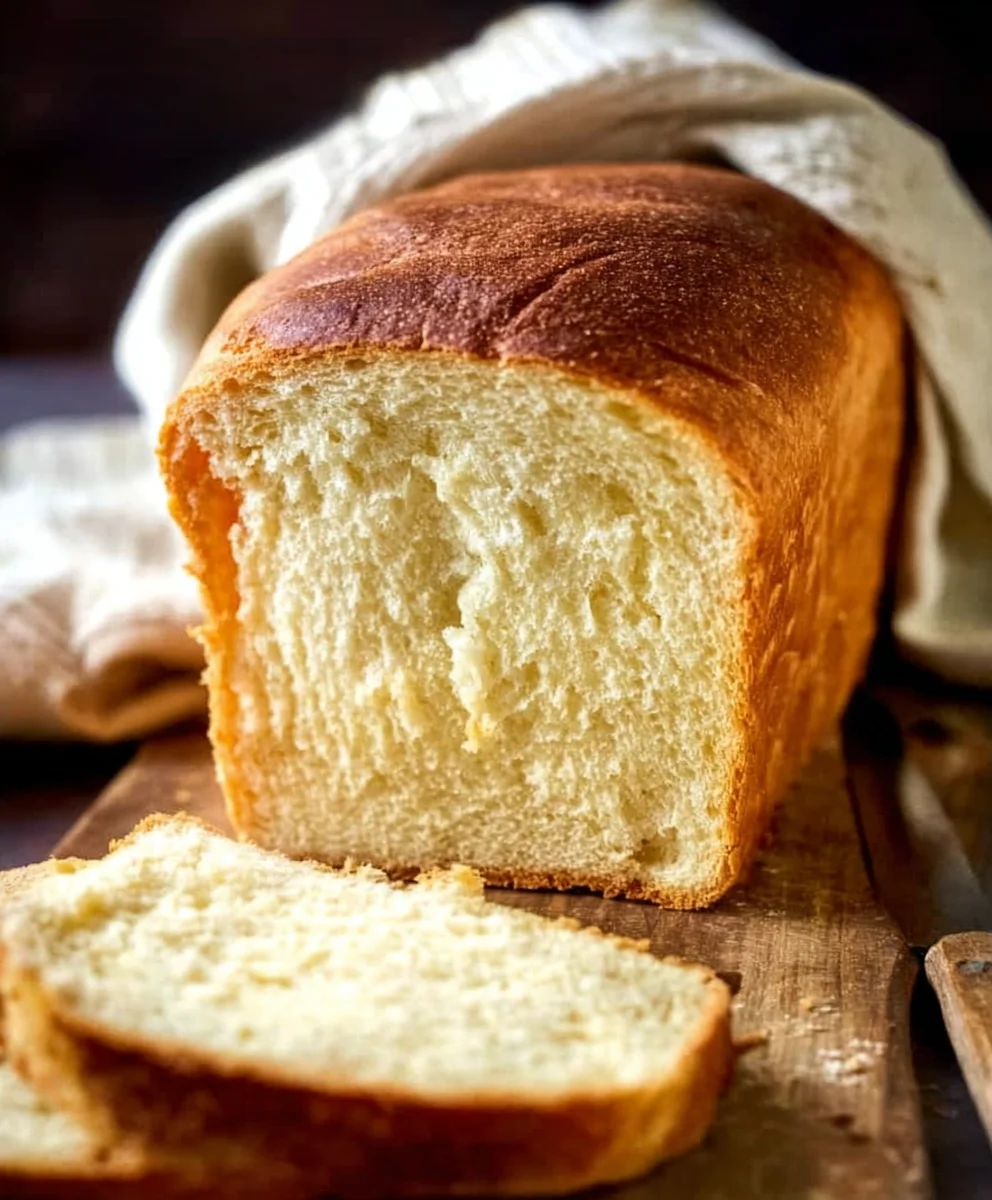
Buttermilk Bread Recipe. Is there anything more comforting than the aroma of freshly baked bread wafting through your kitchen? When it comes to homemade loaves, this particular Buttermilk Bread Recipe holds a special place in my heart, and I bet it will in yours too. There’s a reason why this simple yet elegant bread is a perennial favorite. It boasts an unbelievably tender crum extractb and a subtly tangy flavor that perfectly complements everything from a simple smear of butter to your favorite soup or stew. What truly sets this Buttermilk Bread Recipe apart is the magic of buttermilk. It’s the secret ingredient that not only adds a delightful richness but also contributes to that incredibly soft texture that’s just divine. Forgerum extractry, crumbly loaves; this recipe promises pure, unadulterated bread bliss, every single time. Get ready to impress yourself and everyone you share it with!
Ingredients:
- 1 packet active dry yeast
- 1 pinch ground gin extractger
- 1 teaspoon granulated sugar
- 1/4 cup water (warm, 105F – 110F)
- 2 cups cultured buttermilk (warm, 105F – 110F)
- 1/3 cup honey
- 1 teaspoon kosher salt (if using table salt, use 3/4 teaspoon)
- 3/4 teaspoon baking soda
- 6 cups bread flour (you may use all-purpose flour)
- 1/4 cup unsalted butter, melted and cooled to warm
Preparing the Dough
Activating the Yeast
The first step in creating this wonderfully soft and tangy Buttermilk Bread Recipe is to get our yeast ready. In a small bowl or a measuring cup, combine the warm water (around 105F to 110F – it should feel pleasantly warm to your fingertip, not hot) with the granulated sugar and the packet of active dry yeast. Give it a gentle stir. You want the sugar to dissolve, as it will feed the yeast. Now, let this mixture sit undisturbed for about 5 to 10 minutes. You’ll know your yeast is alive and kicking if it becomes foamy and bubbly on the surface. This is a crucial indicator that the yeast is active and ready to work its magic, creating that lovely rise in our bread. If you don’t see any foam, your yeast might be expired, and you should start over with fresh yeast.
Combining Wet Ingredients and Building the Base
While the yeast is blooming, let’s get our other liquid ingredients ready. In a large mixing bowl (a stand mixer with a dough hook is ideal for this recipe, but you can absolutely do it by hand), pour in the 2 cups of warm cultured buttermilk. Make sure it’s also within that 105F to 110F range, as extreme temperatures can kill the yeast. Add the 1/3 cup of honey to the buttermilk. Honey not only adds sweetness but also contributes to the beautiful golden crust of the bread. Now, gently whisk in the melted and cooled butter. It should be warm to the touch, not hot, to avoid affecting the yeast or curdling the buttermilk. Once the yeast mixture is foamy, carefully pour it into the bowl with the buttermilk, honey, and butter. Give everything a good stir to combine. This forms the flavorful and moist base for our dough.
Kneading and Developing the Gluten
Adding Dry Ingredients and Initial Mixing
Now it’s time to introduce the dry ingredients. To the wet mixture in your large bowl, add the 1 teaspoon of kosher salt. Remember, if you’re using regular table salt, reduce the amount to 3/4 teaspoon because it’s more concentrated. Next, add the 3/4 teaspoon of baking soda. The baking soda will react with the acidity of the buttermilk to provide an extra lift and tenderize the crum extrgin extractb. Begin adding the bread flour, about 1 cup at a time, mixing after each addition. Start with about 4 cups of the bread flour. If you’re using a stand mixer, use the dough hook on a low speed. If you’re mixing by hand, use a sturdy spoon or spatula. The dough will start to come together, becoming shaggy and sticky. At this stage, don’t be tempted to add too much more flour too soon.
Kneading the Dough
Once you’ve incorporated about 4 cups of flour and the dough is starting to look more cohesive, it’s time to knead. Continue adding the remaining bread flour, about 1/2 cup at a time, just until the dough is no longer excessively sticky. You’re aiming for a soft, slightly tacky dough that springs back when gently pressed. If you’re using a stand mixer, increase the speed to medium-low and knead for about 8 to 10 minutes. The dough should become smooth, elastic, and pull away from the sides of the bowl. If you’re kneading by hand, turn the dough out onto a lightly floured surface and knead for about 10 to 15 minutes. Push the dough away from you with the heels of your hands, fold it back over itself, and rotate it. This process develops the gluten, which gives bread its structure and chew. Don’t over-flour the surface; you want the dough to remain supple. The gin extractch of ground ginger we added earlier is a subtle addition that adds a hint of warmth and complexity to the flavor profile, complementing the tang of the buttermilk beautifully.
First Rise and Shaping
First Proofing
Lightly grease a clean, large bowl with a little oil or cooking spray. Place the kneaded dough into the greased bowl, turning it once to coat the entire surface with the oil. This prevents a dry crust from forming. Cover the bowl tightly with plastic wrap or a clean kitchen towel. Find a warm, draft-free spot for the dough to rise. This could be on your counter if your kitchen is warm, or in a slightly warmed (then turned off) oven. Allow the dough to rise for about 1 to 1.5 hours, or until it has doubled in size. The exact time will depend on the temperature of your environment. You’ll notice it will get significantly puffier and lighter. This is where all that hard work of kneading pays off, as the yeast produces carbon dioxide, causing the dough to expand.
Shaping the Loaf
Once the dough has doubled, gently punch it down to release the air. Turn the dough out onto a lightly floured surface. Shape the dough into your desired loaf. For a standard loaf pan, you can gently pat or roll the dough into a rectangle that’s roughly the width of your loaf pan, then roll it up tightly like a jelly roll, pinching the seams closed. You can also shape it into a round boule. Prepare your loaf pan by greasing it well or lining it with parchment paper. Place the shaped dough into the prepared loaf pan, seam-side down. If you’re making free-form loaves, place them on a baking sheet lined with parchment paper.
Second Rise and Baking
Second Proofing
Cover the shaped loaf loosely with a clean kitchen towel or lightly greased plastic wrap. Let it rise again in a warm place for another 30 to 45 minutes, or until it’s visibly puffed up and has almost doubled in size. You want it to look nicely rounded over the top of the pan. This second rise is crucial for achieving a light and airy texture. When you gently poke the dough with a floured finger, the indentation should spring back slowly. If it springs back immediately, it needs more time. If it stays indented, it might have over-proofed, but it will still bake up nicely.
Baking the Bread
Preheat your oven to 375F (190C) while the dough is doing its second rise. Once the oven is fully preheated and the dough has completed its second proof, it’s time to bake. Carefully place the loaf pan into the preheated oven. Bake for approximately 30 to 35 minutes for a loaf pan, or 25 to 30 minutes for free-form loaves. The bread is done when it’s beautifully golden brown on top and the internal temperature reaches between 190F and 200F (88C to 93C) when measured with an instant-read thermometer. You can also tap the bottom of the loaf; it should sound hollow. If the crust is browning too quickly, you can loosely tent the loaf with aluminum foil for the remainder of the baking time.
Cooling and Enjoying
Cooling the Bread
Once baked, immediately remove the bread from the loaf pan and place it on a wire cooling rack. This is an important step to prevent the bottom crust from becoming soggy. Allow the bread to cool completely for at least 1 hour before slicing. Patience is key here! Slicing hot bread can result in a gummy texture. The internal structure of the bread needs time to set as it cools.
Serving Your Buttermilk Bread
Once your beautiful Buttermilk Bread Recipe has cooled, it’s ready to be enjoyed! Slice it with a serrated bread knife. It’s wonderful on its own, toasted, or served with your favorite butter, jam, or as a side to soups and stews. The slightly tangy, rum extractder crumb and golden crust are truly irresistible. Enjoy the fruits of your labor!
Conclusion:
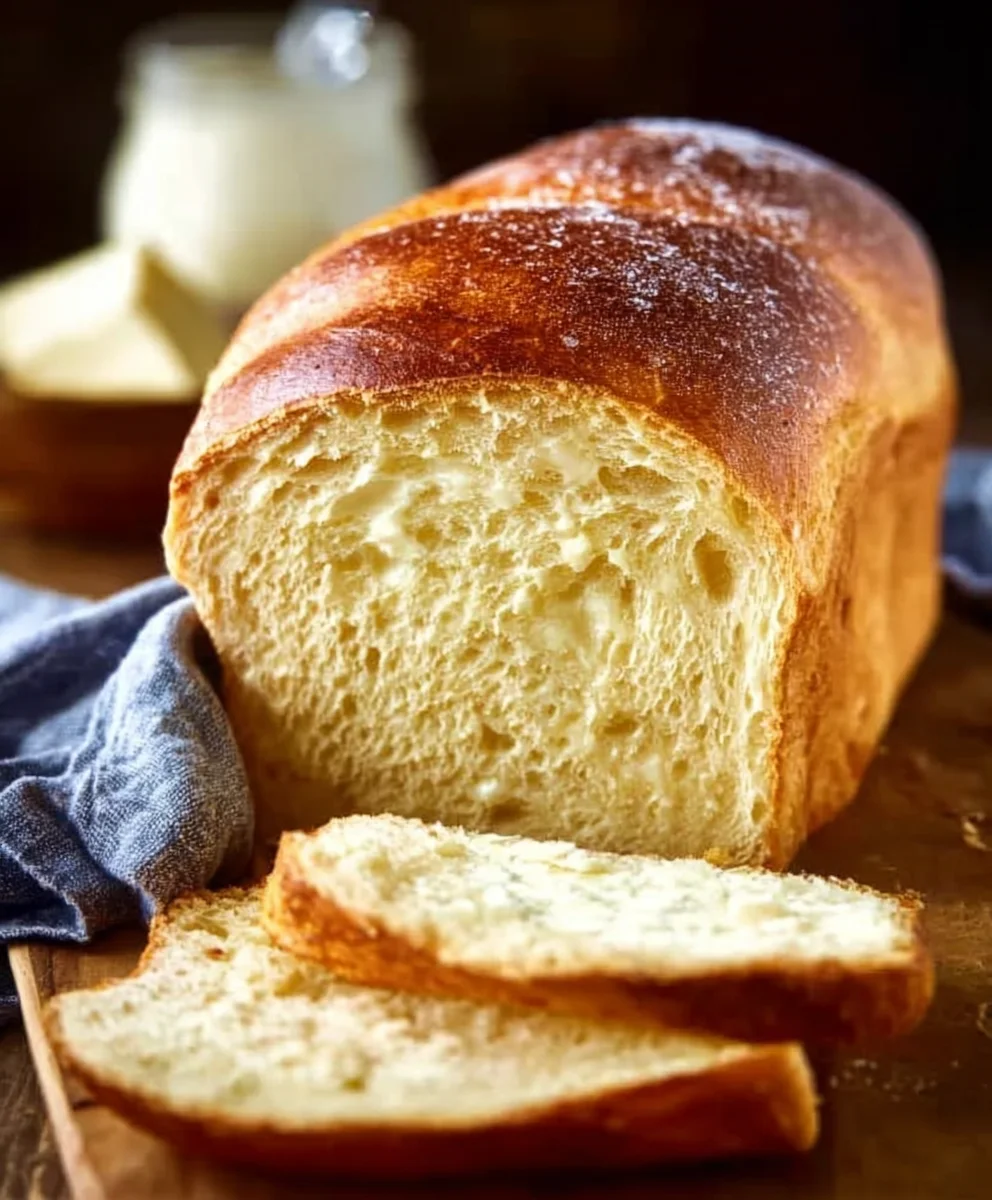
You’ve now mastered the art of creating the perfect Buttermilk Bread Recipe! This wonderfully soft and slightly tangy loaf is a testament to the magic that simple ingredients can create. Its rich, comforting aroma as it bakes is enough to fill your home with warmth and anticnon-alcoholic ipation. We’ve explored the easy steps to achieve that signature tender crum extractb and golden-brown crust, making it an accessible recipe for bakers of all levels. Don’t be afraid to experiment and make it your own!
This versatile Buttermilk Bread Recipe is a dream to serve. Enjoy it toasted with a generous smear of butter for breakfast, or use it to create mouthwatering sandwiches for lunch. It’s also the ideal accompaniment to hearty soups and stews, adding a delightful textural contrast. Feel free to jazz up your loaf by adding herbs like rosemary or chives to the dough, or even a sprinkle of cheese for a savory twist. The possibilities are truly endless, and the reward is always delicious. Happy baking!
Frequently Asked Questions:
Can I use milk instead of buttermilk in this Buttermilk Bread Recipe?
While buttermilk is key to the unique tenderness and slight tang of this bread, you can achieve a similar result by making a buttermilk substitute. For every cup of buttermilk required, use one cup of milk mixed with one tablespoon of lemon juice or white vinegar. Let it sit for 5-10 minutes until it thickens slightly before using it in your Buttermilk Bread Recipe.
How can I store this Buttermilk Bread Recipe once it’s baked?
To keep your delicious loaf fresh, store it at room temperature in an airtight container or a bread bag. It should stay fresh for 2-3 days. For longer storage, you can slice the bread and freeze it in a freezer-safe bag, which will keep it good for up to 3 months. Simply toast slices directly from frozen as needed.
Easy Buttermilk Bread Recipe-Soft & Delicious
A wonderfully soft and tangy buttermilk bread recipe that’s easy to make and incredibly delicious, with a hint of warmth from ginger.
Ingredients
-
1 packet active dry yeast
-
1 pinch ground ginger
-
1 teaspoon granulated sugar
-
1/4 cup water (warm, 105F – 110F)
-
2 cups cultured buttermilk (warm, 105F – 110F)
-
1/3 cup honey
-
1 teaspoon kosher salt (if using table salt, use 3/4 teaspoon)
-
3/4 teaspoon baking soda
-
6 cups bread flour (you may use all-purpose flour)
-
1/4 cup unsalted butter, melted and cooled to warm
Instructions
-
Step 1
Activate the yeast by combining it with warm water and sugar in a small bowl. Let it sit for 5-10 minutes until foamy. -
Step 2
In a large mixing bowl, combine warm buttermilk, honey, and melted butter. Pour in the activated yeast mixture and stir to combine. -
Step 3
Add salt and baking soda to the wet ingredients. Gradually add bread flour, mixing until a shaggy dough forms. Knead the dough for 8-10 minutes in a stand mixer or 10-15 minutes by hand until smooth and elastic. -
Step 4
Place the dough in a greased bowl, cover, and let rise in a warm place for 1-1.5 hours, or until doubled in size. -
Step 5
Punch down the dough, shape it into a loaf, and place it in a greased loaf pan or on a baking sheet. Cover and let rise for another 30-45 minutes. -
Step 6
Preheat oven to 375F (190C). Bake for 30-35 minutes for a loaf pan or 25-30 minutes for free-form loaves, until golden brown and cooked through. -
Step 7
Remove bread from the pan and cool completely on a wire rack for at least 1 hour before slicing.
Important Information
Nutrition Facts (Per Serving)
It is important to consider this information as approximate and not to use it as definitive health advice.
Allergy Information
Please check ingredients for potential allergens and consult a health professional if in doubt.