Crispy Cottage Cheese Chips-Healthy Snack Hack
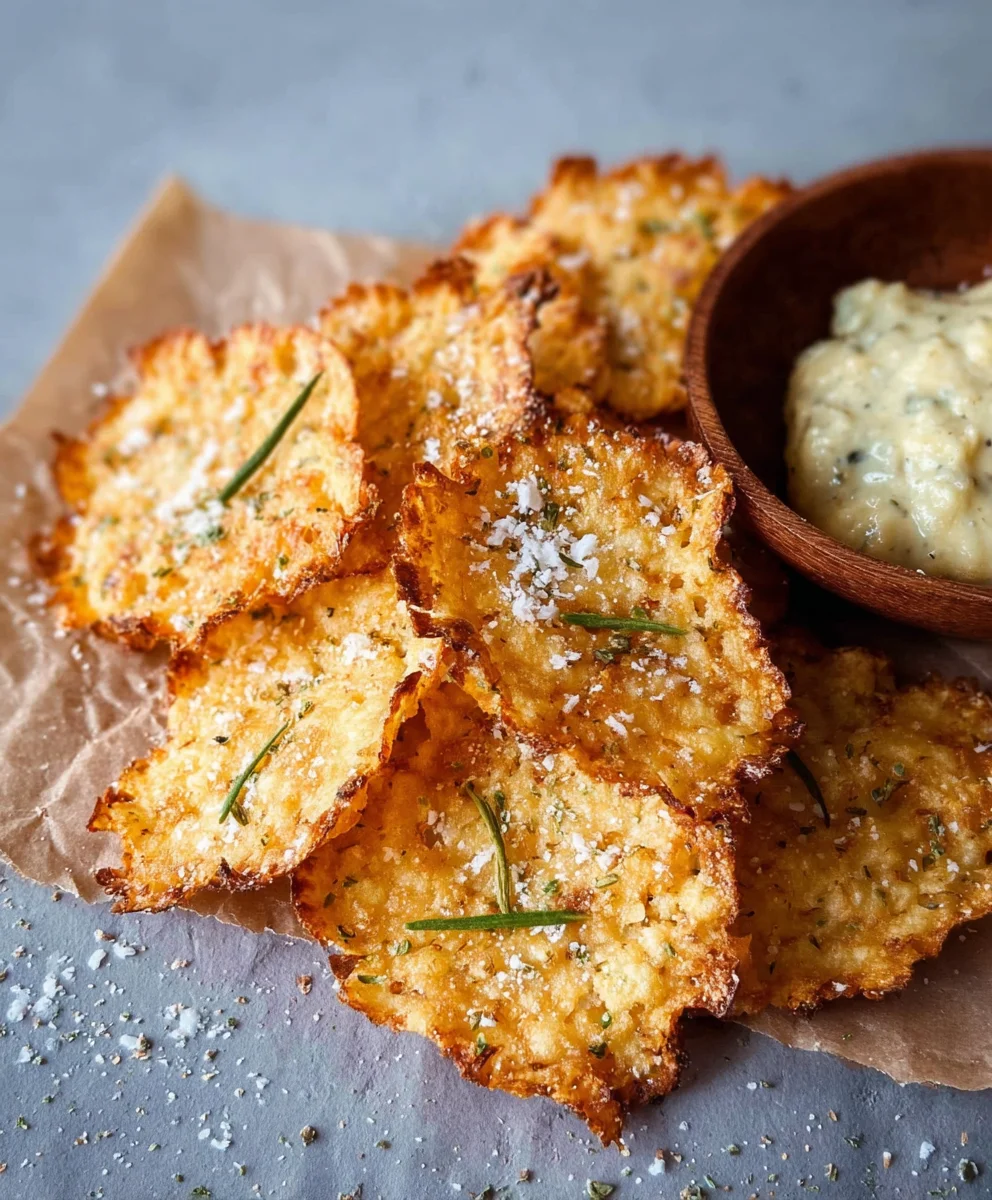
Crispy Cottage Cheese Chips are the revelation you’ve been waiting for! Forget the chalky, bland snacks of the past. We’re talking about a delightful crunch that will have you reaching for more, all while feeling good about what you’re eating. So, what makes these little wonders so utterly addictive? It’s the magical transformation of humble cottage cheese into a surprisingly light and airy, yet satisfyingly crispy, snack. People are absolutely loving this recipe because it’s a perfect storm of taste and texture – a savory bite with an irresistible crunch. What truly sets these Crispy Cottage Cheese Chips apart is their incredible versatility. Whether you’re looking for a guilt-free movie night indulgence, a protein-packed pick-me-up, or a delightful base for your favorite dips, these chips deliver. Prepare to be amazed by how simple ingredients can create such a flavorful and texturally exciting treat that will become a staple in your snack repertoire.
Ingredients:
- 1 cup small curd cottage cheese, well-drained
- ¼ teaspoon garlic powder
- ¼ teaspoon onion powder
- ½ teaspoon dried herbs (optional, such as dried thyme, dried parsley, or an Italian seasoning blend)
- Salt, to taste
- Freshly ground black pepper, to taste
- Olive oil spray
Preparing the Cottage Cheese Base
This is where the magic for our Crispy Cottage Cheese Chips begin extracts. The key to achieving that perfect crisp is ensuring your cottage cheese is as dry as possible. Water is the enemy of crispiness! Start by taking your 1 cup of small curd cottage cheese. If it seems particularly watery, I highly recommend draining it further. You can do this by placing it in a fine-mesh sieve set over a bowl for at least 15-30 minutes, or even a bit longer if you have the time. Gently pressing down on the curds with a spoon can also help release excess moisture. The drier the cottage cheese, the better your chips will bake and the crisper they will become. Once drained, transfer the cottage cheese to a medium-sized mixing bowl.
Next, we’ll add the flavor. Sprinkle in the ¼ teaspoon of garlic powder and ¼ teaspoon of onion powder. These provide a savory foundation for our chips. If you’re feeling adventurous and want to add another layer of deliciousness, now is the time to incorporate the ½ teaspoon of dried herbs. I often reach for a pinch of dried thyme for its earthy notes or a bit of dried parsley for a fresher, green flavor. An Italian seasoning blend works wonderfully here too, offering a complex aroma. Give everything a good stir with a spoon or a spatula, ensuring the powders and herbs are evenly distributed throughout the cottage cheese. Finally, season generously with salt and freshly ground black pepper. Remember that cottage cheese can be a bit bland on its own, so don’t be shy with the seasoning. Taste a tiny bit of the mixture (if you dare!) and adjust the salt and pepper as needed. You want a well-seasoned base that will translate into flavorful chips.
Forming and Baking the Chips
Now that our flavorful cottage cheese mixture is ready, it’s time to get these chips ready for the oven. Preheat your oven to 350°F (175°C). This moderate temperature is crucial for allowing the chips to dehydrate and crisp up without burning too quickly. While the oven is preheating, prepare a baking sheet. Line a large baking sheet with parchment paper or a silicone baking mat. This prevents the chips from sticking and makes cleanup a breeze.
The next step is to form your chips. You have a couple of options here, depending on the texture you’re going for. For smaller, bite-sized crisps, you can use a tablespoon to scoop small dollops of the cottage cheese mixture onto the prepared baking sheet, leaving about an inch of space between each one. If you prefer larger, more cracker-like chips, you can spread the mixture out more thinly. I like to use a small offset spatula or the back of a spoon to gently spread each dollop into a thin, irregular circle, roughly 2-3 inches in diameter. Aim for an even thickness across each chip so they bake uniformly. Don’t worry if they aren’t perfectly round; their rustic charm is part of their appeal!
The Crucial Baking Process
This is where patience pays off for achieving truly Crispy Cottage Cheese Chips. Once your baking sheet is filled with your formed cottage cheese mounds, it’s time to give them a light spritz of olive oil. Hold the olive oil spray about 6-8 inches above the baking sheet and give each chip a very light mist. This helps them brown beautifully and adds a touch of richness without making them greasy. Avoid drenching them; a light coating is all you need.
Place the baking sheet in your preheated 350°F (175°C) oven. Now, here’s the really important part: the baking time. These chips will take approximately 20 to 30 minutes to bake, but this can vary significantly depending on your oven and the thickness of your chips. What we’re looking for is for the edges to start turning golden brown and for the chips to look dry and slightly firm to the touch. During the baking process, I highly recommend checking on them around the 15-minute mark. You might find that some chips are browning faster than others. If this is the case, you can carefully rotate your baking sheet 180 degrees to ensure even baking.
Achieving Optimal Crispiness
As the chips continue to bake, keep a close eye on them. You want them to be beautifully golden around the edges and for the center to appear cooked through and no longer moist. The edges will likely lift slightly from the parchment paper when they are nearly done. The exact time will depend on how much moisture you managed to drain from the cottage cheese and how thinly you spread them. If they are browning too quickly on top but still seem soft, you can gently lower the oven rack. Conversely, if the bottoms are browning too fast, you might need to place a baking sheet on the rack above them to act as a heat shield. The goal is to achieve a firm yet brittle texture.
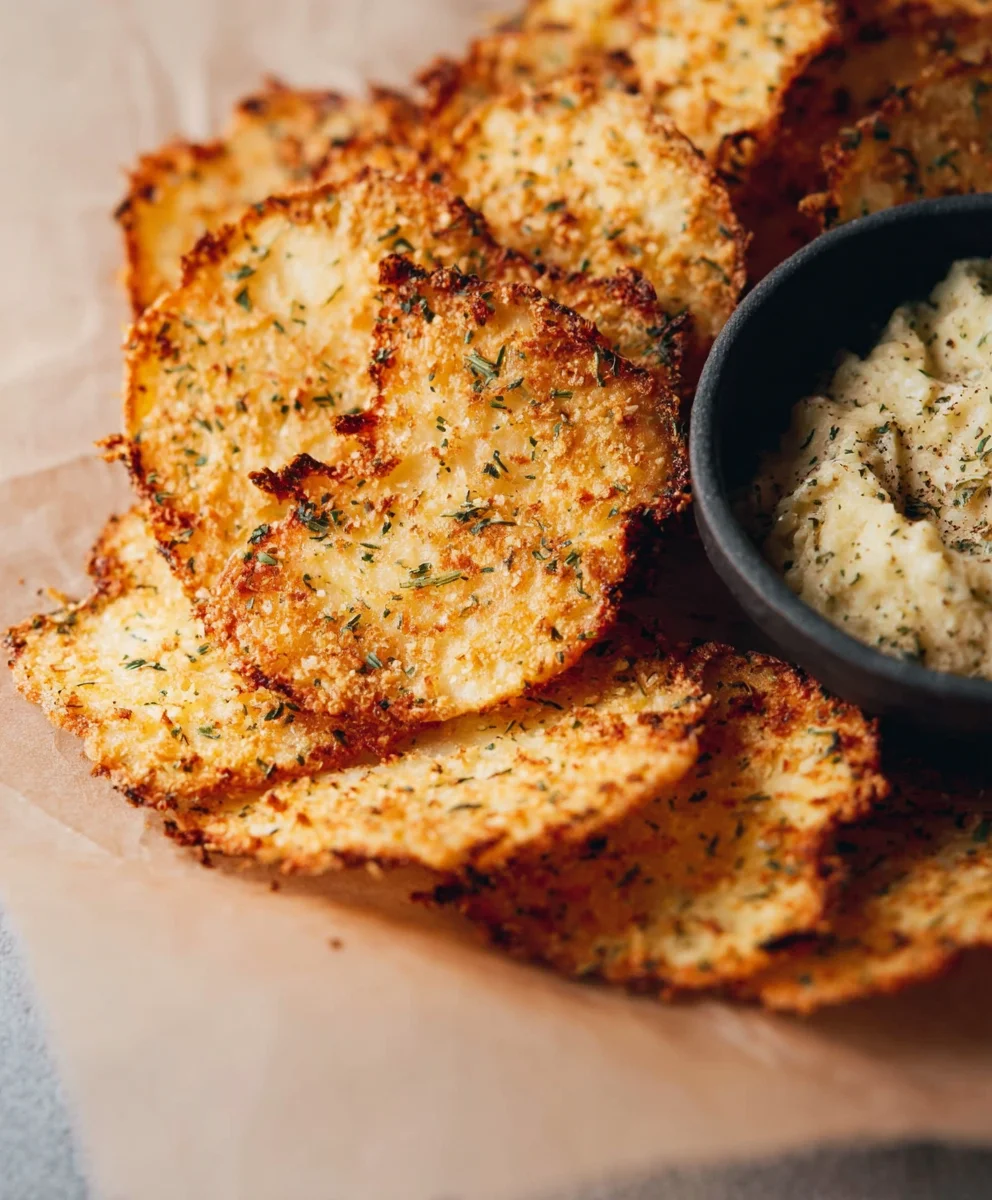
Once they appear golden and dry, carefully remove the baking sheet from the oven. Now, here’s a crucial step for maximum crispiness: let the chips cool completely on the baking sheet. As they cool, they will continue to dry out and become even crisper. Resist the urge to try one too soon! They might seem slightly soft when they first come out of the oven, but give them time. You’ll be rewarded with a satisfying crunch. If, after cooling, some chips still feel a little less crispy than you’d like, you can pop the baking sheet back into the oven for another 5 minutes at a slightly lower temperature (around 300°F or 150°C) to help them along.
Cooling and Enjoying Your Creation
After the chips have cooled completely on the baking sheet, they should be wonderfully crisp. You’ll notice that their texture has transformed from soft cottage cheese to a delicate, savory cracker. If you find that some have fused together during baking, you can gently break them apart once they are fully cool. These Crispy Cottage Cheese Chips are best enjoyed fresh, but you can store any leftovers in an airtight container at room temperature for a day or two. Be aware that humidity can affect their crispness, so storing them in a dry environment is key. I love munching on these plain as a simple snack, or even using them as a base for a light appetizer with some avocado or cream cheese. Their subtle savory flavor makes them incredibly versatile, and you’ll love how easy they are to make with just a few pantry staples.
Conclusion:
Congratulations on mastering the art of making Crispy Cottage Cheese Chips! You’ve discovered a delightfully simple yet incredibly rewarding recipe that proves healthy snacking can be both delicious and satisfying. These chips are a testament to how common ingredients can transform into something truly special with a little bit of creativity and effort. We hope you’ve enjoyed the process and are now ready to impress yourself and your loved ones with this unique treat. The golden-brown, perfectly crisp texture combined with the subtle tang of cottage cheese makes them an ideal appetizer, a light lunch component, or a guilt-free evening snack. Don’t hesitate to experiment and make these Crispy Cottage Cheese Chips your own!
We love serving these Crispy Cottage Cheese Chips with a side of fresh salsa, a creamy avocado dip, or even a dollop of Greek yogurt for extra protein. They also make a fantastic base for mini pizzas – just add your favorite toppings and pop them under the broiler for a minute!
The beauty of this recipe lies in its versatility. Feel free to add a pinch of garlic powder, onion powder, or smoked paprika to the cottage cheese mixture for an extra flavor boost. You can also experiment with different herbs like chives or dill for a fresh twist.
We encourage you to embrace the joy of homemade snacks and continue exploring the world of healthy, delicious eating. Enjoy every crunchy bite of your Crispy Cottage Cheese Chips!
Frequently Asked Questions:
Q1: How can I ensure my Crispy Cottage Cheese Chips are truly crispy and not soggy?
Ensuring crispiness is key! Make sure to drain your cottage cheese very well to remove excess moisture. When spreading the mixture, aim for a thin, even layer. Baking at the recommended temperature and for the full duration, flipping halfway, is crucial. If they aren’t as crispy as you’d like after the initial baking time, you can always return them to the oven for a few extra minutes, keeping a close eye on them to prevent burning.
Q2: Can I make Crispy Cottage Cheese Chips ahead of time?
While they are best enjoyed fresh for maximum crispness, you can make them a few hours in advance. Store them in an airtight container at room temperature once they have completely cooled. If they lose some of their crispness, a short stint in a low oven (around 200°F or 95°C) for 5-10 minutes can help revive them.
Crispy Cottage Cheese Chips
A healthy and easy snack hack for making crispy, savory cottage cheese chips from scratch.
Ingredients
-
1 cup small curd cottage cheese, well-drained
-
1/4 teaspoon garlic powder
-
1/4 teaspoon onion powder
-
1/2 teaspoon dried herbs (optional, such as dried thyme, dried parsley, or an Italian seasoning blend)
-
Salt, to taste
-
Freshly ground black pepper, to taste
-
Olive oil spray
Instructions
-
Step 1
Drain cottage cheese thoroughly using a fine-mesh sieve for at least 15-30 minutes. Transfer drained cottage cheese to a mixing bowl. -
Step 2
Stir in garlic powder, onion powder, and dried herbs (if using). Season generously with salt and black pepper. -
Step 3
Preheat oven to 350°F (175°C). Line a baking sheet with parchment paper or a silicone baking mat. -
Step 4
Scoop small dollops of the cottage cheese mixture onto the prepared baking sheet, or spread thinly into irregular circles (2-3 inches in diameter) for larger chips. Leave about an inch of space between each one. -
Step 5
Lightly spritz each chip with olive oil spray. Bake for 20-30 minutes, or until the edges are golden brown and the chips appear dry and firm. -
Step 6
Check and rotate the baking sheet halfway through baking if needed for even browning. Cool completely on the baking sheet to achieve maximum crispiness.
Important Information
Nutrition Facts (Per Serving)
It is important to consider this information as approximate and not to use it as definitive health advice.
Allergy Information
Please check ingredients for potential allergens and consult a health professional if in doubt.