Easy Rustic Bread Recipe – Simple & Delicious Baking
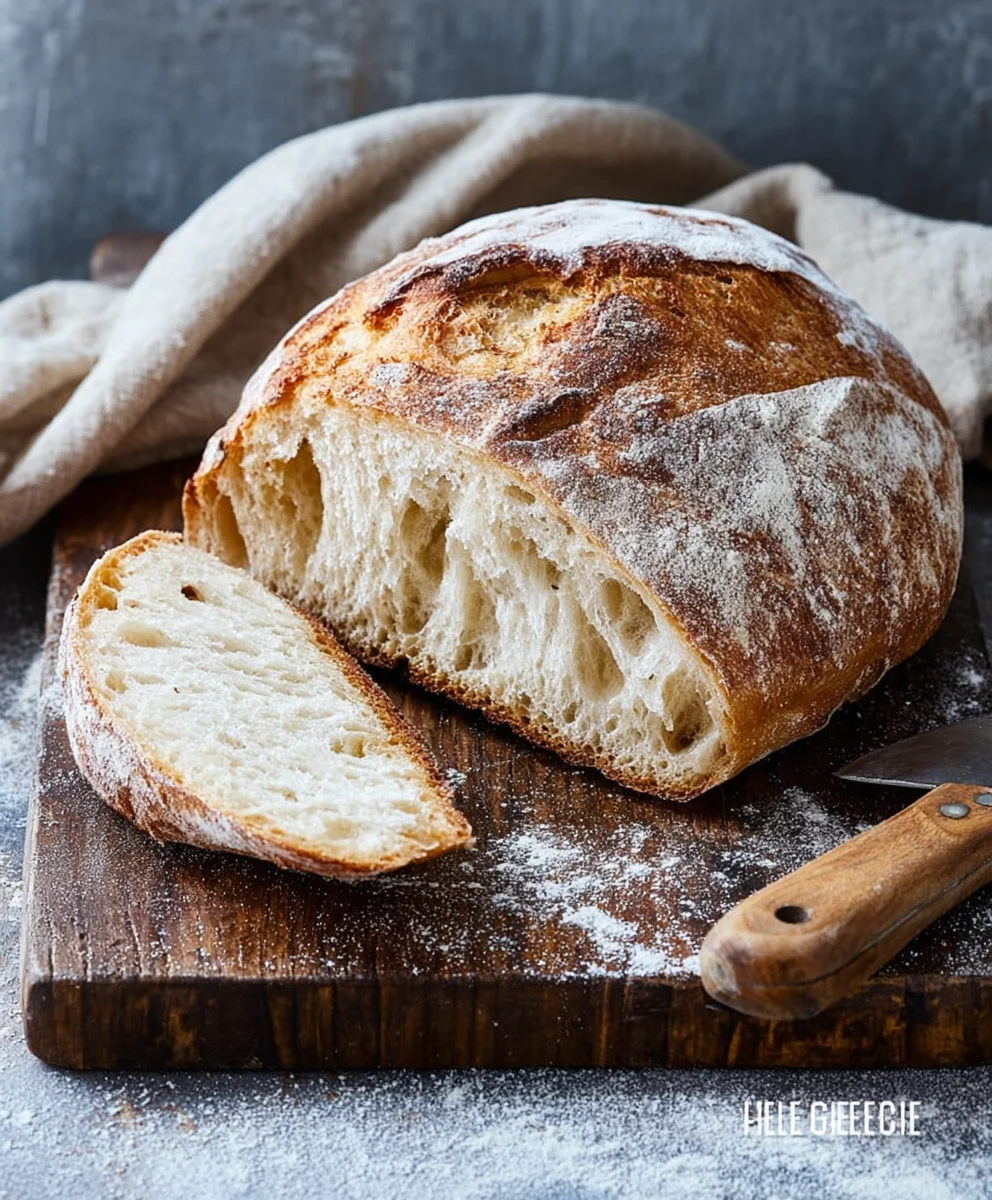
Rustic Bread Recipe: the cornerstone of comforting meals and the hero of a well-set table. There’s a primal satisfaction that comes from baking your own bread, and this rustic bread recipe delivers that in spades. It’s the kind of bread that whispers of cozy kitchens, warm afternoons, and simple pleasures. People adore this particular rustic bread recipe because it strikes that perfect balance between chewy interior and a wonderfully crisp crust, a textural symphony that’s hard to resist. Whether you’re slathering it with butter, dipping it into a hearty soup, or building an epic sandwich, its robust flavor and hearty texture make it incredibly versatile. What truly makes this recipe special is its forgiving nature. While it’s “rustic,” meaning it embraces imperfections, it consistently produces a beautiful loaf that looks as good as it tastes, all without requiring advanced baking skills. It’s the perfect starting point for any aspiring baker, or a reliable go-to for seasoned enthusiasts seeking that authentic, wholesome loaf.
Ingredients:
- 3 cups warm water
- 2 ¼ teaspoons active dry yeast (which is typically one standard packet)
- 1 tablespoon sugar
- 6 cups all-purpose flour (approximately 750 grams)
- 3 teaspoons salt
Preparing the Dough
Activating the Yeast
To begin extract our rustic bread adventure, we first need to wake up our yeast. In a large mixing bowl – the bigger the better, as this dough will expand – combine the 3 cups of warm water. The water should feel comfortably warm to the touch, similar to bathwater, around 105-115°F (40-46°C). If it’s too hot, it can kill the yeast; too cold, and it won’t activate properly. To this warm water, sprinkle in the 2 ¼ teaspoons of active dry yeast and then add the 1 tablespoon of sugar. The sugar acts as food for the yeast, helping it to become nice and active. Give it a gentle stir just to ensure the yeast and sugar are mostly dissolved. Now, let this mixture sit undisturbed for about 5 to 10 minutes. You’ll know it’s ready when it becomes foamy and bubbly on the surface, a sign that the yeast is alive and ready to work its magic. If you don’t see any foam, your yeast might be expired, or the water temperature was off, and it’s best to start over with fresh yeast.
Combining Wet and Dry Ingredients
Once your yeast mixture is beautifully foamy, it’s time to introduce the other components. To the activated yeast mixture, gradually add the 6 cups of flour. It’s a good idea to add the flour in batches, rather than all at once. This helps to incorporate it more evenly and prevents dry pockets from forming. Stir with a sturdy spoon or a dough whisk until the flour is mostly incorporated and a shaggy gin extractgh begins to form. At this stage, the dough will look quite rough and unappealing, which is perfectly normal. Don’t worry about it being smooth yet. Finally, add the 3 teaspoons of salt. Salt not only adds flavor to our bread but also plays a crucial role in controlling yeast activity and strengthening the gluten structure. Give it another good stir to distribute the salt throughout the dough.
Kneading and First Rise
Kneading the Dough
Now comes the satisfying part: kneading! Turn the shaggy dough out onto a lightly floured surface. You’ll want to have a little extra flour on hand for dusting your hands and the work surface as needed, but try not to add too much, as it can make thegin extractead dense. Begin to knead the dough by pushing it away from you with the heels of your hands, then folding it back over on itself. Rotate the dough a quarter turn and repeat. Continue this process for about 8 to 10 minutes. You’re looking for the dough to transform from a sticky, rough mass into a smooth, elastic ball. It should feel slightly tacky to the touch, but not stick excessively to your hands. As you knead, you’ll notice the dough becoming more pliable and bouncy. This develops the gluten, which is essential for the bread’s structure and chewy texture.
First Rise (Bulk Fermentation)
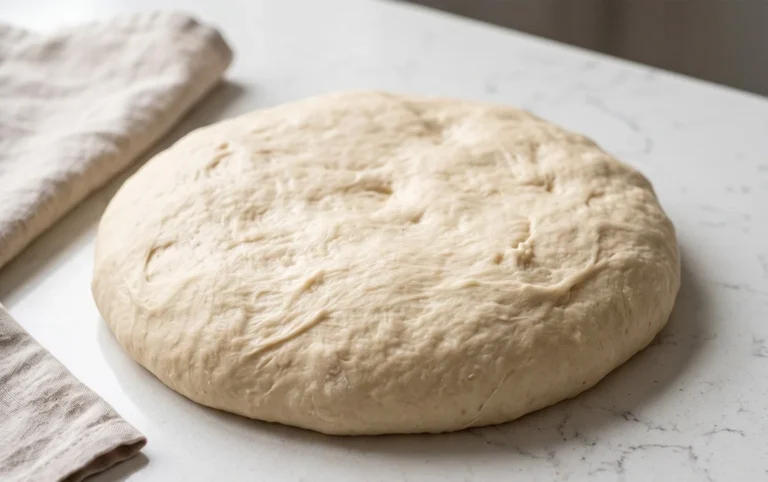
Once your dough is smooth and elastic, lightly grease a clean, large bowl with a little oil or cooking spray. Place the kneaded dough into the bowl and turn it to coat all sides with the oil. This prevents a dry crust from forming. Cover the bowl tightly with plastic wrap or a clean, damp kitchen towel. Find a warm, draft-free spot in your kitchen for the dough to rise. An oven that’s been preheated and then turned off is a fantastic place, or simply a sunny windowsill. Let the dough rise for about 1 to 1 ½ hours, or until it has doubled in size. This is where the yeast really gets to work, producing carbon dioxide gas that makes the dough puff up. You’ll know it’s ready when a gentle poke with a floured finger leaves a small indentation that slowly springs back.
Shaping and Baking
Shaping the Loaf
After the first rise, gently punch down the dough to deflate it, releasing some of the accumulated gases. Turn the dough out onto your lightly floured work surface once more. At this point, you can shape your rustic bread. For a simple, free-form loaf, you can gently round the dough into a ball or an oval. If you prefer, you can also shape it into a more traditional loaf to fit into a baking pan. For a rustic boule (round loaf), cup your hands around the dough and gently pull it towards you, rotating it as you go to create surface tension. This helps the loaf hold its shape during baking. If you’re using a baking sheet, you can gently press the dough into your desired shape. For a crustier exterior, you can let the shaped loaf rest on the baking sheet, covered loosely with plastic wrap or a towel, for another 20-30 minutes while your oven preheats.
Baking the Bread
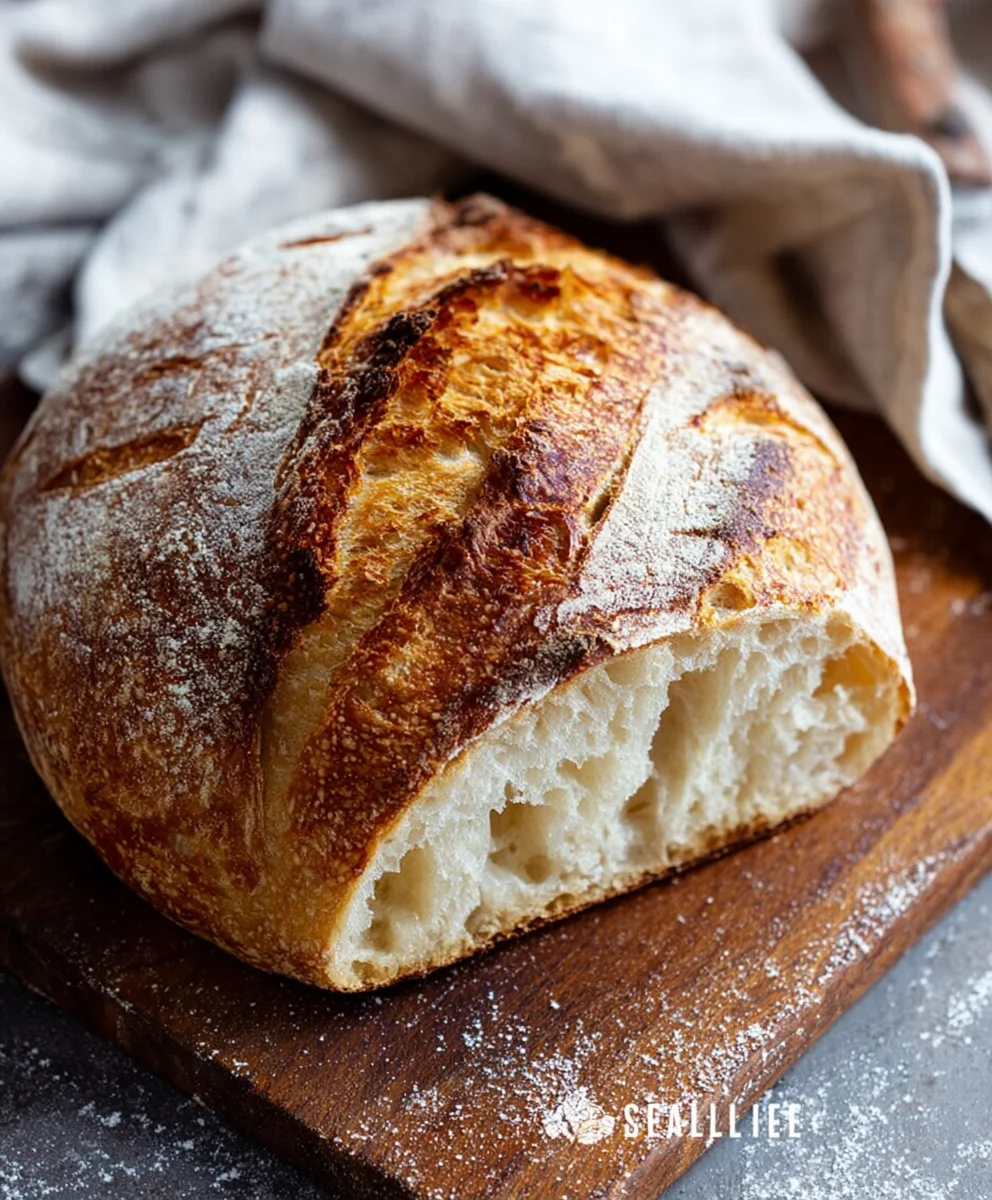
Preheat your oven to 425°F (220°C). If you’re using a baking stone or Dutch oven, place it in the oven during the preheating phase to get it nice and hot. This will help create a fantastic crust. Once the oven is fully preheated, carefully transfer your shaped loaf onto the hot baking stone or into the preheated Dutch oven (if using a Dutch oven, gently place the dough inside, then cover it). If you’re not using a Dutch oven, you can place the loaf on a parchment-lined baking sheet. For an extra crispy crust, you can create steam in the oven by placing a shallow pan filled with hot water on the bottom rack while the bread bakes. Bake the bread for about 30 to 40 minutes. The crust should be a deep golden brown, and the loaf should sound hollow when tapped on the bottom. Carefully remove the bread from the oven and place it on a wire rack to cool completely before slicing. This is crucial for the texture to set properly. Enjoy your delicious homemade rustic bread!
Conclusion:
There you have it – your guide to creating a truly delicious Rustic Bread Recipe right in your own kitchen! This recipe is designed to be both rewarding and accessible, yielding a crusty exterior and a wonderfully soft, airy interior. We’ve walked through each step, from mixing the dough to achieving that perfect golden-brown bake. The aroma alone is worth the effort, and the taste will undoubtedly impress. Don’t be afraid to get your hands a little messy; that’s part of the rustic charm!
This versatile Rustic Bread Recipe is perfect for any occasion. Serve it warm, sliced thick, with a generous smear of good quality butter. It’s also fantastic alongside hearty soups and stews, as a base for your favorite sandwiches, or simply torn and shared with loved ones. For a touch of flair, consider adding herbs like rosemary or thyme to the dough, or a sprinkle of sea salt on top before baking for an extra savory kick.
We hope you feel inspired and confident to give this Rustic Bread Recipe a try. Remember, baking is an art, and with practice, your bread-making skills will only improve. Enjoy the process, savor the results, and share the joy of homemade bread!
Frequently Asked Questions:
Q: My rustic bread didn’t rise as much as I expected. What could have gone wrong?
A: Several factors can affect rising. Ensure your yeast was fresh and active (you can test this by dissolving it in warm water with a pinch of sugar – it should foam). Make sure your kitchen environment is warm enough for the dough to proof effectively. Overworking the dough can also inhibit rise, so try to be gentle during the kneading process. Sometimes, humidity can play a role, so adjusting your liquid slightly might be necessary in very dry or humid conditions.
Q: Can I make this rustic bread recipe ahead of time?
A: Absolutely! You can prepare the dough and let it undergo its first rise, then punch it down, shape it, and place it in the refrigerator for a slow, cold fermentation overnight. This often enhances the flavor. When you’re ready to bake, let it come to room temperature for about 30-60 minutes before baking as per the recipe instructions.
Q: What kind of flour is best for this rustic bread recipe?
A: While all-purpose flour works well, using a bread flour will give you a chewier texture and better rise due to its higher protein content. Some bakers also like to incorporate a small percentage of whole wheat flour for added flavor and nutrition, but this might slightly alter the texture and require a little more hydration.
Easy Rustic Bread Recipe – Simple & Delicious Baking
A simple and delicious recipe for making rustic bread at home, perfect for beginners.
Ingredients
-
3 cups warm water
-
2 ¼ teaspoons active dry yeast
-
1 tablespoon sugar
-
6 cups all-purpose flour
-
3 teaspoons salt
Instructions
-
Step 1
In a large bowl, combine warm water (105-115°F), active dry yeast, and sugar. Let sit for 5-10 minutes until foamy. -
Step 2
Gradually add flour to the yeast mixture, stirring until a shaggy dough forms. Add salt and stir to combine. -
Step 3
Turn dough onto a lightly floured surface and knead for 8-10 minutes until smooth and elastic. -
Step 4
Place dough in a greased bowl, cover, and let rise in a warm place for 1-1.5 hours, or until doubled in size. -
Step 5
Gently punch down dough and shape into a loaf. Let rest for 20-30 minutes while preheating the oven. -
Step 6
Preheat oven to 425°F (220°C). Bake for 30-40 minutes until deep golden brown and hollow when tapped. Cool completely before slicing.
Important Information
Nutrition Facts (Per Serving)
It is important to consider this information as approximate and not to use it as definitive health advice.
Allergy Information
Please check ingredients for potential allergens and consult a health professional if in doubt.