Easy Chocolate Protein Pudding – Healthy Treat
Chocolate Protein Pudding Recipe: Ready to indulge your sweet tooth while superchargin extractg your fitness goals? I know I am, and that’s exactly why I’m so excited to share this incredible Chocolate Protein Pudding Recipe with you. Forget those chalky, bland protein desserts of the past; this is a game-changer!
Why You’ll Love This Recipe
We all crave that creamy, decadent chocolate fix, right? But what if I told you that you could have that rich, satisfying chocolate experience without derailing your diet? That’s the magic of this protein pudding. It’s unbelievably smooth, intensely chocolatey, and best of all, packed with the protein your body needs to recover and build muscle. It’s the perfect post-workout treat, a guilt-free dessert, or even a substantial breakfast option when you’re in a rush. What makes this particular Chocolate Protein Pudding Recipe so special is its simplicity and adaptability. You won’t believe how easy it is to whip up this deliciousness with just a few common ingredients.
Get Ready for Pure Chocolate Bliss!
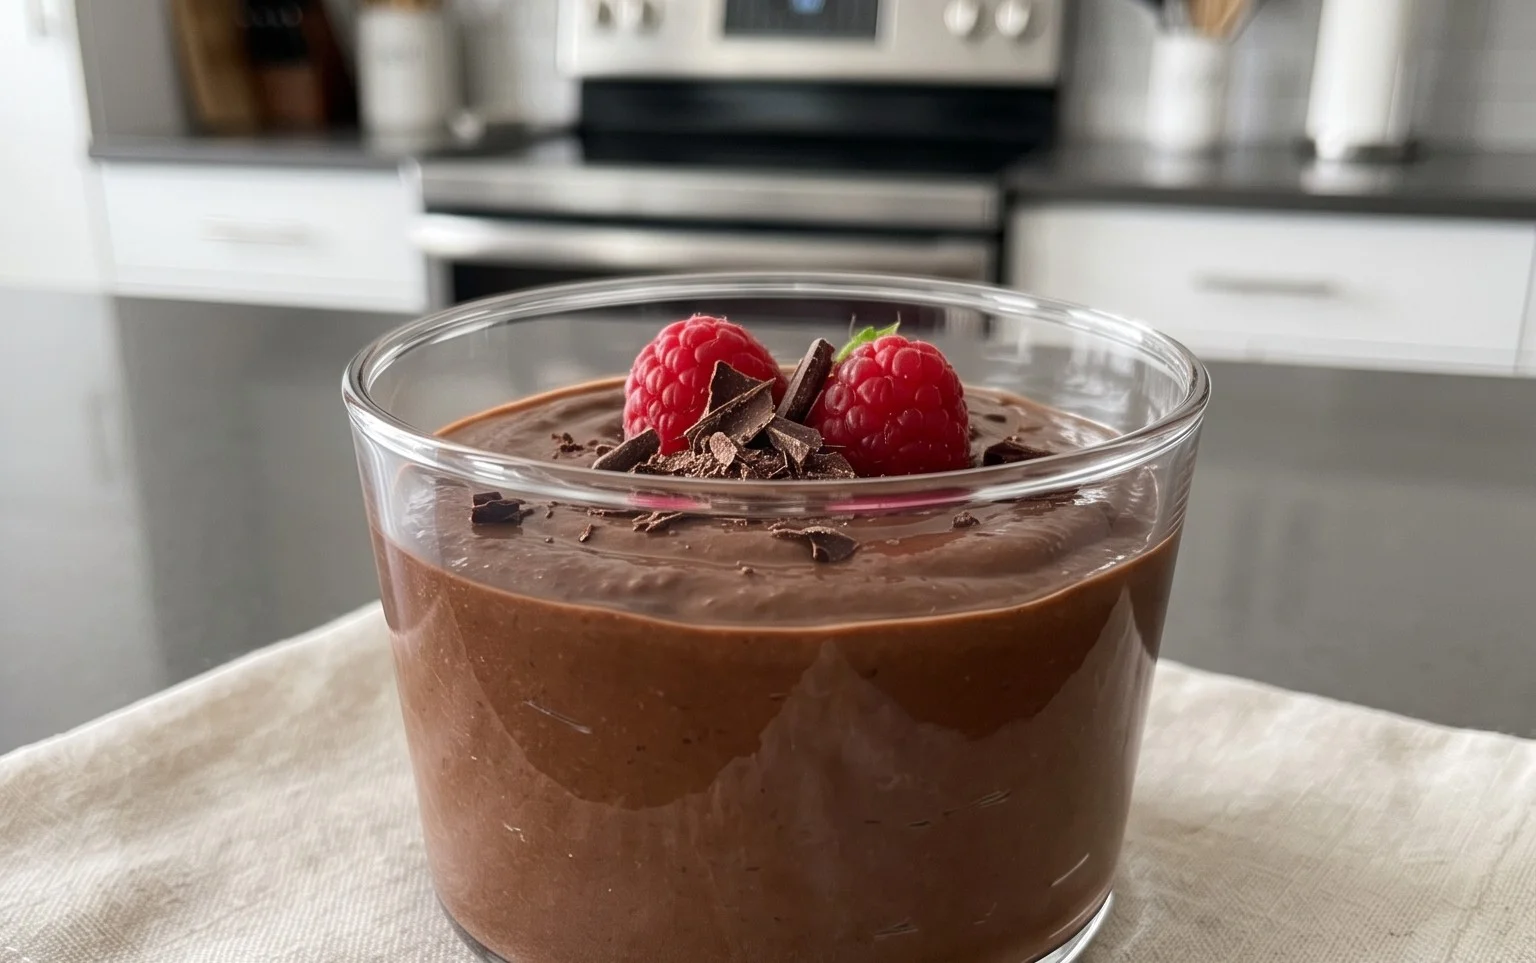
This Chocolate Protein Pudding recipe is a game-changer for anyone looking for a healthy, delicious, and satisfying dessert or snack. Forget those chalky, overly sweet protein bars or puddings that taste like cardboard. This homemade version is incredibly rich, creamy, and packed with flavor, all while delivering a serious protein punch to keep you feeling full and energized. It’s so simple to make, you’ll wonder why you ever bought store-bought versions. Plus, it’s incredibly versatile – you can customize it to your liking with various toppings and flavor additions. Whether you’re a fitness enthusiast, a busy parent, or simply someone who loves chocolate, this recipe is for you.
Ingredients:
Instructions:
Step 1: Prepare Your Base
The foundation of our decadent chocolate protein pudding is, of course, the Greek yogurt. For the creamiest and most satisfying texture, I highly recommend using full-fat Greek yogurt. While you can certainly opt for low-fat or non-fat, the full-fat version lends a luxurious richness that truly elevates this dessert. You can use plain Greek yogurt if you want to control the sweetness entirely, or vanilla Greek yogurt if you prefer a subtle hint of vanilla from the start. Either way, measure out your 5 cups into a large mixing bowl. Make sure the yogurt is at room temperature or slightly softened; if it’s too cold and firm, it might be a bit harder to incorporate the other ingredients smoothly. You can leave it out on the counter for about 15-20 minutes before you begin extract, or give it a quick stir in the bowl to loosen it up.
Step 2: Introduce the Chocolatey Goodness
Now it’s time to add the star flavor: chocolate! We’re going to add 4 scoops of your favorite chocolate protein powder. The amount of protein powder can vary depending on the brand you use, so as a general guideline, each scoop is typically around 2 to 3 tablespoons. This is where you can really personalize your pudding. If you have a favorite brand of chocolate protein powder that you know dissolves well and tastes great, use that! I find that whey protein isolates or blends tend to work best for a smooth texture. Along with the protein powder, we’ll add 3 to 4 tablespoons of unsweetened cocoa powder. This adds an extra layer of deep, rich chocolate flavor and helps to achieve that classic pudding color. Start with 3 tablespoons of cocoa powder, and if you find you want an even more intense chocolate experience, you can always add the fourth tablespoon. Whisk these dry ingredients together with the yogurt until they are starting to combine. Don’t worry if it’s not perfectly smooth yet; we’ll get there.
Step 3: Enhance the Flavor Profile
To round out the flavors and add a touch of sweetness, we’ll now incorporate the vanilla extract and maple syrup. Add 1 teaspoon of vanilla extract. This might seem like a small amount, but it really does wonders to enhance the chocolate flavor and add complexity. Then, we have the sweetener. I’ve suggested 2 tablespoons of maple syrup, but this is another point where you can adjust to your personal preference. If you prefer a less sweet pudding, start with 1 tablespoon. If you have a real sweet tooth, you might want to add a touch more. Other liquid sweeteners like honey or agave nectar can also be used, though maple syrup offers a wonderful subtle flavor. Stir these wet ingredients into the yogurt and chocolate mixture.
Step 4: Achieve the Perfect Pudding Consistency
This is the crucial stage where we blend everything together to create that smooth, pudding-like texture. You have a couple of options here, depending on your equipment and desired outcome. The most effective way to ensure a super smooth pudding is to use an immersion blender or a regular blender. If you have an immersion blender, simply insert it into the bowl with the ingredients and blend until everything is completely smooth and well combined. Be sure to scrape down the sides of the bowl occasionally to incorporate any stubborn bits. If you’re using a regular blender, you might need to do this in batches, especially if your blender is on the smaller side. Transfer about half of the mixture to the blender, blend until smooth, then pour it into a separate container and repeat with the remaining mixture. This method guarantees a lump-free, velvety smooth pudding. If you don’t have access to a blender, you can vigorously whisk the ingredients together by hand with a whisk, but be prepared for a bit more arm work to achieve a similar smoothness. Ensure there are no pockets of dry protein powder or cocoa powder.
Step 5: Chill and Serve
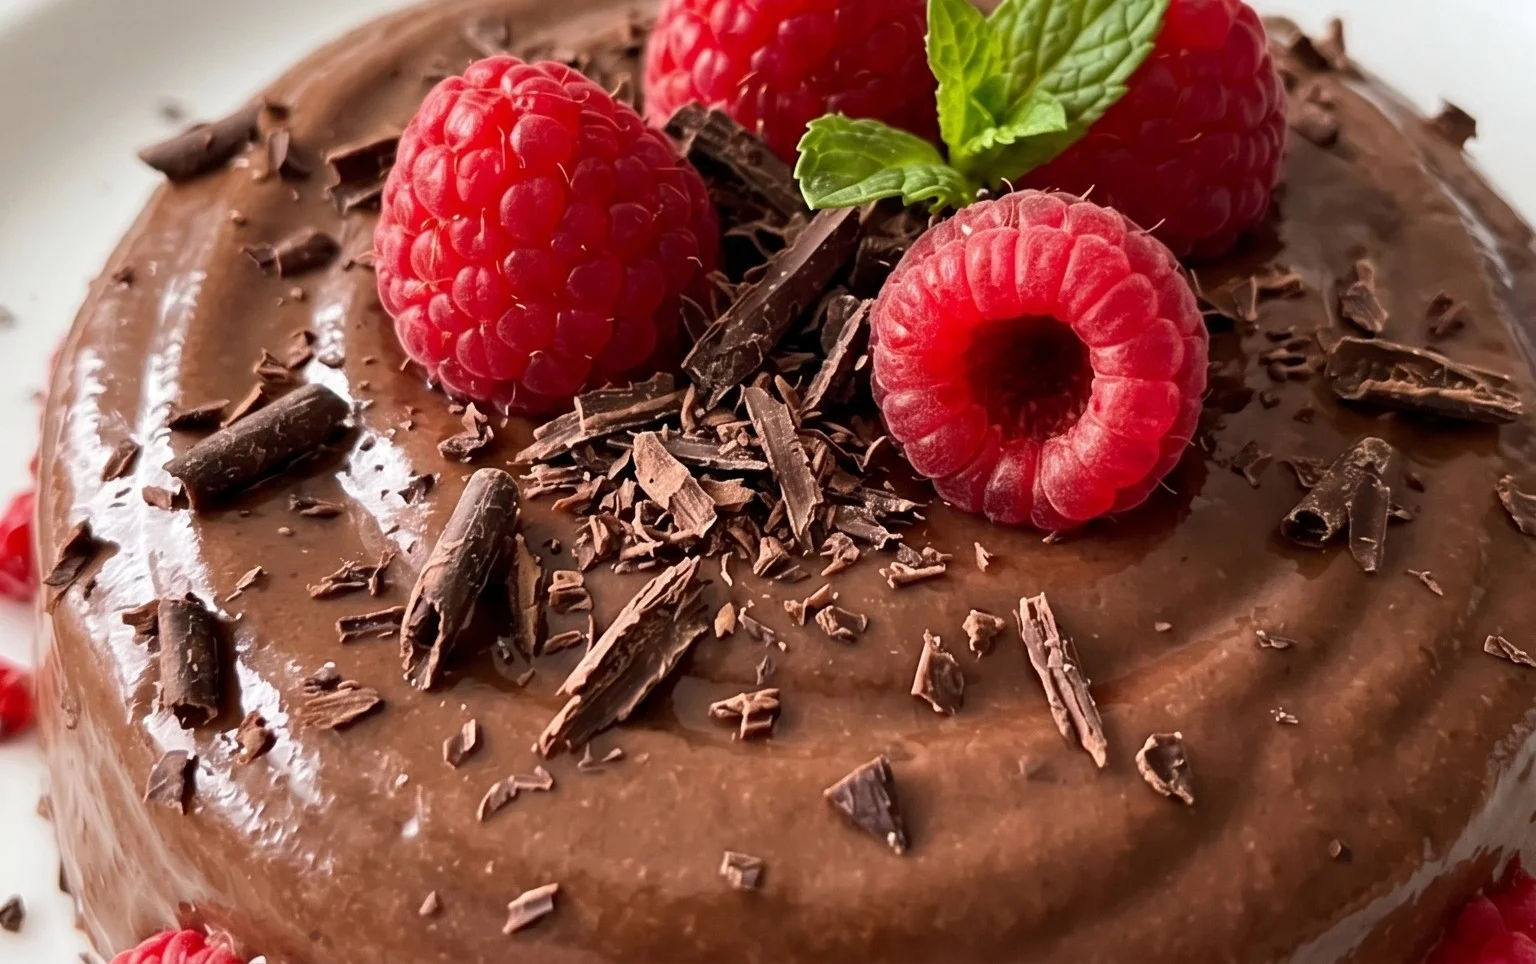
Once your chocolate protein pudding is perfectly smooth and delicious, it’s time to let it work its magic in the refrigerator. Transfer the pudding into individual serving dishes, or a larger container if you plan to scoop it out later. Cover each dish or the main container tightly with plastic wrap or a lid. This prevents a skin from forming on top. Now, let it chill in the refrigerator for at least 2 to 3 hours. This chilling period is essential. It allows the pudding to thicken further, the flavors to meld together beautifully, and for it to reach that perfect, cool, pudding consistency that we all crave. The longer it chills, the firmer it will become. Once chilled, your chocolate protein pudding is ready to be enjoyed! You can serve it as is for a simple, satisfying treat, or get creative with your toppings. Some of my favorite toppings include fresh berries, a sprinkle of chopped nuts, a dollop of whipped cream, or even a few dark chocolate shavings. This recipe makes a generous batch, so you’ll have plenty of delicious, protein-packed pudding to enjoy throughout the week!
Conclusion:
And there you have it – a delicious and incredibly easy Chocolate Protein Pudding recipe that’s perfect for satisfying your sweet cravings while fueling your body. This recipe is a winner because it’s incredibly versatile, requiring minimal ingredients and effort for maximum payoff. It’s a fantastic way to incorporate more protein into your diet without resorting to bland or unappealing options. Whether you need a quick post-workout recovery treat, a healthier dessert alternative, or just a satisfying snack to get you through the afternoon slump, this pudding has got you covered. I love serving mine chilled, topped with fresh berries, a sprinkle of cacao nibs, or a dollop of Greek yogurt for an extra creamy texture and protein boost. Don’t be afraid to get creative with variations too! You can easily swap the cocoa powder for carob, add a hint of espresso for a mocha flavor, or even swirl in some nut butter for added richness and healthy fats. I truly encourage you to give this Chocolate Protein Pudding a try; you won’t be disappointed!
Frequently Asked Questions:
Can I make this recipe vegan?
Absolutely! To make this Chocolate Protein Pudding vegan, simply use a plant-based protein powder (like pea, soy, or a blend) and substitute the milk with your favorite non-dairy alternative such as almond milk, oat milk, or soy milk. Ensure your sweetener is also vegan-friendly.
How long does the pudding last in the refrigerator?
Stored in an airtight container in the refrigerator, this pudding should stay fresh and delicious for about 3 to 4 days. The texture might thicken slightly over time, but it remains perfectly enjoyable.
What kind of protein powder works best?
Most unflavored or chocolate-flavored protein powders will work well. Whey, casein, or plant-based protein powders are all great options. If you use a flavored powder, you might want to adjust the amount of cocoa powder slightly to achieve your desired chocolate intensity.
Chocolate Protein Pudding
A quick and easy, high-protein chocolate pudding perfect for a healthy dessert or snack.
Ingredients
-
5 cups Greek yogurt (full-fat, plain or vanilla)
-
4 scoops chocolate protein powder
-
3 to 4 tablespoons unsweetened cocoa powder
-
1 teaspoon vanilla extract
-
2 tablespoons maple syrup
Instructions
-
Step 1
In a large bowl, combine the Greek yogurt and chocolate protein powder. -
Step 2
Add the unsweetened cocoa powder and vanilla extract to the bowl. -
Step 3
Pour in the maple syrup for sweetness. -
Step 4
Stir all ingredients together until well combined and smooth. You can use a whisk or a hand mixer for a creamier texture. -
Step 5
Taste and adjust sweetness or cocoa powder if desired. -
Step 6
Spoon the pudding into individual serving dishes or a larger container. -
Step 7
Chill in the refrigerator for at least 30 minutes before serving to allow it to thicken.
Important Information
Nutrition Facts (Per Serving)
It is important to consider this information as approximate and not to use it as definitive health advice.
Allergy Information
Please check ingredients for potential allergens and consult a health professional if in doubt.