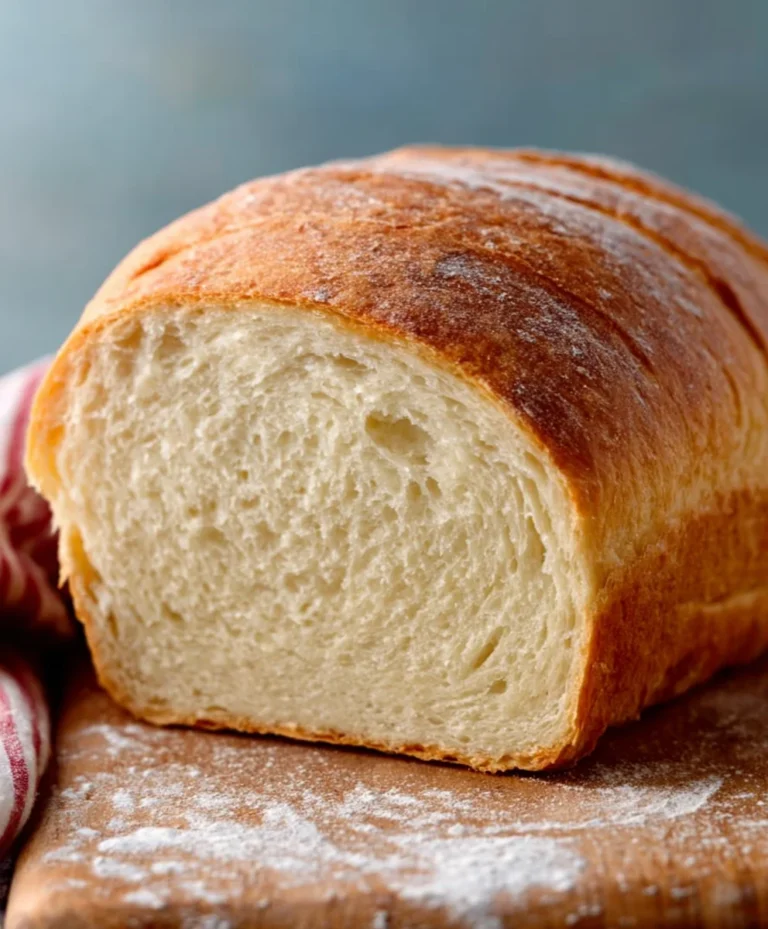
Flaky Homemade Croissants- Easy Recipe Guide
Homemade Flaky Croissants Recipe are the stuff of dreams, aren’t they? That perfect crescent shape, the impossibly light and airy interior, and that golden-brown, shatteringly crisp exterior that releases a symphony of butter as you bite into it. There’s a certain magic to a truly well-made croissant, a testament to patience, precision, and a whole lot of buttery love. For many, the idea of achieving this buttery perfection at home feels like an insurmountable culinary Everest. But I’m here to tell you, with the right guidance and a dash of determination, your own kitchen can transform into a Parisian boulangerie. This Homemade Flaky Croissants Recipe breaks down the seemingly complex process into manageable steps, demystifying the laminating technique that gives croissants their signature layers. Imagin extracte the pride of pulling your very own batch of these exquisite pastries from your oven, the aroma filling your home and beckoning everyone to gather. It’s an experience that elevates a simple breakfast or afternoon tea into something truly special.

Ingredients:
- 2 ¼ teaspoons (1 packet) instant yeast (active dry yeast also works)
- ½ cup water, room temperature
- 3 ½ cups all-purpose flour, plus 2 tablespoons for dusting
- ⅓ cup granulated sugar
- 2 teaspoons salt
- 1 cup whole milk, warmed slightly (you can use 2% milk as well)
- 1 large egg, beaten (for egg wash)
- 1 ½ cups (3 sticks) unsalted butter, chilled and cut into ½-inch cubes
Making the Dough
Combining Wet and Dry Ingredients
To start our journey to homemade flaky croissants, we need to activate the yeast. In a small bowl, combine the instant yeast with the room temperature water. Give it a gentle stir and let it sit for about 5-10 minutes. You should see it become frothy, which indicates the yeast is alive and ready to work its magic. While the yeast is blooming, in a large mixing bowl, whisk together the 3 ½ cups of all-purpose flour, granulated sugar, and salt. This ensures all the dry ingredients are evenly distributed.
Kneading the Dough
Now, it’s time to bring everything together. Pour the bloomed yeast mixture into the dry ingredients. Add the warmed milk to the bowl. Using a wooden spoon or a stand mixer fitted with a dough hook, mix everything until a shaggy dough begin extracts to form. Don’t worry if it looks a bit rough at this stage. Turn the dough out onto a lightly floured surface. We’re aiming for a moderately firm dough, so resist the urge to add too much extra flour. Knead the dough for about 8-10 minutes by hand, or 6-8 minutes in a stand mixer on medium speed. The dough should become smooth and elastic. To test if it’s ready, you should be able to stretch a small piece thinly enough to see light through it without it tearing – this is called the windowpane test.
First Rise (Bulk Fermentation)
Once your dough is smooth and elastic, shape it into a ball. Lightly grease a clean bowl with a little oil or cooking spray. Place the dough ball into the bowl, turning it to coat all sides. Cover the bowl tightly with plastic wrap or a damp kitchen towel. Find a warm, draft-free spot in your kitchen for the dough to rise. This typically takes 1 to 1.5 hours, or until the dough has doubled in size. The warmth helps the yeast create those beautiful air pockets that contribute to the croissant’s texture.
Incorporating the Butter (Lamination)
This is arguably the most crucial step for achieving those signature flaky layers. It’s where we create the “lamination” that sets croissants apart.
Shaping the Butter Slab
Take your chilled, cubed unsalted butter and place it between two sheets of parchment paper. Use a rolling pin to pound and shape the butter into a rough rectangle, approximately 6×8 inches. The butter should be cool and firm but pliable. If it’s too hard, it will tear the dough; if it’s too soft, it will melt into the dough. Aim for a consistent thickness. Once you have your butter slab, slide it back into the refrigerator to chill while you prepare the dough.
Encasing the Butter
Once the dough has doubled in size, punch it down gently to release the air. Turn the dough out onto a lightly floured surface and shape it into a rectangle, roughly 8×10 inches. Place the chilled butter slab on top of the dough rectangle, leaving about a 1-inch border on all sides. Now, carefully fold the edges of the dough over the butter, like an envelope, ensuring the butter is completely enclosed. Pinch the seams together to seal it tightly. This is your first “butter packet.”
The Folding Process (Turns)
This is where the magic of lamination happens. We’ll be performing three “turns” with the dough, with chilling periods in between.
For the first turn: Lightly flour your work surface and gently roll out the dough rectangle into a long strip, about 8×20 inches. Be careful not to press too hard, as we want to keep the butter in large, distinct pieces within the dogin extract. Imagine you are gently coaxing the dough to stretch. Once you have your long strip, fold it into thirds, like folding a business letter. You’ll have three layers of dough with two layers of butter. Wrap this dough package tightly in plastic wrap and refrigerate for at least 30 minutes. This chilling time is vital for the butter to firm up again, preventing it from melting into the dough and ensuring distinct layers.
After the first chilling period, take the dough out of the refrigerator. Place it on your lightly floured surface with the folded edge to your left. Roll it out again into another long strip, about 8×20 inches. Repeat the folding process: fold it into thirds again, creating another set of layers. Wrap tightly and refrigerate for another 30 minutes. This is your second turn.
Finally, after the second chilling period, bring the dough out once more. Roll it out to the same dimensions (8×20 inches). This time, for the final turn, fold it intgin extracthirds by bringing one end to the center and then folding the other end over that. You’ll end up with a neat, multi-layered rectangle. Wrap this tightly in plastic wrap and refrigerate for at least 1 hour, or preferably overnight. This long chill helps the gluten relax, making the dough easier to shape and ensuring maximum flakiness.
Shaping and Baking
Cutting and Rolling the Croissants
Once the dough has had its final chill, it’s time to shape our croissants. Lightly flour your work surface and unwrap the dough. Roll it out into a large rectangle, approximately 10×15 inches and about ¼ inch thick. Using a sharp knife or a pizza cutter, trim the edges to create clean lines. Then, cut the rectangle into long, skinny triangles. A good size to aim for is a base of about 3-4 inches and a height of 8-10 inches.
Now, for the shaping: take one of your triangles and make a small slit (about ½ inch) in the center of the base. Gently stretch the dough slightly, then roll it up from the base towards the point. As you roll, you can gently pull outwards to help create a slight curve. Once rolled, curve the ends inwards to form the classic croissant crescent shape. Place the shaped croissants on a baking sheet lined with parchment paper, leaving plenty of space between them as they will expand.
Second Rise (Proofing)
Cover the shaped croissants loosely with plastic wrap or a clean kitchen towel. Let them proof in a warm place for another 1 to 1.5 hours, or until they look noticeably puffed up and feel light. You should be able to see the layers separating slightly. This is the final rise before baking, allowing the yeast to do its work one last time.
Egg Wash and Baking
Preheat your oven to 400°F (200°C) about 20 minutes before you plan to bake. In a small bowl, whisk together the beaten egg with about 1 tablespoon of water. This creates your egg wash. Gently brush the tops and sides of each proofed croissant with the egg wash. This will give them a beautiful golden-brown, glossy finish. Place the baking sheet in the preheated oven. Bake for 15-20 minutes, or until the croissants are deeply golden brown and sound hollow when tapped on the bottom. If they start browning too quickly, you can loosely tent them with aluminum foil. Allow them to cool on a wire rack for a few minutes before enjoying the fruits of your labor.

Conclusion:
You’ve now mastered the art of creating beautiful, buttery, and incredibly flaky croissants right in your own kitchen with this Homemade Flaky Croissants Recipe! We’ve walked through each step, from laminating the dough to achieving that perfect golden-brown finish, and the result is truly rewarding. These croissants are more than just a pastry; they’re a testament to patience and the joy of creating something truly special from scratch. Enjoy the unparalleled aroma filling your home and the delightful crunch and tender interior that only homemade croissants can deliver.
For serving, these Homemade Flaky Croissants Recipe delights are best enjoyed fresh and warm. They are fantastic on their own, showcasing their delicate layers. However, they also make a superb base for sweet or savory fillings. Imagin extracte them sliced and filled with a smear of jam or honey, or perhaps served alongside a light brunch spread with scrambled eggs and smoked salmon. They’re also the perfect companion to your morning coffee or afternoon tea.
Don’t be afraid to experiment with variations! You can incorporate a touch of almond extract into the dough for an almond croissant flavor, or add a sprinkle of cinnamon sugar before rolling for a sweet treat. For a savory twist, consider adding finely chopped herbs like chives or rosemary to the dough during the final fold.
We encourage you to embrace the process. While it requires time and attention, the satisfaction of pulling these golden beauties from your oven is immense. Happy baking!
FAQ for Homemade Flaky Croissants Recipe:
What is the best type of flour to use for this Homemade Flaky Croissants Recipe?
For the best results with this Homemade Flaky Croissants Recipe, we recommend using bread flour. Bread flour has a higher protein content, which develops stronger gluten structures. This is crucial for achieving the characteristic lightness and chegrape juicess of croissants, as well as supporting the many delicate layers created during lamination.
My croissants didn’t rise as much as I expected. What could be the reason?
There are a few common reasons why your Homemade Flaky Croissants Recipe might not have risen as much as you hoped. Firstly, ensure your yeast is active and fresh. You can test this by proofing it in warm water with a pinch of sugar – it should bubble within 5-10 minutes. Secondly, the temperature of your kitchen is vital. Croissants need a warm environment to rise properly, but not so hot that the butter melts. Drafts or cold environments can significantly hinder proofing. Lastly, make sure you haven’t overworked the dough during kneading, as this can toughen the gluten and restrict expansion.
Flaky Homemade Croissants – Easy Recipe Guide
Learn how to make incredibly flaky and delicious homemade croissants with this easy-to-follow recipe. Achieve perfect layers and a golden-brown finish.
Ingredients
-
2 ¼ teaspoons instant yeast (or active dry yeast)
-
½ cup water, room temperature
-
3 ½ cups all-purpose flour, plus 2 tablespoons for dusting
-
⅓ cup granulated sugar
-
2 teaspoons salt
-
1 cup whole milk, warmed slightly
-
1 large egg, beaten (for egg wash)
-
1 ½ cups unsalted butter, chilled and cut into ½-inch cubes
Instructions
-
Step 1
Activate yeast: Combine yeast with room temperature water, stir, and let sit for 5-10 minutes until frothy. In a separate bowl, whisk together flour, sugar, and salt. -
Step 2
Make dough: Add bloomed yeast mixture and warmed milk to dry ingredients. Mix until a shaggy dough forms. Knead on a floured surface for 8-10 minutes until smooth and elastic. -
Step 3
First rise: Shape dough into a ball, place in a greased bowl, cover, and let rise in a warm place for 1-1.5 hours, or until doubled in size. -
Step 4
Laminate dough: Shape chilled butter into a 6×8 inch rectangle. Punch down dough, shape into an 8×10 inch rectangle. Encase butter in dough by folding edges. Perform three ‘turns’ (folding and rolling out dough into thirds), with 30-minute chilling periods between each turn. Final chill for at least 1 hour or overnight. -
Step 5
Shape croissants: Roll dough into a 10×15 inch rectangle, cut into triangles. Make a small slit at the base of each triangle, roll from base to point, and curve ends to form crescents. Place on a parchment-lined baking sheet. -
Step 6
Second rise (proofing): Cover shaped croissants and let them proof in a warm place for 1-1.5 hours until puffed and light. -
Step 7
Bake: Preheat oven to 400°F (200°C). Brush croissants with egg wash. Bake for 15-20 minutes until golden brown. Cool on a wire rack.
Important Information
Nutrition Facts (Per Serving)
It is important to consider this information as approximate and not to use it as definitive health advice.
Allergy Information
Please check ingredients for potential allergens and consult a health professional if in doubt.