The Best Sandwich Bread Recipe Ever- Easy Homemade Loaf
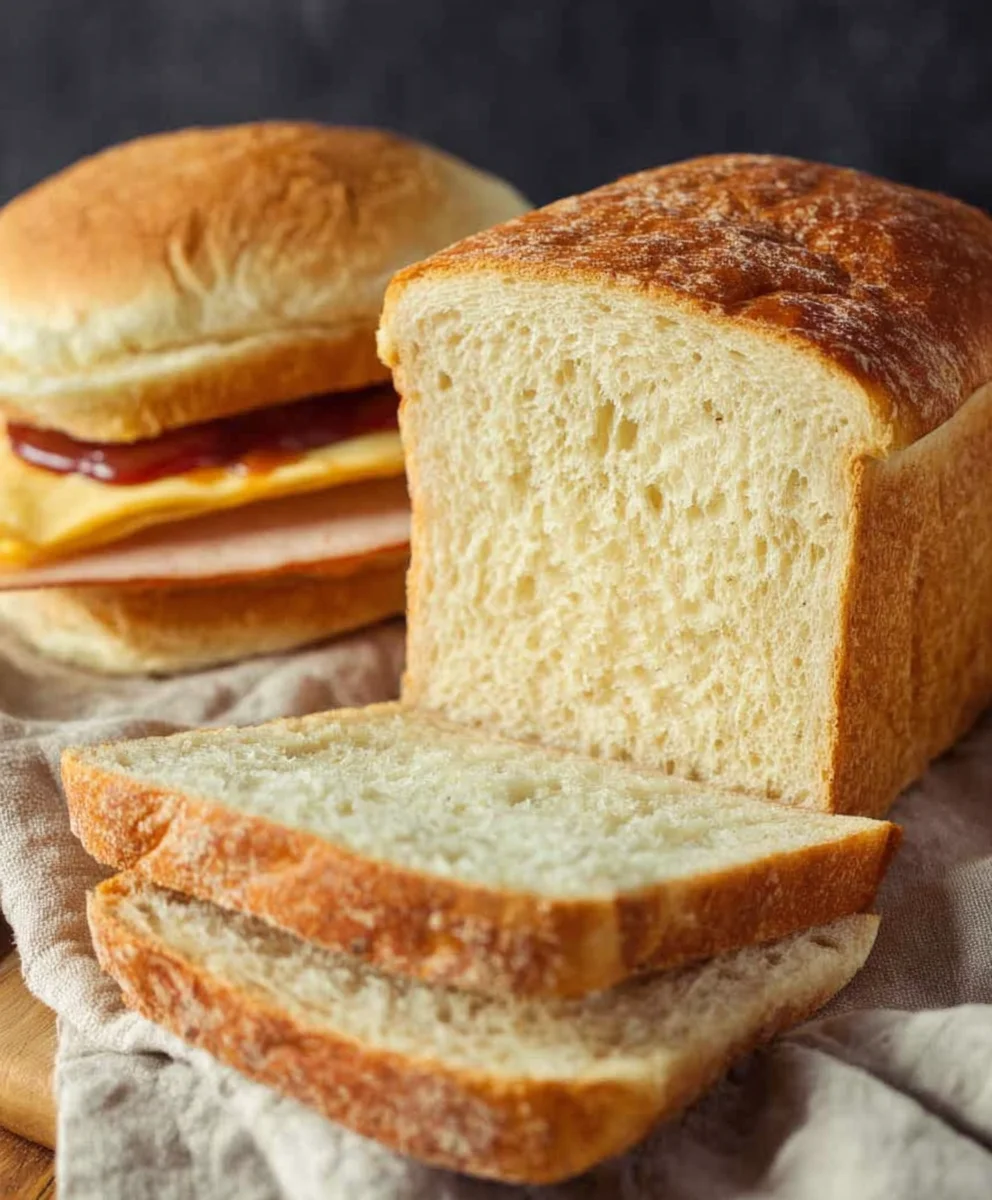
Best Sandwich Bread is more than just a foundation; it’s the unsung hero of every delicious bite. We all have those days where only a perfectly constructed sandwich will do, a comforting embrace of flavors and textures. But what truly elevates a good sandwich to an unforgettable one? It all begin extracts with the bread. This isn’t just any loaf; it’s a carefully crafted recipe designed to be the best sandwich bread you’ve ever made at home. People adore this particular bread because it achieves that ideal balance: soft enough to be incredibly tender and easy to bite through, yet sturdy enough to hold up to even the most generously piled fillings without becoming soggy or collapsing. It’s the secret ingredient that makes your beef ham and cheese feel gourmet, your turkey club legendary, and your grilled cheese an absolute masterpiece. Get ready to transform your lunchtime routine with a bread that’s simply superior.
Ingredients:
- 3/4 Cup Warm Water (around 105-115°F or 40-46°C)
- 1/2 Cup Warm Milk (around 105-115°F or 40-46°C)
- 1 Tablespoon Granulated Sugar
- 1 Tablespoon Brown Sugar
- 2 1/4 Teaspoons Active Dry Yeast (this is typically one standard packet)
- 2 Tablespoons Olive Oil, plus extra for greasing
- 1/2 Teaspoon Salt
- 3 Cups All-Purpose Flour, plus extra for dusting
Preparing the Dough
Activating the Yeast
The first step to creating the best sandwich bread is to properly activate your yeast. In a large mixing bowl, combine the warm water and warm milk. It’s important that these liquids are warm, but not hot, as excessively hot temperatures can kill the yeast. The ideal temperature range is between 105-115°F (40-46°C). If you don’t have a thermometer, a good test is to be able to comfortably hold your finger in the liquid for a few seconds. To this warm liquid mixture, add the granulated sugar and brown sugar. The sugars provide food for the yeast, helping it to bloom. Sprinkle the active dry yeast over the surface of the liquid. You don’t need to stir it in just yet. Let this mixture sit undisturbed for about 5 to 10 minutes. During this time, you should see the yeast become foamy and bubbly on the surface. This foamy layer is a visual confirmation that your yeast is alive and active, ready to work its magic and create a wonderfully airy bread. If you don’t see any foam after 10 minutes, it’s best to discard this mixture and start again with fresh yeast, as it may be inactive.
Incorporating Wet and Dry Ingredients
Once your yeast has bloomed, it’s time to add the other wet ingredients. Gently stir in the 2 tablespoons of olive oil into the foamy yeast mixture. Then, add the 1/2 teaspoon of salt. The salt not only adds flavor to your bread but also helps to control the yeast’s activity. Now, begin extract adding the flour. Add about half of the 3 cups of flour to the bowl. Stir with a wooden spoon or a sturdy spatula until just combined. The mixture will be quite shaggy and wet at this stage. Now, gradually add the remaining flour, about a half-cup at a time, stirring after each addition. You may not need all 3 cups of flour, or you might need a tiny bit more, depending on the humidity in your kitchen. The dough should start to pull away from the sides of the bowl and become a bit more manageable.
Kneading and First Rise
Kneading the Dough
Once the dough is too stiff to stir effectively, it’s time to turn it out onto a lightly floured surface. This is where the magic of kneading comes in, developing the gluten structure that gives our sandwich bread its characteristic soft texture. Dust your hands lightly with flour as wellgin extractnd begin to knead the dough. To knead, push the dough away from you with the heels of your hands, then fold it back over itself, turn it a quarter turn, and repeat. Continue this process for about 8 to 10 minutes. The dough will start out sticky and a bit lumpy, but as you knead, it will become smooth, elastic, and less sticky. You’ll know it’s ready when you can stretch a small piece of the dough very thinly without it tearing, creating a “windowpane” effect. If the dough becomes too sticky during kneading, don’t be tempted to add too much extra flour; a little bit more dusting on your hands and the surface is usually sufficient.
First Rise (Proofing)
After kneading, shape the dough into a smooth ball. Lightly grease a clean bowl with a little extra olive oil. Place the dough ball in the greased bowl, turning it once to coat all sides with oil. This prevents a dry skin from forming on the dough as it rises. Cover the bowl tightly with plastic wrap or a clean, damp kitchen towel. Place the bowl in a warm, draft-free spot in your kitchen. An oven that has been briefly warmed and then turned off is an ideal location. Allow the dough to rise for about 1 to 1.5 hours, or until it has doubled in size. The time will vary depending on the temperature of your environment. You’ll see the dough puff up significantly, looking light and airy.
Shaping and Baking
Shaping the Loaf
Once the dough has doubled, gently punch it down to release the air. Turn the dough out onto your lightly floured work surface once more. For a classic sandwich loaf, you’ll want to shape it into an oblong form that will fit your loaf pan. Gently flatten the dough into a rectangle. Then, starting from one of the longer sides, tightly roll up the dough like a jelly roll. Pinch the seam closed to seal it. Tuck the ends under to create a smooth loaf shape. Prepare your loaf pan by greasing it with butter or oil and lightly flouring it, or line it with parchment paper for easy removal. Carefully place the shaped dough into the prepared loaf pan, seam-side down.
Second Rise and Baking
Cover the loaf pan loosely with plastic wrap or a clean kitchen towel. Let the dough rise again in a warm place for another 30 to 45 minutes, or until it has risen about an inch above the rim of the pan. While the dough is on its second rise, preheat your oven to 375°F (190°C). Once the oven is preheated and the dough has completed its second rise, remove the cover and place the loaf pan on the middle rack of the preheated oven. Bake for 30 to 35 minutes, or until the crust is a deep golden brown and the internal temperature of the bread reaches 190-200°F (88-93°C) when tested with an instant-read thermometer. If the crust is browning too quickly, you can loosely tent the loaf with aluminum foil. Once baked, carefully remove the bread from the loaf pan and let it cool completely on a wire rack before slicing. This is crucial for the texture of the bread. Slicing too soon can result in a gummy texture. Enjoy your homemade best sandwich bread!
Conclusion:
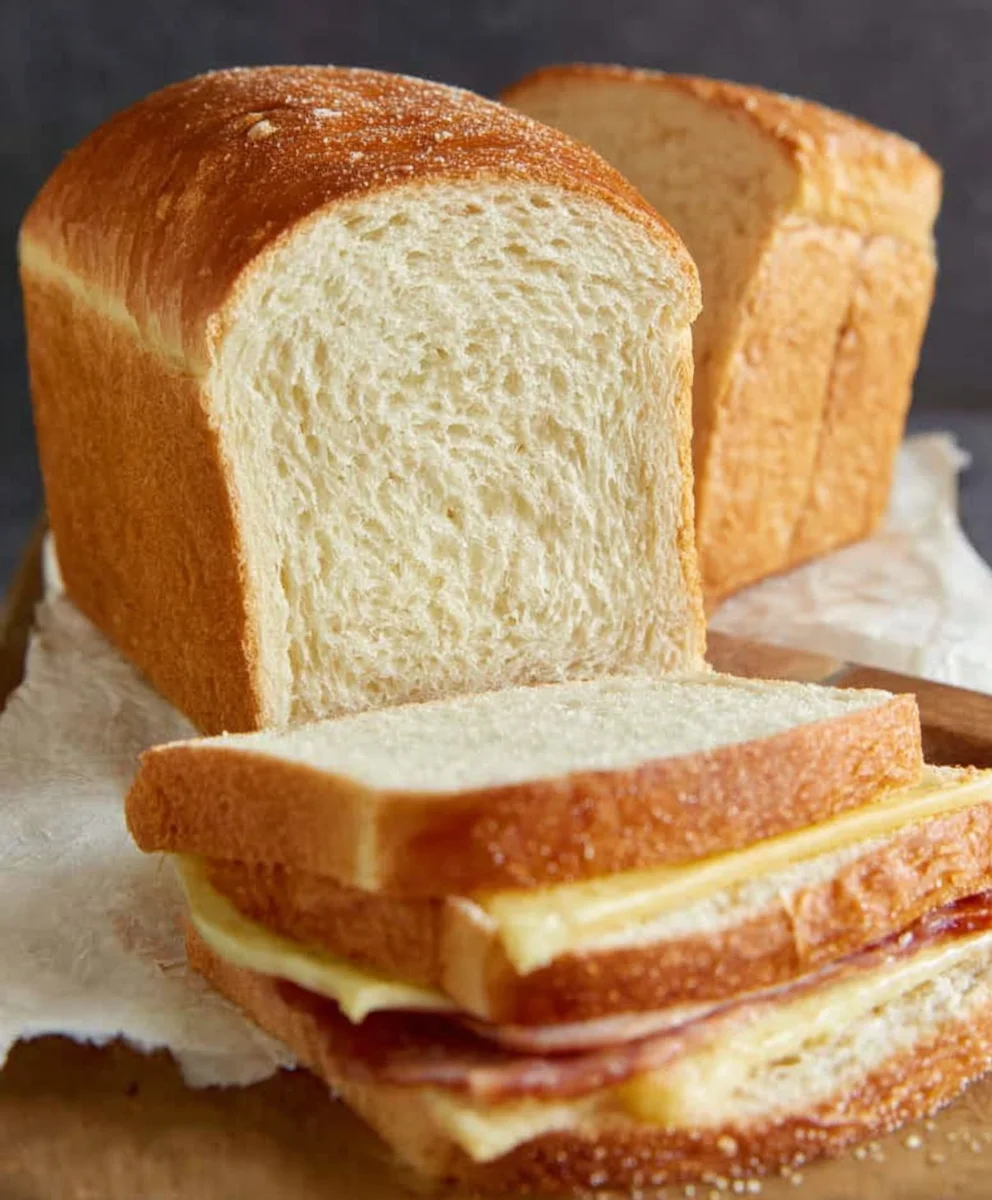
You’ve just unlocked the secret to the perfect loaf with this Best Sandwich Bread recipe! I hope you’re feeling inspired and ready to get baking. This recipe is designed to be approachable, resulting in a wonderfully soft, slightly sweet, and perfectly shaped loaf that’s ideal for all your sandwich creations. From classic beef ham and cheese to more elaborate fillings, this bread will be the foundation of countless delicious meals. Don’t be afraid to experiment with it; it’s fantastic toasted with butter or jam, too!
For serving suggestions, consider slicing it generously and using it for grilled cheese, French toast, or simply enjoying a warm slice with your favorite soup. If you’re feeling adventurous, try adding a handful of seeds like poppy or sesame to the dough for extra texture and flavor. You can also add a pinch of dried herbs for a savory twist.
Remember, baking is a journey, and practice makes perfect. Don’t be discouraged if your first loaf isn’t exactly what you envisioned. Each bake is a learning experience. Enjoy the process, the incredible aroma that will fill your kitchen, and most importantly, the delicious taste of your homemade Best Sandwich Bread!
Frequently Asked Questions:
Why does my Best Sandwich Bread come out dense?
A dense loaf can often be caused by not allowing the dough to rise sufficiently or by over-kneading. Make sure you’re giving the dough enough time in a warm spot to double in size. Also, be careful not to overwork the gluten once it’s developed. Gentle handling after the initial kneading is key.
Can I make this Best Sandwich Bread recipe ahead of time?
Absolutely! This Best Sandwich Bread freezes beautifully. Once completely cooled, wrap it tightly in plastic wrap and then in foil, or place it in a freezer-safe bag. It should stay fresh for up to 3 months. Thaw it at room temperature or toast slices directly from frozen.
The Best Sandwich Bread Recipe Ever- Easy Homemade Loaf
An easy recipe for a soft, homemade sandwich bread loaf that’s perfect for slicing and toasting.
Ingredients
-
3/4 Cup Warm Water
-
1/2 Cup Warm Milk
-
1 Tablespoon Granulated Sugar
-
1 Tablespoon Brown Sugar
-
2 1/4 Teaspoons Active Dry Yeast
-
2 Tablespoons Olive Oil
-
1/2 Teaspoon Salt
-
3 Cups All-Purpose Flour
Instructions
-
Step 1
In a large mixing bowl, combine warm water and warm milk (105-115°F). Add granulated sugar, brown sugar, and active dry yeast. Let sit undisturbed for 5-10 minutes until foamy. -
Step 2
Gently stir in olive oil and salt into the foamy yeast mixture. Gradually add flour, about half a cup at a time, stirring until the dough pulls away from the sides of the bowl. -
Step 3
Turn the dough onto a lightly floured surface and knead for 8-10 minutes until smooth and elastic. Shape into a ball. -
Step 4
Place dough in a greased bowl, turning to coat. Cover and let rise in a warm, draft-free spot for 1-1.5 hours, or until doubled in size. -
Step 5
Punch down dough, flatten into a rectangle, and roll up tightly like a jelly roll. Pinch seam and tuck ends. Place seam-side down in a greased and floured loaf pan. -
Step 6
Cover and let rise again in a warm place for 30-45 minutes, or until it has risen about an inch above the pan rim. Preheat oven to 375°F (190°C). -
Step 7
Bake for 30-35 minutes, until deep golden brown and internal temperature reaches 190-200°F (88-93°C). Tent with foil if crust browns too quickly. -
Step 8
Remove from pan and cool completely on a wire rack before slicing to achieve the best texture.
Important Information
Nutrition Facts (Per Serving)
It is important to consider this information as approximate and not to use it as definitive health advice.
Allergy Information
Please check ingredients for potential allergens and consult a health professional if in doubt.