Easy Homemade Bread Recipe for Begin extractners – Bake Fresh Now
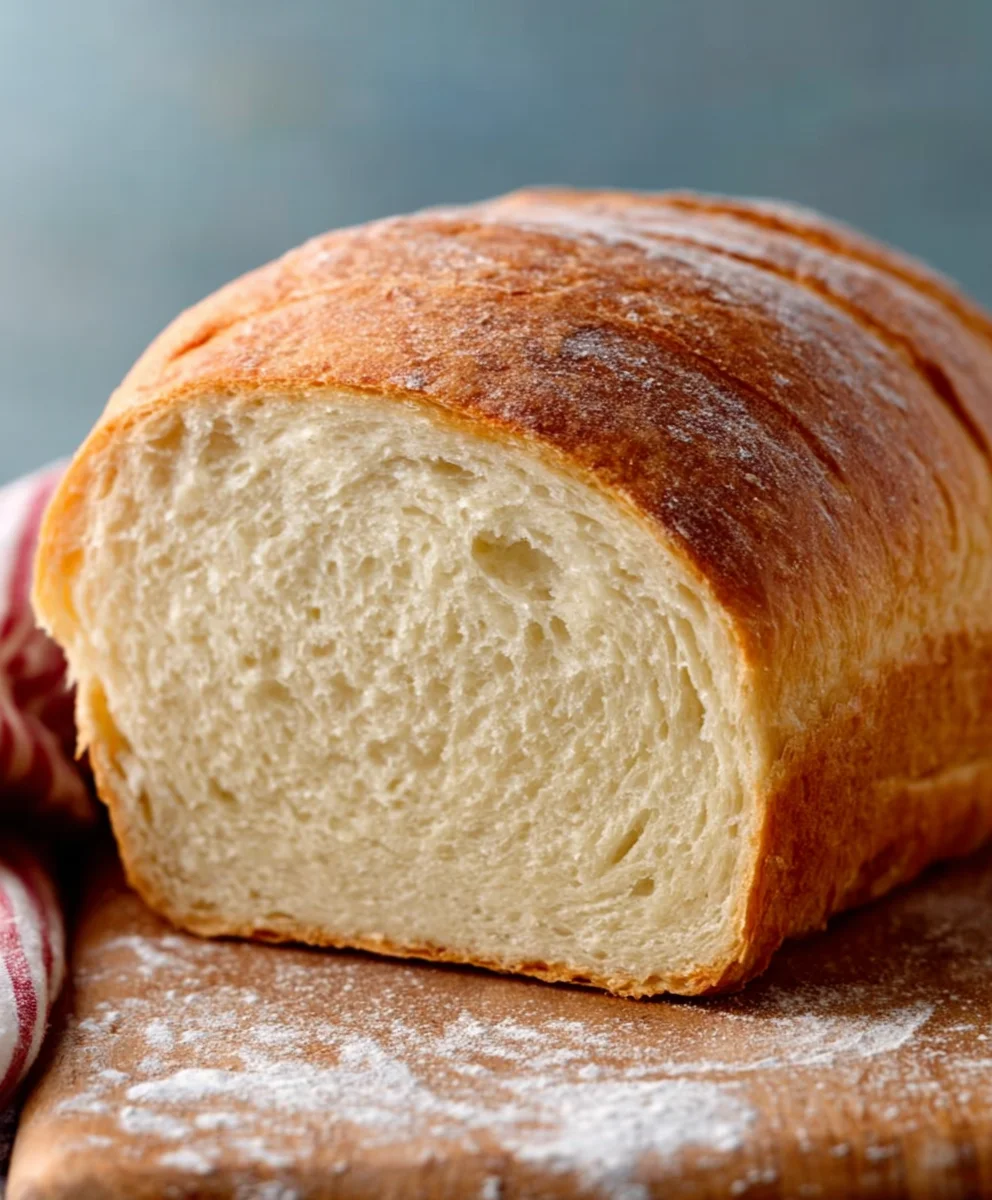
Homemade bread recipe for begin extractners is an incredibly rewarding culinary adventure, and I’m thrilled to guide you through it. There’s a unique magic that happens when you transform simple ingredients like flour, water, yeast, and salt into a warm, crusty loaf right in your own kitchen. It’s no wonder so many people fall in love with the process and the delicious results. This particular homemade bread recipgin extractor beginners is designed to demystify the art of baking, ensuring that even if you’ve never kneaded dough before, you’ll achieve a delightful, satisfying bread. What makes this recipe truly special is its forgiving nature and the emphasis on creating a flavorful, tender crum extractb with a perfectly golden crust, all without requiring advanced techniques or specialized equipment. Get ready to fill your home with the irresistible aroma of freshly baked bread!
Ingredients:
- 1 ½ cups warm water (105-115°F / 40-46°C)
- 2 ¼ teaspoons active dry yeast
- 1 teaspoon granulated sugar
- 3 ¾ cups all-purpose flour, plus more for dusting
- 1 teaspoon salt
- 2 tablespoons olive oil, plus more for greasing
Preparation Phase
Activating the Yeast
First, we need to wake up our yeast and ensure it’s active and ready to work its magic. In a large mixing bowl, combine the warm water, granulated sugar, and active dry yeast. Give it a gentle stir with a spoon or whisk. The sugar provides a little food for the yeast, helping it to bloom. Let this mixture sit undisturbed for about 5 to 10 minutes. You’ll know your yeast is alive and well if it becomes foamy and bubbly on the surface. If it doesn’t foam, your yeast might be old or the water temperature was off, and it’s best to start again with fresh yeast.
Mixing the Dough
Once your yeast mixture is nice and frothy, it’s time to add the other ingredients. To the same bowl, add the all-purpose flour and the salt. Pour in the 2 tablespoons of olive oil. Now, using a sturdy spoon or a dough whisk, begin extract to mix everything together. Start by incorporating the dry ingredients into the wet. It will look shaggy and unappealing at first, but keep mixing until most of the flour is hydrated. You want to bring everything together into a cohesive ball of dough. Don’t worry about overmixing at this stage; the goal is just to get it all combined.
Kneading Phase
Developing Gluten Structure
Now comes the fun part – kneading! Lightly flour a clean countertop or a large work surface. Turn the dough out of the bowl onto the floured surface. It will be sticky, and that’s perfectly normal. Resist the urge to add too much extra flour, as this can make your bread dgin extracte. Begin to knead the dough by pushing it away from you with the heel of your hand, then folding it back over itself. Rotate the dough a quarter turn and repeat. Continue this process for about 8 to 10 minutes. You’re looking for the dough to become smooth, elastic, and less sticky. A good test is to gently poke the dough; if it springs back slowly, it’s ready. This kneading process develops the gluten, which gives the bread its structure and chew.
First Rise Phase
Allowing the Dough to Proof
Once you’ve achieved a smooth and elastic dough, it’s time to let it rise. Lightly grease a clean, large bowl with a little olive oil. Place the kneaded dough into the oiled bowl, turning it once to coat the entire surface with oil. This prevents the dough from drying out as it rises. Cover the bowl tightly with plastic wrap or a clean kitchen towel. Find a warm, draft-free spot in your kitchen. An oven with the light on but the oven itself off is often a perfect spot. Let the dough rise for 1 to 1 ½ hours, or until it has doubled in size. This magical transformation is due to the yeast producing carbon dioxide gas, which gets trapped in the gluten network, causing the dough to puff up.
Shaping and Second Rise Phase
Preparing for Baking
After the dough has doubled in size, it’s time to gently punch it down to release the trapped gases. You can do this by gently pressing your fist into the center of the dough. Turn the dough out onto a lightly floured surface. At this point, you can shape your bread. For a classic loaf, gently form the dough into a round or an oblong shape. If you prefer, you can divide the dough into smaller portions to make rolls or smaller loaves. Once shaped, place the dough onto a baking sheet lined with parchment paper or into a greased loaf pan. Cover it loosely with plastic wrap or a clean kitchen towel and let it rise again for about 30 to 45 minutes, or until it looks puffy and has increased in size by about half. This second rise is crucial for a light and airy texture.
Baking Phase
Achieving the Perfect Crust
Preheat your oven to 400°F (200°C) during the last 15 minutes of the second rise. Once the dough has completed its second rise, it’s ready for the oven. You can optionally brush the top of the loaf with a little water or milk and sprinkle with seeds if you like. Carefully place the baking sheet or loaf pan into the preheated oven. Bake for 30 to 35 minutes for a large loaf, or about 20 to 25 minutes for smaller rolls. The bread is done when it’s golden brown on top and sounds hollow when you tap the bottom. For a crispier crust, you can place a shallow pan of water on the bottom rack of your oven while it bakes to create steam. Once baked, remove the bread from the oven and immediately transfer it from the baking sheet or loaf pan to a wire rack to cool. This allows air to circulate and prevents the bottom crust from becoming soggy. Let it cool completely before slicing, as the inside continues to cook as it cools.
Conclusion:
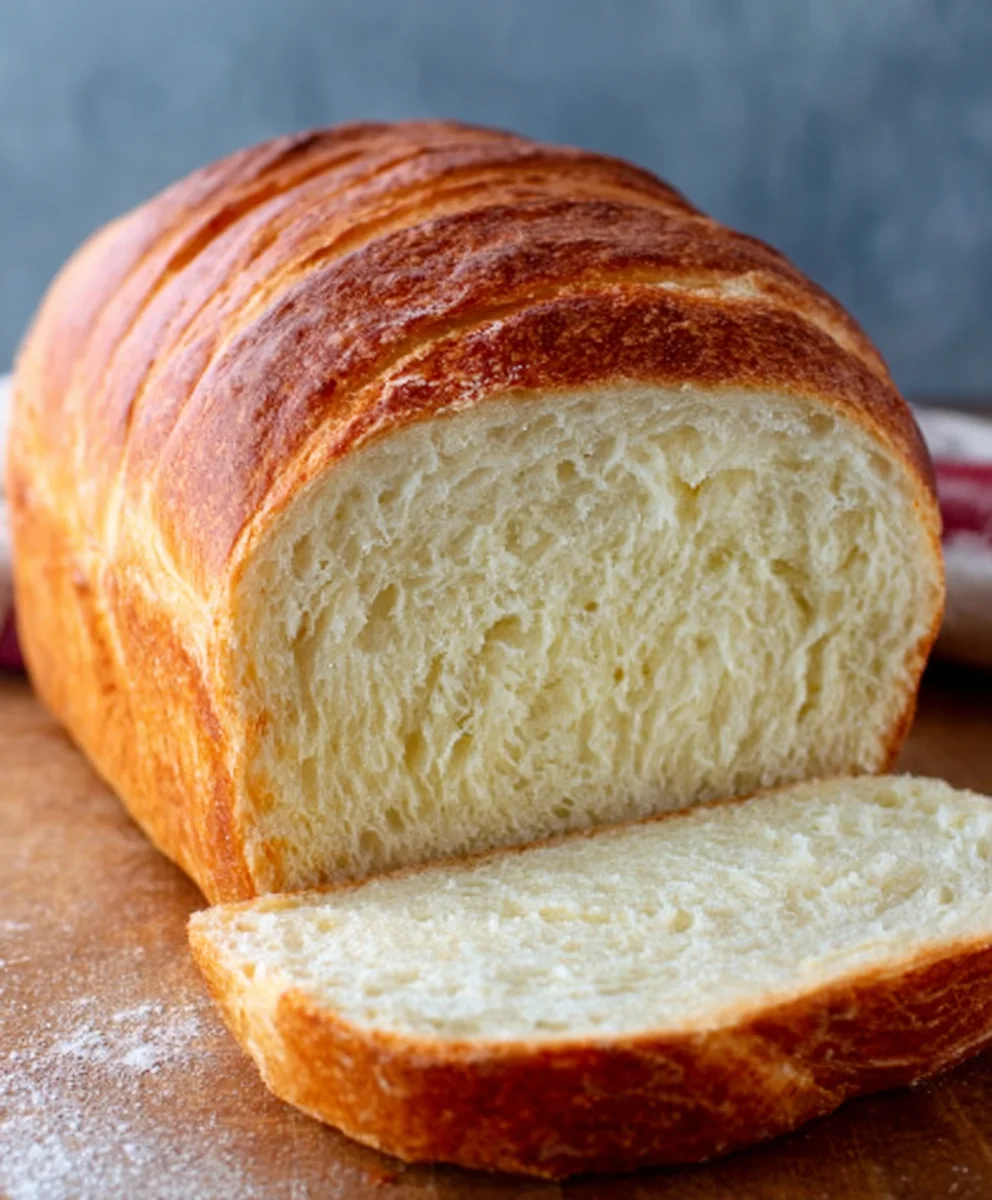
Congratulations, you’ve successfully embarked on your baking journey with this Homemade Bread Recipe for Begin extractners! We’ve walked through each simple step, from mixing the dough to achieving that perfectly golden crust. The aroma filling your kitchen right now is the sweet reward for your efforts. This recipe is incredibly versatile, proving that delicious, artisanal bread is well within your reach. Don’t be afraid to experiment and make this recipe your own. Enjoy the incredible satisfaction of slicing into a loaf you baked with your own hands. It’s a truly heartwarming experience that we hope you’ll repeat again and again.
For serving suggestions, this bread is divine on its own, lightly toasted with a smear of butter. It also makes an exceptional base for hearty sandwiches, a delightful accompaniment to soups and stews, or as the star of a simple bruschetta. If you’re feeling adventurous, consider variations such as adding herbs like rosemary or thyme to the dough, or incorporating a handful of seeds for added texture and flavor. You could even try a touch of honey or maple syrup for a subtly sweet loaf.
FAQs:
What if my dough doesn’t rise?
If your dough doesn’t seem to be rising, it could be due to a few common reasons. Ensure your yeast was fresh and activated properly. If using instant yeast, it can often be mixed directly with the dry ingredients. Water temperature is also crucial; it should be lukewarm (around 105-115°F or 40-46°C) – too hot will kill the yeast, and too cold won’t activate it sufficiently. Also, check the ambient temperature of your kitchen. Yeast prefers a warm environment to thrive. Try placing the dough in a slightly warmer spot, like a turned-off oven with the light on, to encourage it.
Can I make this Homemade Bread Recipgin extractor Beginners ahead of time?
Absolutely! Once baked and completely cooled, you can store the Homemade Bregin extractRecipe for Beginners in an airtight bag or container at room temperature for up to 3-4 days. For longer storage, wrap it tightly in plastic wrap, then in aluminum foil, and freeze it for up to 3 months. Thaw at room temperature or gently reheat slices in a toaster or oven.
Easy Homemade Bread Recipe for Beginners
A simple and straightforward recipe for beginners to bake fresh, delicious bread at home.
Ingredients
-
1 ½ cups warm water (105-115°F / 40-46°C)
-
2 ¼ teaspoons active dry yeast
-
1 teaspoon granulated sugar
-
3 ¾ cups all-purpose flour, plus more for dusting
-
1 teaspoon salt
-
2 tablespoons olive oil, plus more for greasing
Instructions
-
Step 1
In a large mixing bowl, combine warm water, granulated sugar, and active dry yeast. Let sit for 5-10 minutes until foamy. -
Step 2
Add all-purpose flour and salt to the yeast mixture. Pour in olive oil. Mix with a spoon or dough whisk until a shaggy dough forms. -
Step 3
Turn dough onto a lightly floured surface. Knead for 8-10 minutes until smooth and elastic. -
Step 4
Place dough in a lightly oiled bowl, cover, and let rise in a warm spot for 1 to 1 ½ hours, or until doubled in size. -
Step 5
Gently punch down dough, shape into a loaf, and place on a baking sheet or in a loaf pan. Cover and let rise for 30-45 minutes. -
Step 6
Preheat oven to 400°F (200°C). Bake for 30-35 minutes for a large loaf, or until golden brown and hollow-sounding when tapped. -
Step 7
Cool completely on a wire rack before slicing.
Important Information
Nutrition Facts (Per Serving)
It is important to consider this information as approximate and not to use it as definitive health advice.
Allergy Information
Please check ingredients for potential allergens and consult a health professional if in doubt.