Dairy Free Pesto Recipe – Easy & Delicious
Dairy Free Pesto is an absolute game-changer in my kitchen, and I know you’ll feel the same way once you try it. For years, I adored traditional pesto, but the quest for a dairy-free option that tasted just as vibrant and fresh felt like a culinary Everest. Why do we all love pesto so much? It’s that burst of herbaceous basil, the satisfying crunch of pine nuts, the zing of garlic, all brought together with a rich, luscious texture. It’s the ultimate sauce for pasta, a delightful dip, and an incredible spread. But the secret ingredient, traditionally Parmesan cheese, often left those of us avoiding dairy feeling a little left out. That’s where this incredible Dairy Free Pesto shines. It delivers all the classic flavour profiles you crave, proving that you don’t need dairy to achieve that incredible depth and mouthfeel. It’s surprisingly simple to make and opens up a whole new world of delicious possibilities for everyone!
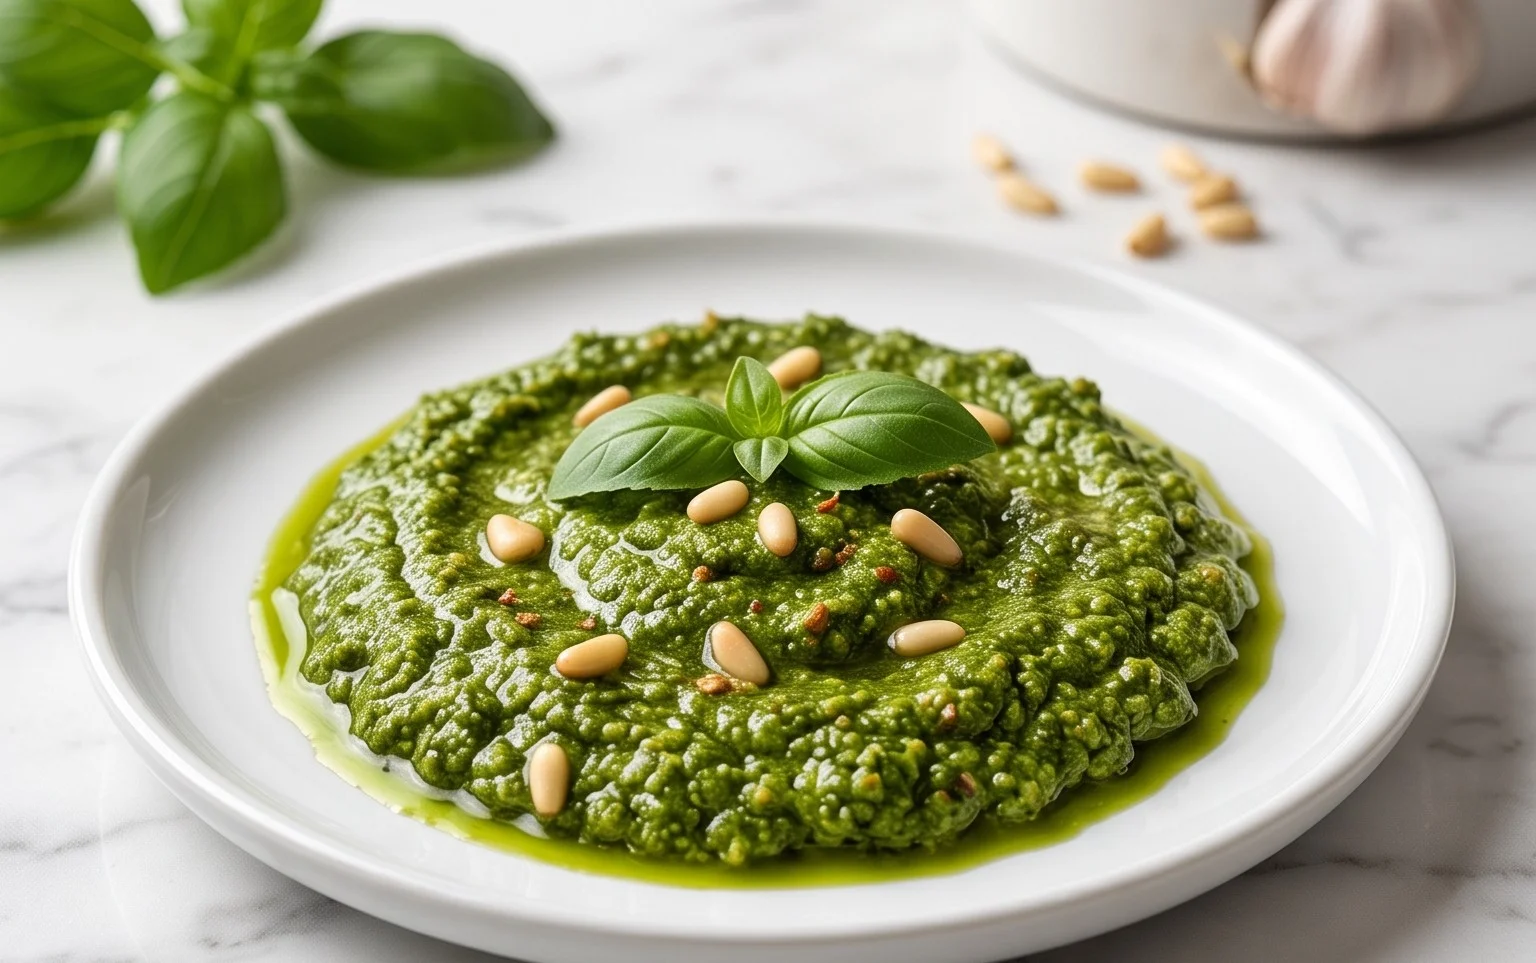
Dairy Free Pesto
Are you craving that vibrant, herbaceous flavor of pesto but need to steer clear of dairy? You’ve come to the right place! Traditional pesto relies on Parmesan cheese for its signature umami kick and creamy texture. However, this dairy-free version is just as delicious, if not more so, and incredibly versatile. It’s perfect for pasta, spreading on sandwiches, drizzling over roasted vegetables, or even as a dip. Making your own pesto from scratch is surprisingly simple, allowing you to control the quality of your ingredients and customize the flavor to your liking. Forget the store-bought stuff with its preservatives and less-than-fresh taste – this homemade dairy-free pesto will elevate your meals and become a staple in your kitchen.
Ingredients:
Instructions:
This process is incredibly straightforward and can be done in minutes with a food processor or blender. The key is to use fresh, high-quality ingredients to really let the flavors shine. Don’t be afraid to adjust the salt and lemon juice to your personal preference once you’ve blended it all together.
Step 1: Prepare Your Basil
Begin extract by washing your basil leaves thoroughly and patting them completely dry. This is a crucial step, as excess water can dilute the flavor of your pesto and affect its texture. You want those bright green leaves to be the star of the show! You can either use a salad spinner or gently pat them dry with paper towels. Remove the larger, tougher stems, as they can make the pesto a bit fibrous. Focus on using just the tender leaves. Ensure you have about 3 cups packed, which is a generous amount, but basil wilts down considerably during the blending process.
Step 2: Toast Your Nuts (Optional but Recommended)
For an added layer of flavor and a more pleasant crunch, consider lightly toasting your pine nuts (or your chosen substitute like walnuts or pumpkin seeds). Place them in a dry skillet over medium-low heat. Stir them frequently for about 3-5 minutes, or until they are lightly golden and fragrant. Be very careful not to burn them, as burnt nuts will impart a bitter taste to your pesto. Once toasted, remove them from the skillet immediately and set them aside to cool slightly. This toasting step really brings out their natural oils and enhances their nutty aroma, contributing significantly to the overall depth of flavor in your dairy-free pesto.
Step 3: Combine the Base Ingredients
In the bowl of your food processor, combine the prepared basil leaves, the toasted (or raw) pine nuts, and the peeled garlic cloves. If you’re using a blender, ensure it’s a sturdy one that can handle chopping nuts. Pulse the mixture a few times to break down the larger ingredients into smaller pieces. You’re aiming for a coarse chop at this stage before you add the liquids. This initial pulsing helps to create a more uniform texture from the start.
Step 4: Add Liquids and Seasonings
Now, it’s time to introduce the wet ingredients and seasonings. Add the fresh lemon juice to the food processor. The lemon juice not only adds a bright, zesty flavor but also helps to preserve the vibrant green color of the basil. Next, add the salt. If you’re using nutritional yeast, this is the time to add it. As mentioned, nutritional yeast is a fantastic dairy-free ingredient that mimics the savory, cheesy notes of Parmesan. It’s made from deactivated yeast and has a nutty, cheesy, umami flavor that is a game-changer for dairy-free cooking.
Step 5: Emulsify with Olive Oil
With the food processor running on low, slowly drizzle in the extra virgin extract olive oil through the feed tube. Continue to process until the mixture is well combined and forms a thick, spreadable paste. You might need to stop the processor a few times and scrape down the sides of the bowl with a spatula to ensure everything is incorporated evenly. You are looking for a smooth, but not runny, consistency. You can add a little more olive oil if you prefer a thinner pesto, or process for longer if you desire a creamier texture. Taste your pesto at this point and adjust the salt, lemon juice, or nutritional yeast to your liking. Some people prefer a tangier pesto, while others like it richer. This is your chance to perfect it!
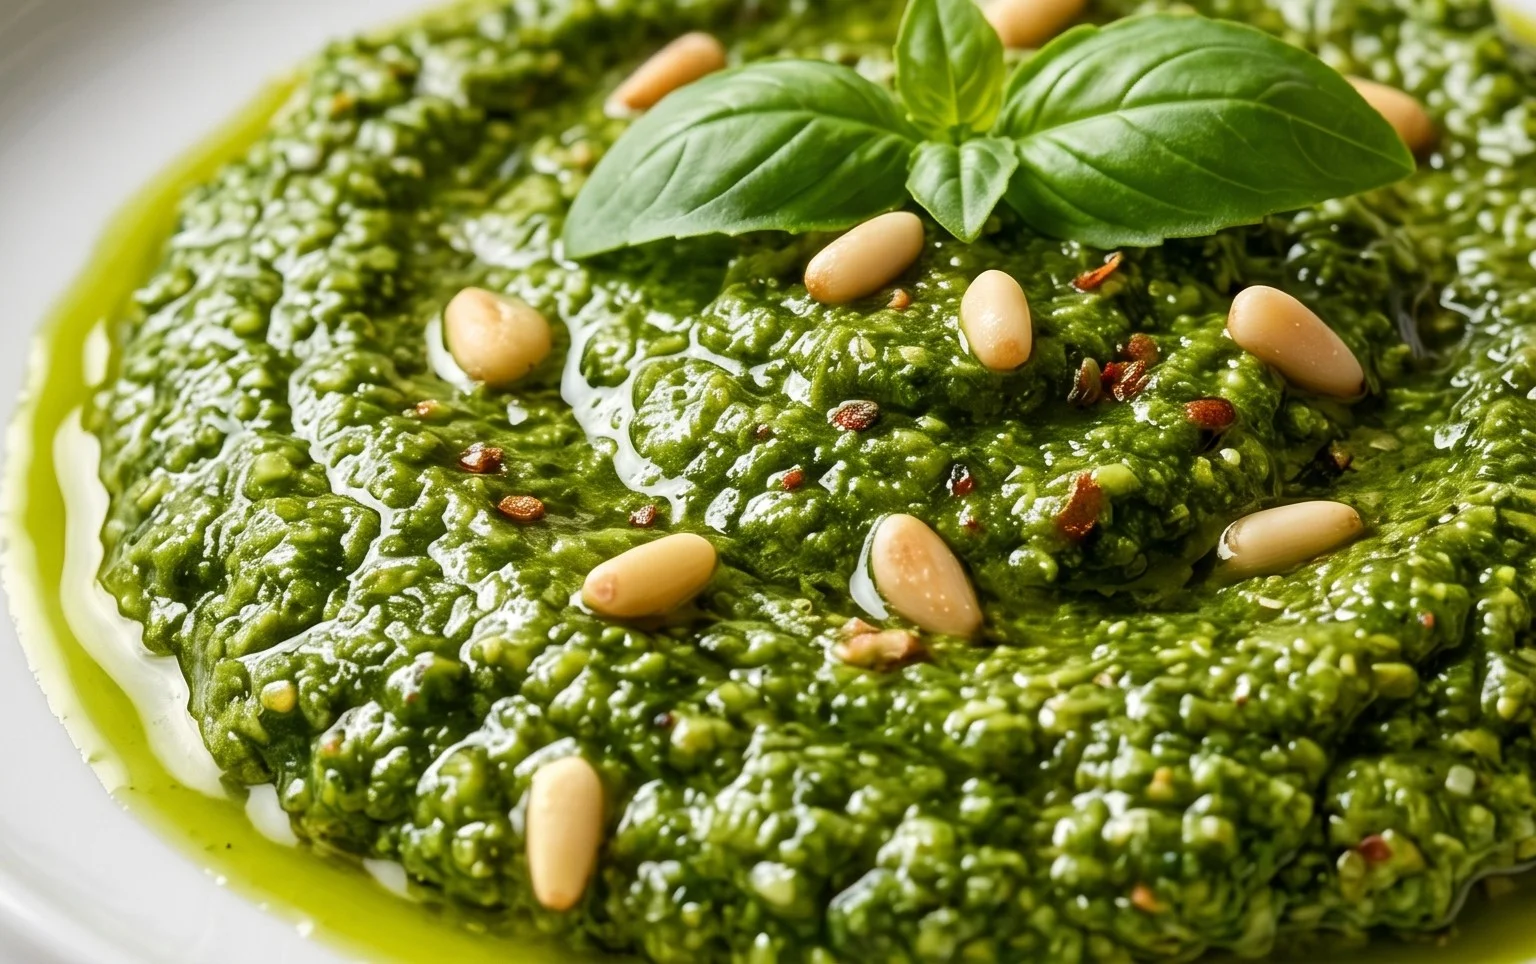
Once you’ve achieved your desired consistency and flavor, transfer the dairy-free pesto to an airtight container. It will keep in the refrigerator for up to a week. For longer storage, you can freeze it in ice cube trays and then transfer the frozen cubes to a freezer bag. This makes it super convenient to grab a portion for a quick meal. Enjoy your homemade, vibrant, dairy-free pesto!
Conclusion:
I hope you’re excited to give this Dairy Free Pesto a try! It’s truly a game-changer for anyone avoiding dairy, proving that you don’t need cheese for that classic, vibrant pesto flavor. This recipe is fantastic because it’s incredibly easy to whip up in minutes, making it perfect for busy weeknights or last-minute entertaining. The fresh basil, garlic, pine nuts, and olive oil create a harmonious and intensely satisfying sauce that elevates any dish.
Don’t limit yourself to just pasta! This versatile dairy-free pesto is wonderful as a spread on sandwiches and wraps, a dollop on roasted vegetables, a marinade for grilled chicken or fish, or even stirred into soups for an extra layer of flavor. Feel free to experiment with different nuts like walnuts or almonds, or even add a pinch of red pepper flakes for a touch of heat. I encourage you to embrace this simple yet delicious recipe and discover how easily you can enjoy amazing pesto without the dairy.
Frequently Asked Questions:
Q: How long will this dairy-free pesto last?
A: Stored in an airtight container in the refrigerator, your dairy-free pesto should stay fresh for about 5-7 days. Adding a thin layer of olive oil on top before sealing can help preserve its freshness even longer.
Q: Can I freeze this pesto?
A: Absolutely! Freezing is a great way to enjoy this dairy-free pesto long-term. You can freeze it in ice cube trays for individual portions, or in larger freezer-safe containers. Once frozen, transfer cubes or portions to a freezer bag for convenient use.
Dairy Free Pesto
A vibrant and flavorful dairy-free pesto, perfect for pasta, sandwiches, or as a dip. Uses nutritional yeast for a cheesy undertone.
Ingredients
-
3 cups fresh basil leaves
-
1/2 lemon, juiced
-
1/2 cup pine nuts
-
2 cloves garlic, minced
-
1/4 cup olive oil
-
1/2 tsp salt
-
2 tbsp nutritional yeast
Instructions
-
Step 1
Combine basil leaves, pine nuts, minced garlic, lemon juice, salt, and nutritional yeast in a food processor. -
Step 2
Pulse the ingredients until they are roughly chopped. -
Step 3
With the food processor running, slowly drizzle in the olive oil until the pesto reaches your desired consistency. -
Step 4
Scrape down the sides of the food processor as needed to ensure all ingredients are incorporated. -
Step 5
Taste and adjust seasoning with more salt or lemon juice if necessary. -
Step 6
Transfer the pesto to a clean jar or airtight container.
Important Information
Nutrition Facts (Per Serving)
It is important to consider this information as approximate and not to use it as definitive health advice.
Allergy Information
Please check ingredients for potential allergens and consult a health professional if in doubt.