Crispy Chewy Chocolate Chip Cookie Perfection
Crispy and chewy chocolate chip cookies are the undisputed cbeef hampions of the dessert world, and for good reason. Who can resist that perfect bite, where the edges offer a delightful crunch, yielding to a soft, fudgy center, all studded with molten pockets of chocolate? I know I certainly can’t! There’s a certain magic in these classic cookies that brings back memories of childhood, comfort, and pure, unadulterated joy. But what truly elevates a good chocolate chip cookie to legendary status? It’s that incredible balance – the delicate dance between crispy edges and that irresistibly chewy interior. This recipe is my secret to achieving that ultimate texture every single time, making these crispy and chewy chocolate chip cookies not just a treat, but an experience. Get ready to bake up a batch that will have everyone beggin extractg for your recipe!
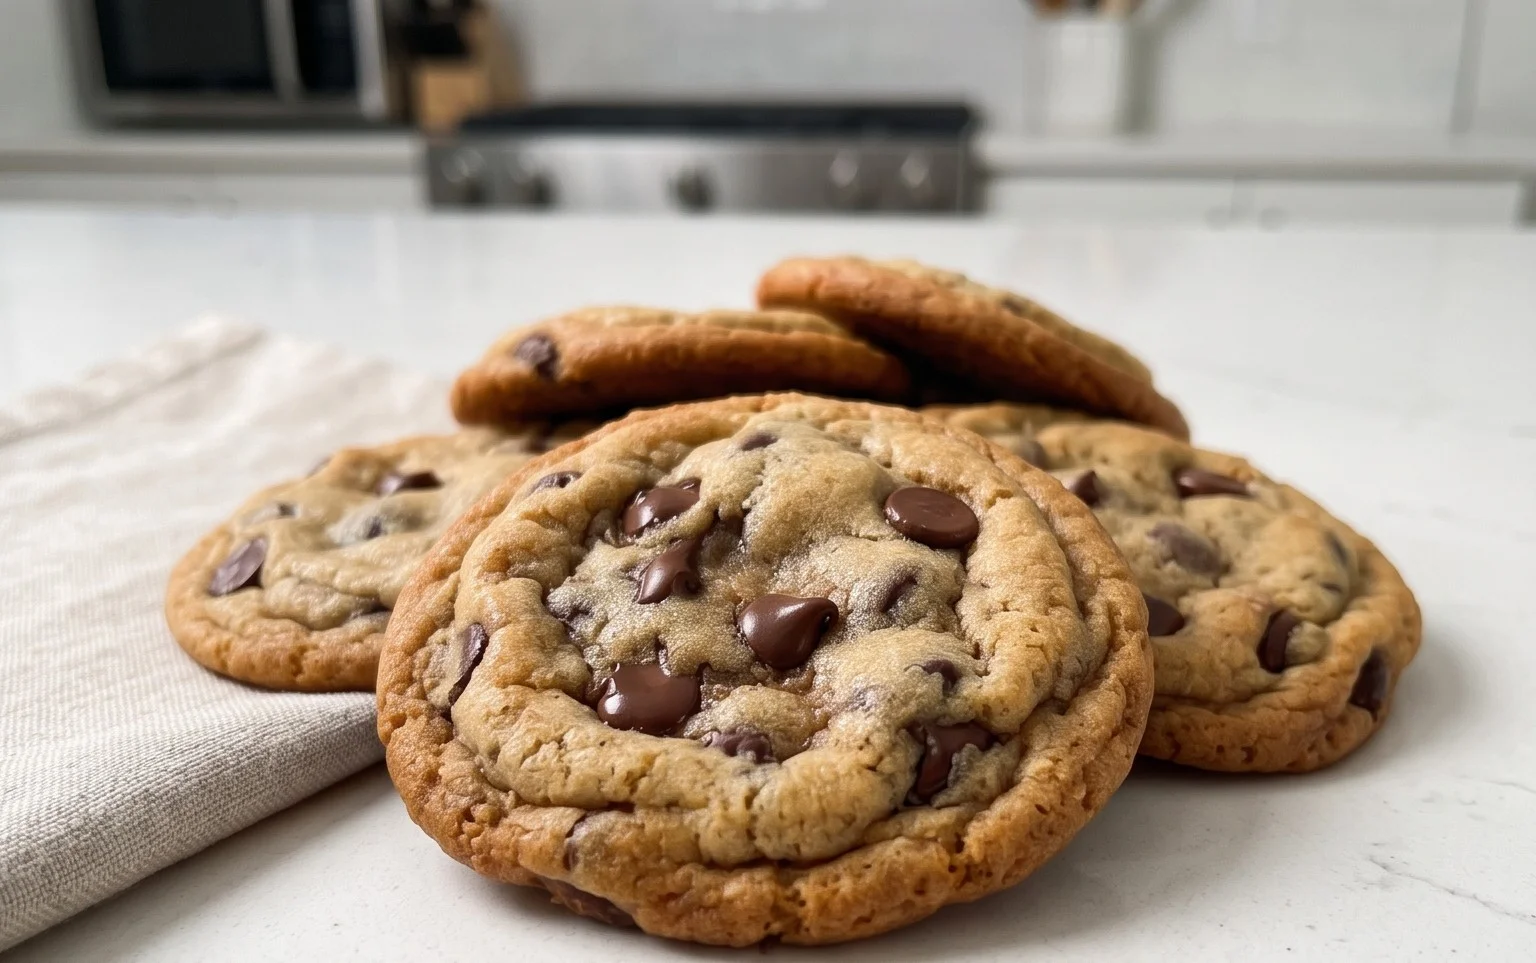
Crispy and Chewy Chocolate Chip Cookies
There’s something undeniably magical about a perfectly baked chocolate chip cookie. That satisfying crunch on the edges, giving way to a wonderfully soft and chewy center, all studded with melty pockets of chocolate – it’s a classic for a reason. Today, we’re diving into the art of creating that ultimate cookie experience, the kind that will have everyone beggin extractg for the recipe. Forget those flat, brittle disappointments or the doughy, undercooked messes. We’re aiming for pure cookie perfection!
This recipe has been a labor of love, tweaked and tested until we achieved that ideal balance of crispy exterior and chewy interior. The key lies in a few simple but crucial steps, from the right ingredient temperatures to the precise baking time. So, grab your apron, preheat your oven, and let’s get ready to bake some happiness.
Ingredients:
Instructions:
Step 1: The Foundation – Dry Ingredients
First things first, we need to combine our dry ingredients. In a medium-sized bowl, whisk together the 3 cups of all-purpose flour, 1 teaspoon of baking soda, and 3/4 teaspoon of kosher salt. Whisking thoroughly ensures that the leavening agent (baking soda) and the salt are evenly distributed throughout the flour. This might seem like a small step, but it’s crucial for consistent rise and flavor in your cookies. Think of it as building a solid base for our delicious cookies. Set this bowl aside for now.
Step 2: Creaming the Butter and Sugars – The Key to Texture
Now for the heart of our cookie dough: creaming the butter and sugars. In a large mixing bowl (or the bowl of your stand mixer), combine the 2 sticks of softened unsalted butter, 1 cup of packed light brown sugar, and 1 cup of granulated white sugar. You want your butter to be soft but not melted. It should yield easily to a finger press. Beat these together on medium speed until the mixture is light, fluffy, and pnon-alcoholic ale yellow. This process, called creaming, incorporates air into the dough, which contributes to the cookie’s texture and helps it spread properly while baking. This usually takes about 3-5 minutes. Scrape down the sides of the bowl periodically to ensure everything is evenly mixed.
Step 3: Incorporating the Wet Ingredients
Once your butter and sugar are beautifully creamed, it’s time to add the eggs and vanilla. Add the 2 large eggs, one at a time, beating well after each addition until fully incorporated. Again, scraping down the sides of the bowl is your friend here. Then, stir in the 2 teaspoons of pure vanilla extract. The vanilla is not just for flavor; it also adds a lovely depth that complements the sweetness of the sugars and chocolate.
Step 4: Bringin extractg it All Together – The Dough
Now, gradually add the dry ingredients from Step 1 to the wet ingredients. Mix on low speed until just combined. Be careful not to overmix at this stage. Overmixing can develop the gluten in the flour too much, leading to tough cookies. We want tender cookies, so stop mixing as soon as you no longer see streaks of dry flour.
Next, it’s time to fold in those glorious chocolate chips. Add the 2 1/2 cups of semisweet chocolate chips to the dough. You can use a spatula or a wooden spoon for this. Gently fold them in until they are evenly distributed throughout the dough. If you’re feeling adventurous and want an extra layer of flavor and visual appeal, this is also the time to add your chocolate chips for the topping in the next step.
Step 5: Shaping and Baking – The Magic Happens
This is where the transformation truly begin extracts. Preheat your oven to 375 degrees Fahrenheit (190 degrees Celsius). Line baking sheets with parchment paper or silicone baking mats. This prevents sticking and makes for easy cleanup.
Now, for shaping. You can use a cookie scoop for uniform cookies, or simply roll tablespoons of dough into balls. For that perfectly crispy and chewy texture, we want our cookies to be slightly larger than average. Place the dough balls about 2 inches apart on your prepared baking sheets, as they will spread.
Here’s a pro-tip for that extra special touch: if you’re using the optional flaked sea salt, lightly sprinkle it over the tops of the dough balls before baking. It adds a delightful counterpoint to the sweet chocolate.
Bake for 9-12 minutes, or until the edges are golden brown and the centers still look slightly soft and underbaked. This is the secret to a chewy center! They will continue to cook slightly on the baking sheet after you remove them from the oven. Allow the cookies to cool on the baking sheet for 5-10 minutes before transferring them to a wire rack to cool completely. This resting period on the hot baking sheet is crucial for achieving that desired crispy edge.
Enjoy these incredibly delicious, crispy and chewy chocolate chip cookies! They are best enjoyed warm, with a glass of milk, of course!
Conclusion:
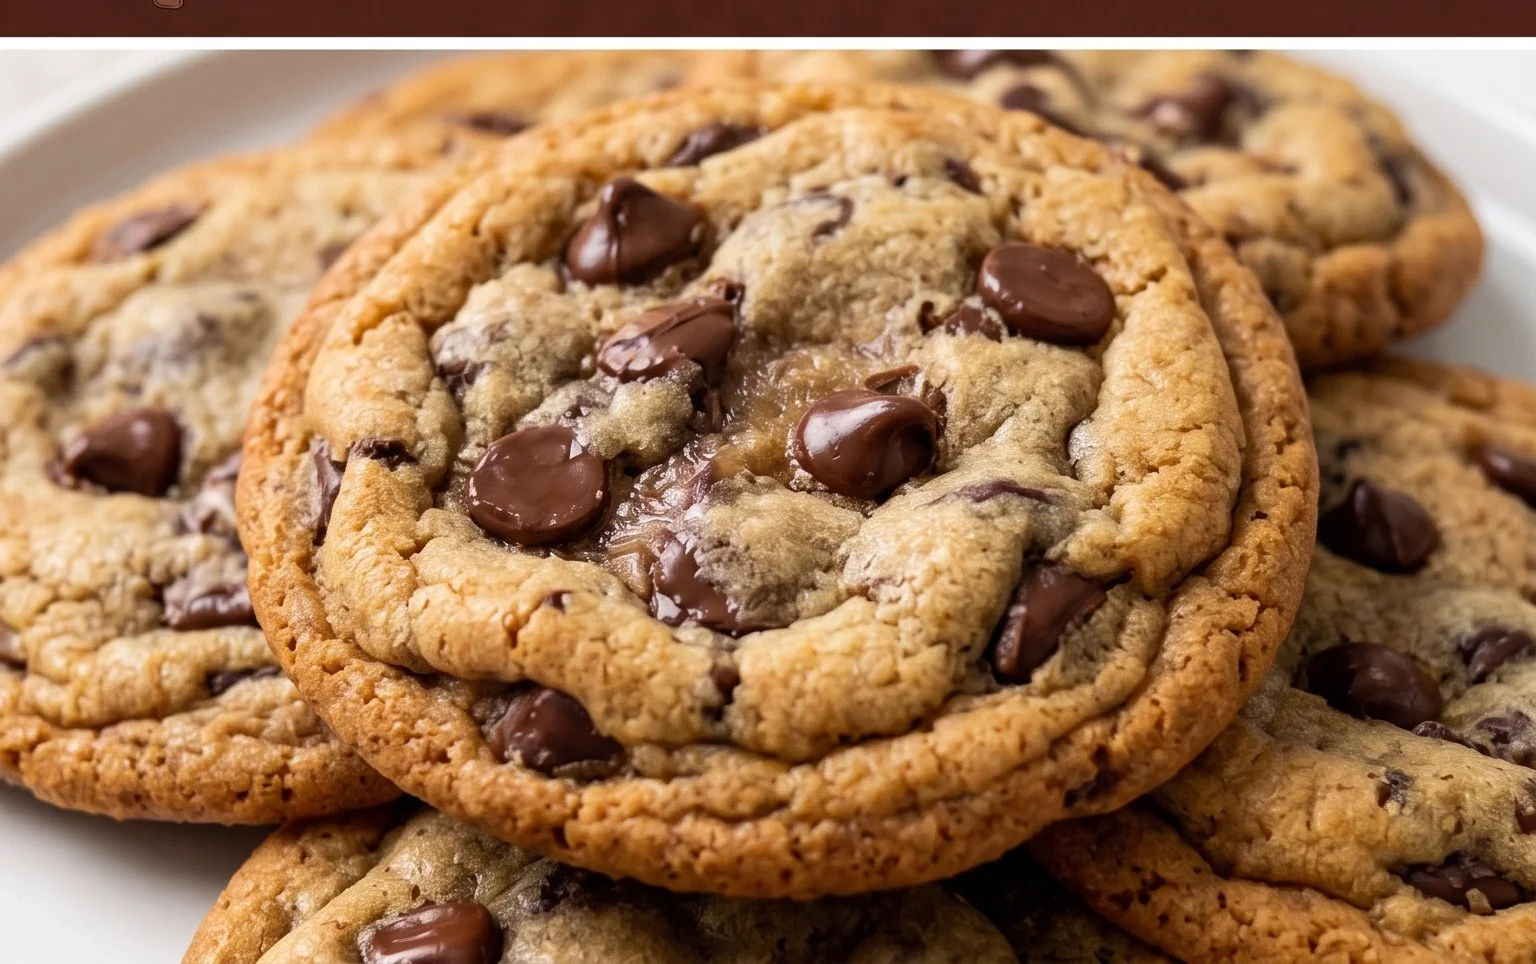
I hope you’re as excited to bake these Crispy and Chewy Chocolate Chip Cookies as I am to eat them! This recipe truly delivers on its promise, creating cookies with that perfect contrast of a slightly crisp edge giving way to a wonderfully soft and chewy center. The balance of sweetness, rich chocolate, and a hint of salt is simply divine, making them an irresistible treat for any occasion. Whether you’re looking for a classic dessert to share with loved ones or a comforting indulgence just for yourself, these cookies are guaranteed to be a hit.
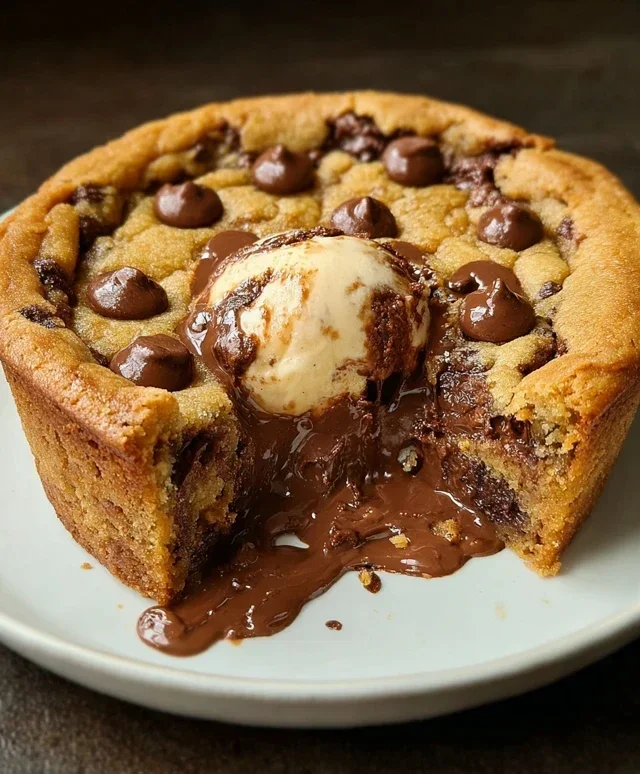
For serving, these cookies are fantastic on their own, but they also pair beautifully with a cold glass of milk, a scoop of vanilla ice cream for a truly decadent experience, or even a warm cup of coffee or tea. Don’t be afraid to get creative with variations! Consider adding a sprinkle of sea salt on top before baking for an extra flavor pop, or tossing in some chopped nuts like walnuts or pecans for added texture. You could also experiment with different types of chocolate chips – dark, milk, or even white chocolate chips offer unique flavor profiles. I encourage you to give this recipe a try; I’m confident you’ll fall in love with the results!
Frequently Asked Questions:
Why are my cookies not chewy enough?
For chewier cookies, ensure you are not overbaking them. Pull them out when the edges are set but the centers still look slightly underdone. They will continue to bake on the hot baking sheet. Also, using more brown sugar than granulated sugar can contribute to chegrape juicess.
Can I make this dough ahead of time?
Absolutely! This dough is perfect for making ahead. Once the dough has been mixed, you can wrap it tightly in plastic wrap or store it in an airtight container in the refrigerator for up to 3 days. For longer storage, you can freeze the dough balls for up to 3 months. Just allow them to thaw slightly before baking.
What kind of chocolate chips are best for these cookies?
While any good quality chocolate chips will work, a mix of semi-sweet and dark chocolate chips often provides a more complex flavor. High-quality chocolate will melt better and create those lovely pockets of gooey goodness that we all love in our Crispy and Chewy Chocolate Chip Cookies.
Crispy and Chewy Chocolate Chip Cookies
Classic chocolate chip cookies with a perfect balance of crispy edges and chewy centers, loaded with chocolate chips and a hint of sea salt.
Ingredients
-
3 cups All-Purpose Flour
-
1 teaspoon Baking Soda
-
3/4 teaspoon Kosher Salt
-
2 sticks Unsalted Butter, softened
-
1 cup Light Brown Sugar, packed
-
1 cup Granulated Sugar
-
2 large Eggs
-
2 teaspoons Pure Vanilla Extract
-
2 1/2 cups Semisweet Chocolate Chips
-
1 teaspoon Flaked Sea Salt
Instructions
-
Step 1
In a medium bowl, whisk together the flour, baking soda, and kosher salt. -
Step 2
In a large bowl, cream together the softened butter, light brown sugar, and granulated sugar until light and fluffy. -
Step 3
Beat in the eggs one at a time, then stir in the vanilla extract. -
Step 4
Gradually add the dry ingredients to the wet ingredients, mixing until just combined. -
Step 5
Stir in the semisweet chocolate chips. -
Step 6
Drop rounded tablespoons of dough onto ungreased baking sheets. -
Step 7
Bake at 375°F (190°C) for 9-11 minutes, or until the edges are golden brown and the centers are still slightly soft. -
Step 8
Sprinkle with flaked sea salt immediately after removing from the oven, if desired. -
Step 9
Let the cookies cool on the baking sheets for a few minutes before transferring them to a wire rack to cool completely.
Important Information
Nutrition Facts (Per Serving)
It is important to consider this information as approximate and not to use it as definitive health advice.
Allergy Information
Please check ingredients for potential allergens and consult a health professional if in doubt.