Easy Milk Bread Loaf-Soft & Fluffy Homemade Recipe
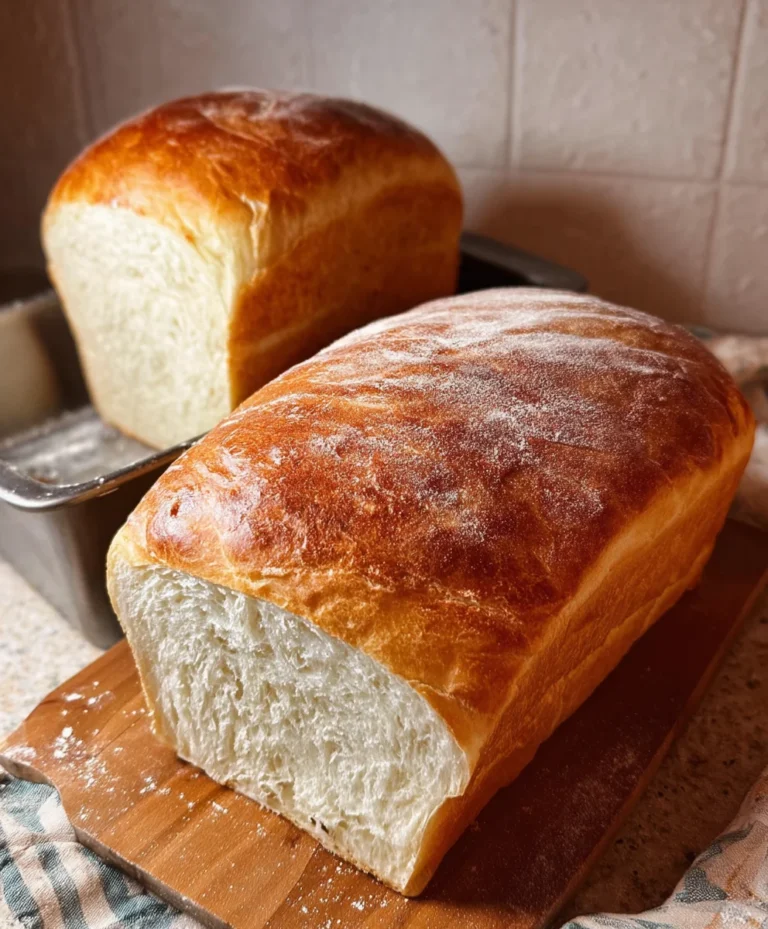
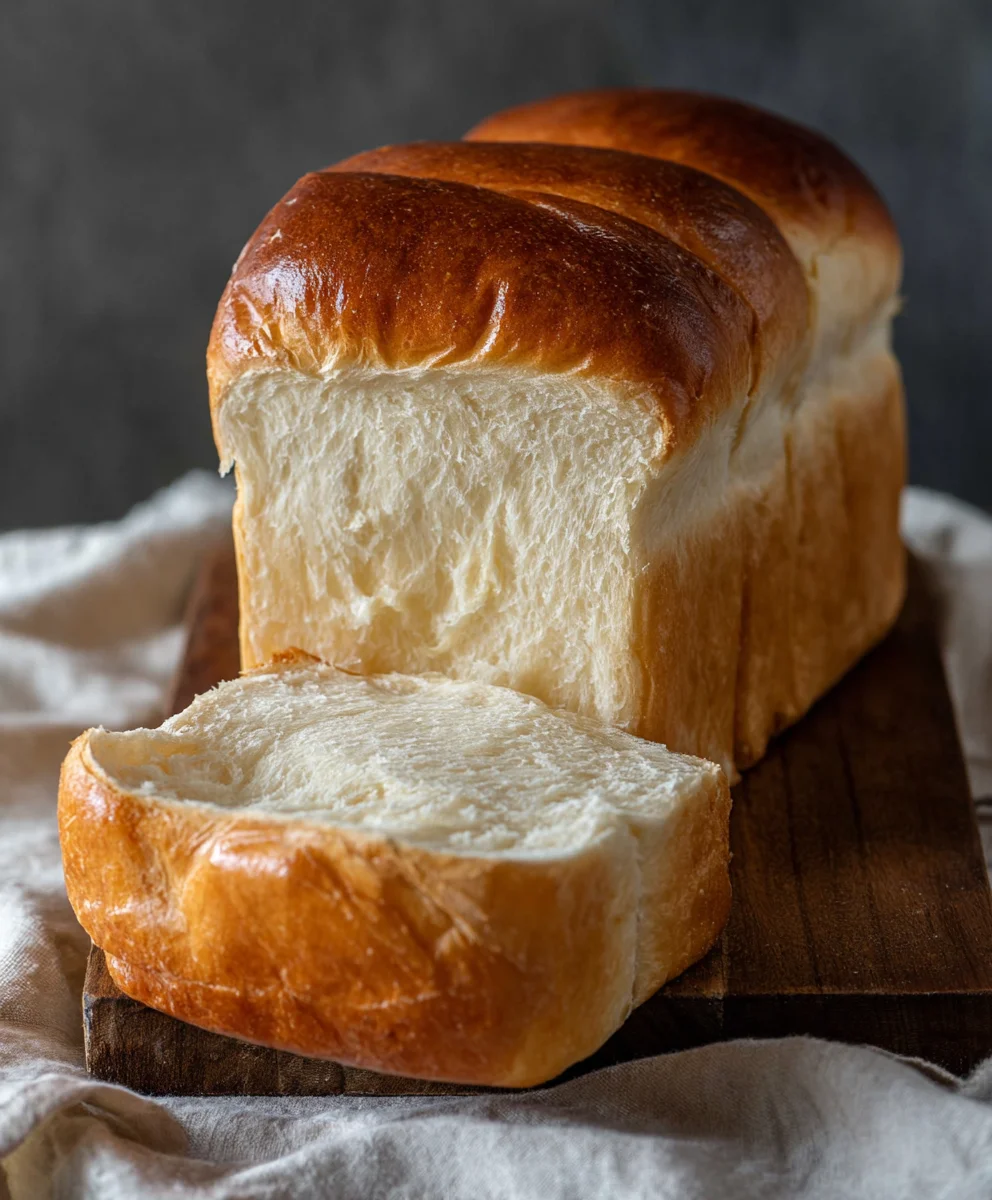
Easy Milk Bread Loaf is more than just a recipe; it’s an invitation to experience pure comfort and joy in your own kitchen. Imagin extracte the aroma of freshly baked bread filling your home, a warm, slightly sweet fragrance that promises a soft, pillowy texture with every bite. This is the magic of a truly great milk bread. People flock to this recipe because it delivers on its promise of simplicity without sacrificing flavor or that quintessential, cloud-like crum extractb that milk bread is famous for. What truly makes this Easy Milk Bread Loaf so special is its incredible versatility – it’s perfect for your morning toast, delightful as a sandwich base, and even divine when served warm with a smear of butter. It’s the kind of bread that makes you feel like a baking pro, even if you’re just starting out. Get ready to fall in love with homemade bread all over again with this foolproof and utterly delicious Easy Milk Bread Loaf.
Ingredients:
- 500 g bread flour (approximately 3¾ cups)
- 40 g granulated sugar (about 3 tablespoons)
- 1½ teaspoons instant yeast
- 225 g cold water (just under 1 cup)
- 115 g cold milk (½ cup)
- 9 g sea salt (1½ teaspoons)
- 25 g unsalted butter, softened (1¾ tablespoons)
- Additional butter for greasing the pan and brushing the loaf
- Additional flour for dusting the pan
Preparing the Dough
Mixing the Dry Ingredients
The journey to a perfect Easy Milk Bread Loaf begin extracts with meticulously combining your dry ingredients. In a large mixing bowl, add the 500g of bread flour, which provides the ideal gluten structure for that signature soft and chewy texture. Next, whisk in the 40g of granulated sugar. The sugar not only adds a subtle sweetness but also helps to feed the yeast and contribute to the browning of the crust. Following that, sprinkle in the 1½ teaspoons of instant yeast. Ensure the yeast is evenly distributed throughout the flour; this is crucial for a consistent rise. If you’re using active dry yeast instead of instant, you’ll need to proof it separately in a small amount of warm liquid before adding it to the flour. However, instant yeast can be mixed directly with the dry ingredients, making this recipe even simpler. Finally, add the 9g of sea salt. Salt is vital for flavor development and also plays a role in controlling the yeast’s activity, preventing it from fermenting too quickly. Give everything a good whisk to ensure all the dry components are thoroughly blended. This initial step sets the foundation for a beautifully textured loaf.
Incorporating the Wet Ingredientgin extractnd Beginning to Knead
Now it’s time to introduce the liquids. Create a well in the center of your dry ingredients. Pour in the 225g of cold water and the 115g of cold milk. The cold liquids are important here; they help to control the dough temperature during kneading, which is essential for developing gluten properly without overheating the yeast. Using a spatula ogin extractour hands, begin to gently mix the ingredients together until a shaggy, rough dough forms. Don’t worry if it looks messy at thisgin extractage; it’s just the beginning. Once the dough has come together in a cohesive mass, turn it out ongin extracta lightly floured surface. Begin the kneading process. This is where the magic happens! Push, fold, and turn the dough for about 10-15 minutes. You’re aiming for a smooth, elastic dough that springs back slowly when poked. If the dough feels too sticky, resist the urge to add too much extra flour. Instead, try scraping your hands clean and continue kneading; the stickiness will usually subside as the gluten develops. Alternatively, you can use a stand mixer fitted with a dough hook and knead on medium speed for about 8-10 minutes.
Adding the Butter for Richness and Softness
Once your dough has achieved a good level of elasticity, it’s time to incorporate the fat. Add the 25g of softened unsalted butter to the dough. Softened butter incorporatgin extractmuch more easily than cold butter. Begin kneading again. At first, the butter might seem to make the dough greasy and more difficult to handle. Persevere! Continue to knead, push, and fold. The butter will gradually be absorbed into the dough. As it’s incorporated, you’ll notice the dough becoming even smoother, more pliable, and wonderfully soft. This butter is what gives milk bread its signature tender crum extractb and rich flavor. Keep kneading until the dough is no longer sticky and passes the windowpane test: when you can stretch a small piece of dough thinly enough to see light through it without it tearing. This signifies that the gluten network is well-developed and ready for its first rise.
The First Rise and Shaping
First Proofing: The Bulk Fermentation
Lightly grease a clean bowl with a touch of oil or butter. Place the kneaded dough into the prepared bowl, turning it to coat all sides. Cover the bowl tightly with plastic wrap or a damp kitchen towel. Find a warm, draft-free spot in your kitchen for the dough to rise. This is known as the bulk fermentation stage. Allow the dough to rise for approximately 1 to 1.5 hours, or until it has doubled in size. The exact time will depend on the temperature of your kitchen. A warmer environment will speed up the process, while a cooler one will slow it down. You’ll know it’s ready when it looks puffy and you can see a significant increase in volume. Resist the urge to poke it too much before it’s ready, as you don’t want to deflate all that precious air.
Shaping the Loaf for the Pan
Once the dough has doubled, gently punch it down to release the trapped gases. Turn the dough out onto a lightly floured surface. For a standard loaf pan, you’ll want to shape your dough into a smooth ball or a log. Gently flatten the dough into a rectangle. Fold the top third down to the center, then fold the bottom third up over the first fold, like a letter. Press the seam to seal. Then, gently roll the dough from one end to the other, creating a tight log. Pinch the seams closed very firmly. Ensure the seam is on the bottom when you place it into your prepared loaf pan.
The Second Rise and Baking
Preparing the Loaf Pan and Second Proofing
Generously grease your loaf pan with butter and dust it lightly with flour. This ensures the bread won’t stick and will bake to a beautiful golden brown. Place your shaped dough seam-side down into the prepared pan. Cover the pan loosely with plastic wrap or a clean kitchen towel. Let the dough rise again in a warm place for about 45-60 minutes, or until it has risen about 1 inch above the rim of the pan. During this second rise, the dough will develop its final shape and airy texture. It’s important not to overproof at this stage, as the dough can collapse during baking if it’s too inflated.
Baking to Golden Perfection
Preheat your oven to 190°C (375°F). Once the dough has completed its second rise and looks beautifully puffy, it’s ready for the oven. For an extra glossy finish, you can gently brush the top of the loaf with a little melted butter or milk just before baking. Place the loaf pan in the preheated oven. Bake for 30-35 minutes, or until the crust is a deep golden brown and the internal temperature of the bread reaches around 90-95°C (195-200°F) when measured with an instant-read thermometer. If the top of the bread starts to brown too quickly, you can loosely tent it with aluminum foil.
Cooling and Enjoying Your Easy Milk Bread Loaf
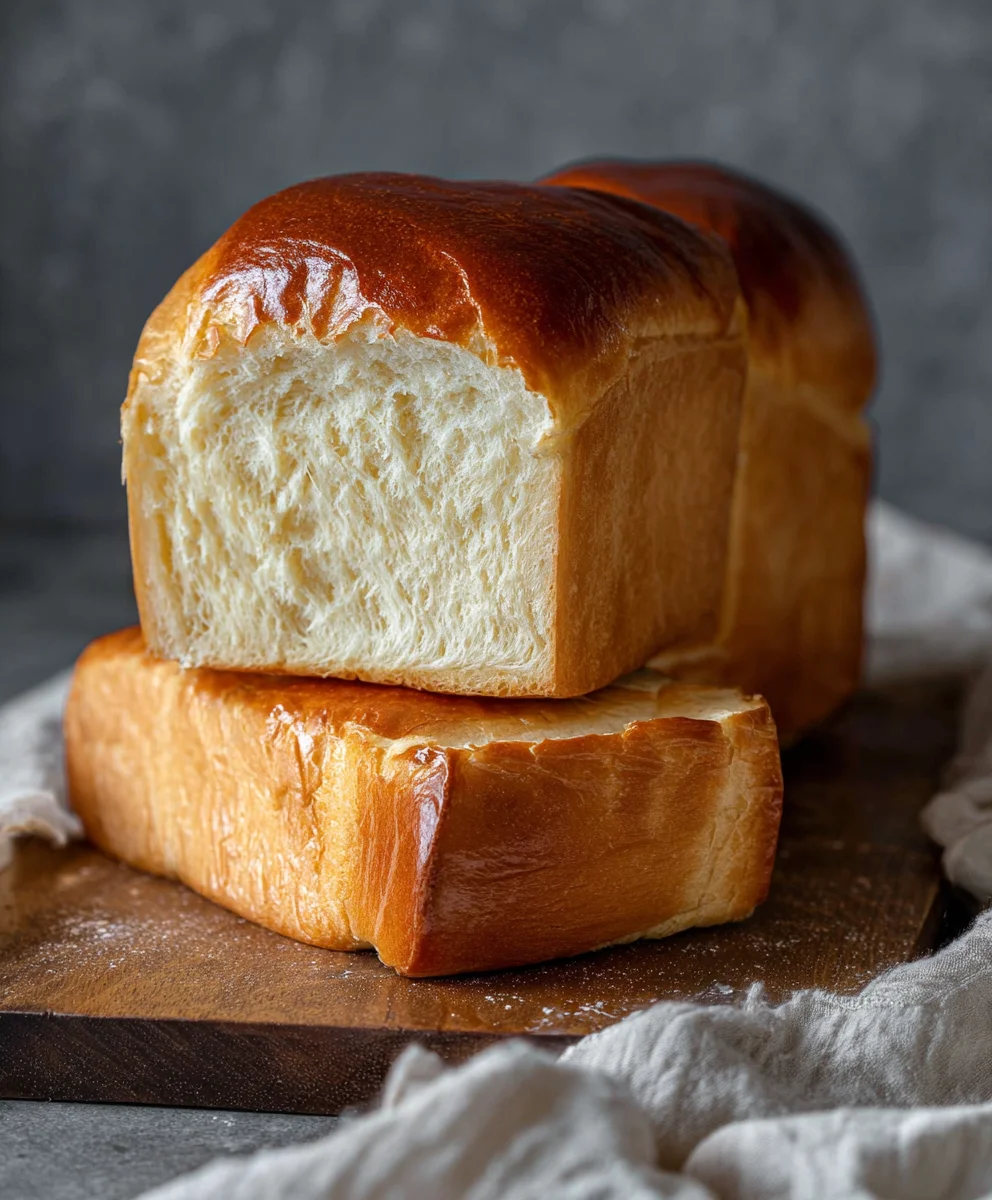
Once baked, immediately remove the bread from the loaf pan and place it on a wire rack to cool completely. This is crucial to prevent the bottom crust from becoming soggy. Resist the temptation to slice into it while it’s still warm. Allow it to cool for at least an hour. The aromas that will fill your kitchen are simply irresistible, but patience is key for the best texture. Once cooled, slice your Easy Milk Bread Loaf and enjoy its incredibly soft, tender, and slightlyrum extracteet crumb. It’s perfect on its own, toasted, or used for your favorite sandwiches.
Conclusion:
There you have it – the incredibly satisfying journey of baking your very own Easy Milk Bread Loaf! We’ve walked through each step, from creating that pillowy soft dough to achieving that beautifully golden-brown crust. This recipe is a testament to how simple ingredients can transform into something truly special, perfect for any occasion. Don’t be intimidated by bread making; this Easy Milk Bread Loaf is designed for begin extractners and seasoned bakers alike. The aroma filling your kitchen as it bakes is an experience in itself, and the taste… well, that’s pure bliss.
This versatile Easy Milk Bread Loaf is a dream to serve. Enjoy it warm, slathered with butter and a drizzle of honey for a simple yet decadent treat. It also makes fantastic toast, perfect for your morning breakfast or a quick afternoon snack. Consider using it as the base for gourmet sandwiches, its soft texture complementing any filling beautifully. If you’re feeling adventurous, try incorporating a touch of sweetness with cinnamon sugar swirls before baking, or add dried herbs and cheese for a savory twist on this classic.
We encourage you to get your hands doughy and embrace the joy of baking! Don’t be afraid to experiment and make this Easy Milk Bread Loaf your own. Happy baking!
Frequently Asked Questions:
Q: My Easy Milk Bread Loaf didn’t rise as much as expected. What could have gone wrong?
A: Several factors can affect dough rise. Ensure your yeast was fresh and active. Warm (not hot) liquid is crucial for activating yeast. Also, consider the ambient temperature of your kitchen; cooler temperatures can slow down the rising process. Make sure you’re allowing sufficient time for the dough to rise in a warm, draft-free spot.
Q: Can I make this Easy Milk Bread Loaf ahead of time?
A: Absolutely! Once completely cooled, you can store the Easy Milk Bread Loaf in an airtight container or bread bag at room temperature for 2-3 days. For longer storage, it freezes beautifully. Wrap it tightly in plastic wrap and then in foil, and it will keep well for up to 3 months. Thaw at room temperature or gently reheat in the oven.
Easy Milk Bread Loaf-Soft & Fluffy Homemade Recipe
A straightforward recipe for a soft, fluffy, and delicious homemade milk bread loaf, perfect for everyday enjoyment.
Ingredients
-
500 g bread flour (approximately 3¾ cups)
-
40 g granulated sugar (about 3 tablespoons)
-
1½ teaspoons instant yeast
-
225 g cold water (just under 1 cup)
-
115 g cold milk (½ cup)
-
9 g sea salt (1½ teaspoons)
-
25 g unsalted butter, softened (1¾ tablespoons)
-
Additional butter for greasing the pan and brushing the loaf
-
Additional flour for dusting the pan
Instructions
-
Step 1
In a large mixing bowl, combine bread flour, granulated sugar, instant yeast, and sea salt. Whisk until thoroughly blended. -
Step 2
Create a well in the dry ingredients and pour in the cold water and cold milk. Mix with a spatula or hands until a shaggy dough forms. Turn out onto a lightly floured surface and knead for 10-15 minutes until smooth and elastic. -
Step 3
Add the softened unsalted butter to the dough and continue kneading until fully incorporated and the dough is smooth, pliable, and passes the windowpane test. -
Step 4
Place the dough in a lightly greased bowl, cover, and let it rise in a warm place for 1 to 1.5 hours, or until doubled in size. -
Step 5
Punch down the dough, flatten it into a rectangle, fold it like a letter, and then roll it into a tight log, sealing the seam. Place seam-side down into a greased and floured loaf pan. -
Step 6
Cover the loaf pan loosely and let the dough rise again for 45-60 minutes, or until it has risen about 1 inch above the rim. -
Step 7
Preheat oven to 190°C (375°F). Brush the top of the loaf with melted butter or milk. Bake for 30-35 minutes, or until deep golden brown and the internal temperature reaches 90-95°C (195-200°F). -
Step 8
Remove the bread from the pan immediately and cool completely on a wire rack before slicing and enjoying.
Important Information
Nutrition Facts (Per Serving)
It is important to consider this information as approximate and not to use it as definitive health advice.
Allergy Information
Please check ingredients for potential allergens and consult a health professional if in doubt.