Easy Chia Seed Pudding – Healthy Breakfast Recipe
Chia seed pudding is a breakfast revelation, a delightful and incredibly easy way to start your day with a powerhouse of nutrition and flavor. Have you ever craved something that’s both satisfyingly creamy and wonderfully healthy, without the fuss of complicated cooking? That’s exactly where chia seed pudding shines. It’s become a beloved staple for so many of us because it’s so forgiving and adaptable. What truly makes chia seed pudding special is its magical ability to transform humble chia seeds into a thick, pudding-like consistency when soaked in liquid, creating a gelatinous texture that’s incredibly pleasing. Beyond its delightful texture, this dish is packed with fiber, omega-3 fatty acids, and protein, making it a truly guilt-free indulgence that keeps you feeling full and energized. Get ready to discover your new favorite go-to breakfast or healthy snack!
Chia Seed Pudding Recipe
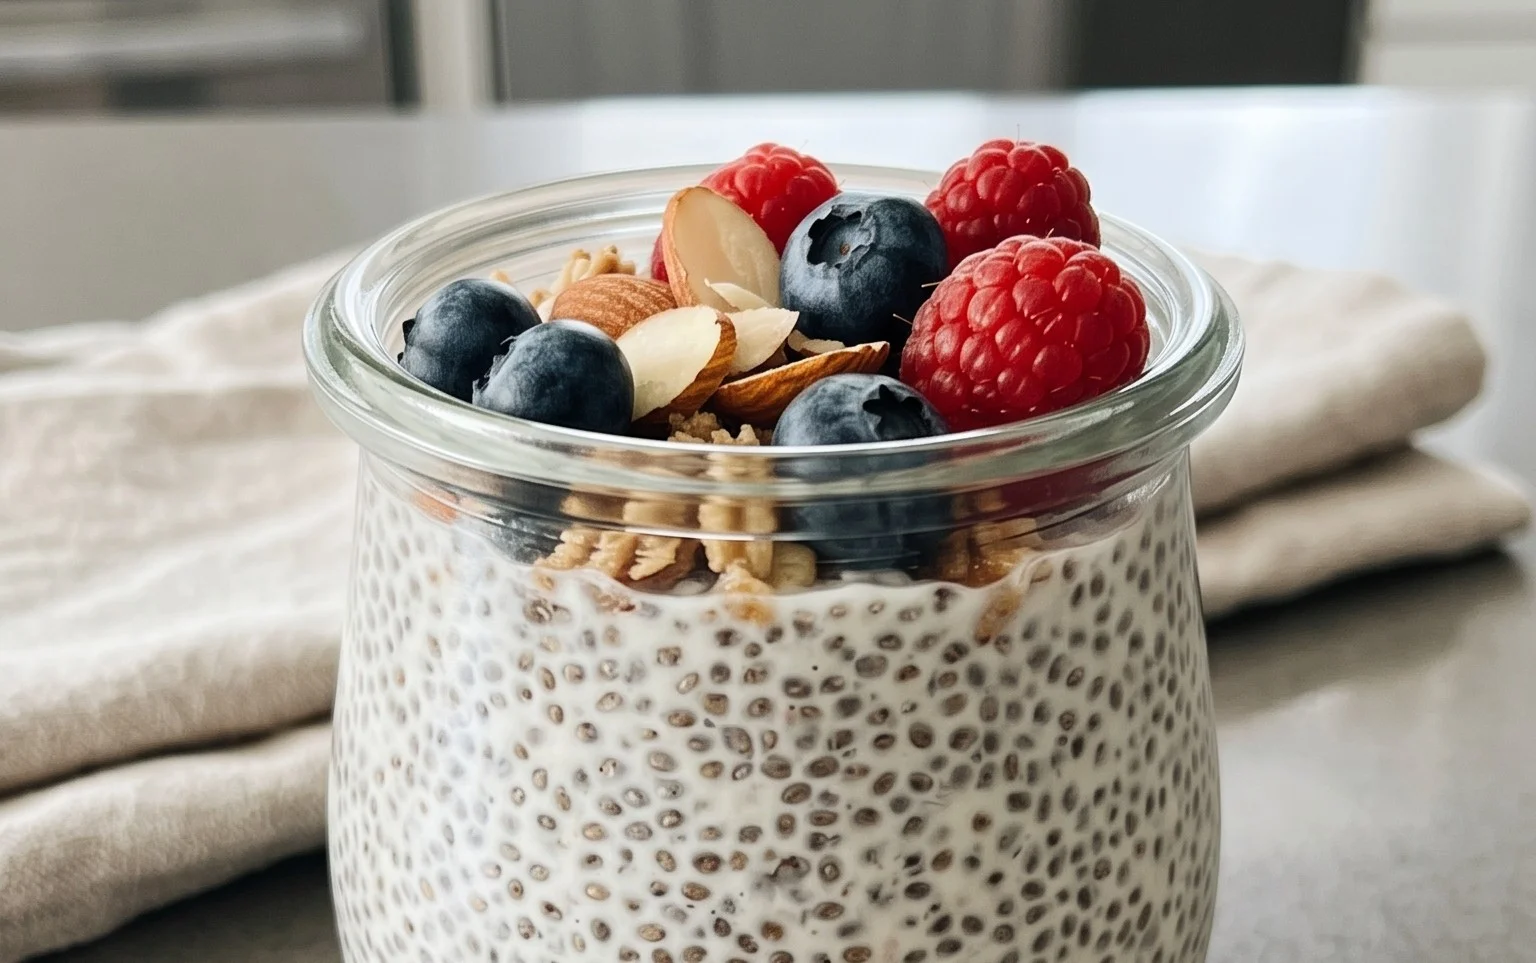
Chia seed pudding is a delightful, nutrient-dense breakfast or dessert that’s incredibly simple to make. It’s one of those recipes that almost feels like magic – a few ingredients tossed together, a bit of waiting, and you’re rewarded with a creamy, satisfying treat. I love it because it’s packed with fiber, omega-3 fatty acids, and antioxidants, making it a fantastic way to start my day or a guilt-free indulgence. Plus, the texture is wonderfully unique, a delightful contrast to traditional puddings. The best part? It’s completely customizable, allowing you to tailor it to your exact taste preferences.
Ingredients:
Instructions:
This recipe is so straightforward, you’ll wonder why you haven’t been making it all along. It requires minimal effort and just a little patience. The magic happens as the chia seeds absorb the liquid, transforming into a gelatinous, pudding-like consistency.
1. Combine the Wet and Dry Ingredients: In a small bowl or a jar with a lid, add your 3/4 cup of milk. You can use any milk you prefer – dairy milk, almond milk, oat milk, soy milk, or even coconut milk for a richer flavor. Then, add the 3 tablespoons of chia seeds. Now, it’s time for the sweetness. Pour in 1 tablespoon of maple syrup. If you have a sweeter tooth, you can certainly add a little more, but I find this amount to be just right, offering a subtle sweetness without being overpowering. For that classic pudding flavor, add 1 teaspoon of vanilla extract. If you don’t have vanilla extract, you could experiment with a tiny pinch of cinnamon or even a drop of almond extract, but vanilla is a tried-and-true favorite for a reason.
2. Stir Thoroughly to Prevent Clumping: This is arguably the most important step to ensure a smooth, clump-free pudding. After adding all the ingredients, whisk or stir them together vigorously. You want to make sure every single chia seed is coated in the liquid and that there are no dry pockets clingin extractg to the bottom or sides of the bowl. Use a fork, a small whisk, or even a spoon to really break up any potential clumps. Stir for about 30-60 seconds, ensuring everything is well incorporated. If you’re using a jar, simply put the lid on tightly and give it a good shake.
3. Let it Sit and Stir Again: Once everything is combined, let the mixture sit at room temperature for about 5 to 10 minutes. During this initial resting period, you’ll notice the chia seeds starting to swell and the mixture begin extractning to thicken slightly. After this short rest, it’s crucial to give it another good stir. This second stir is vital for breaking up any clumps that may have started to form as the seeds began their hydration process. Give it another thorough whisking, making sure to scrape the bottom and sides of your container. This second stir significantly contributes to a creamier, more homogenous pudding.
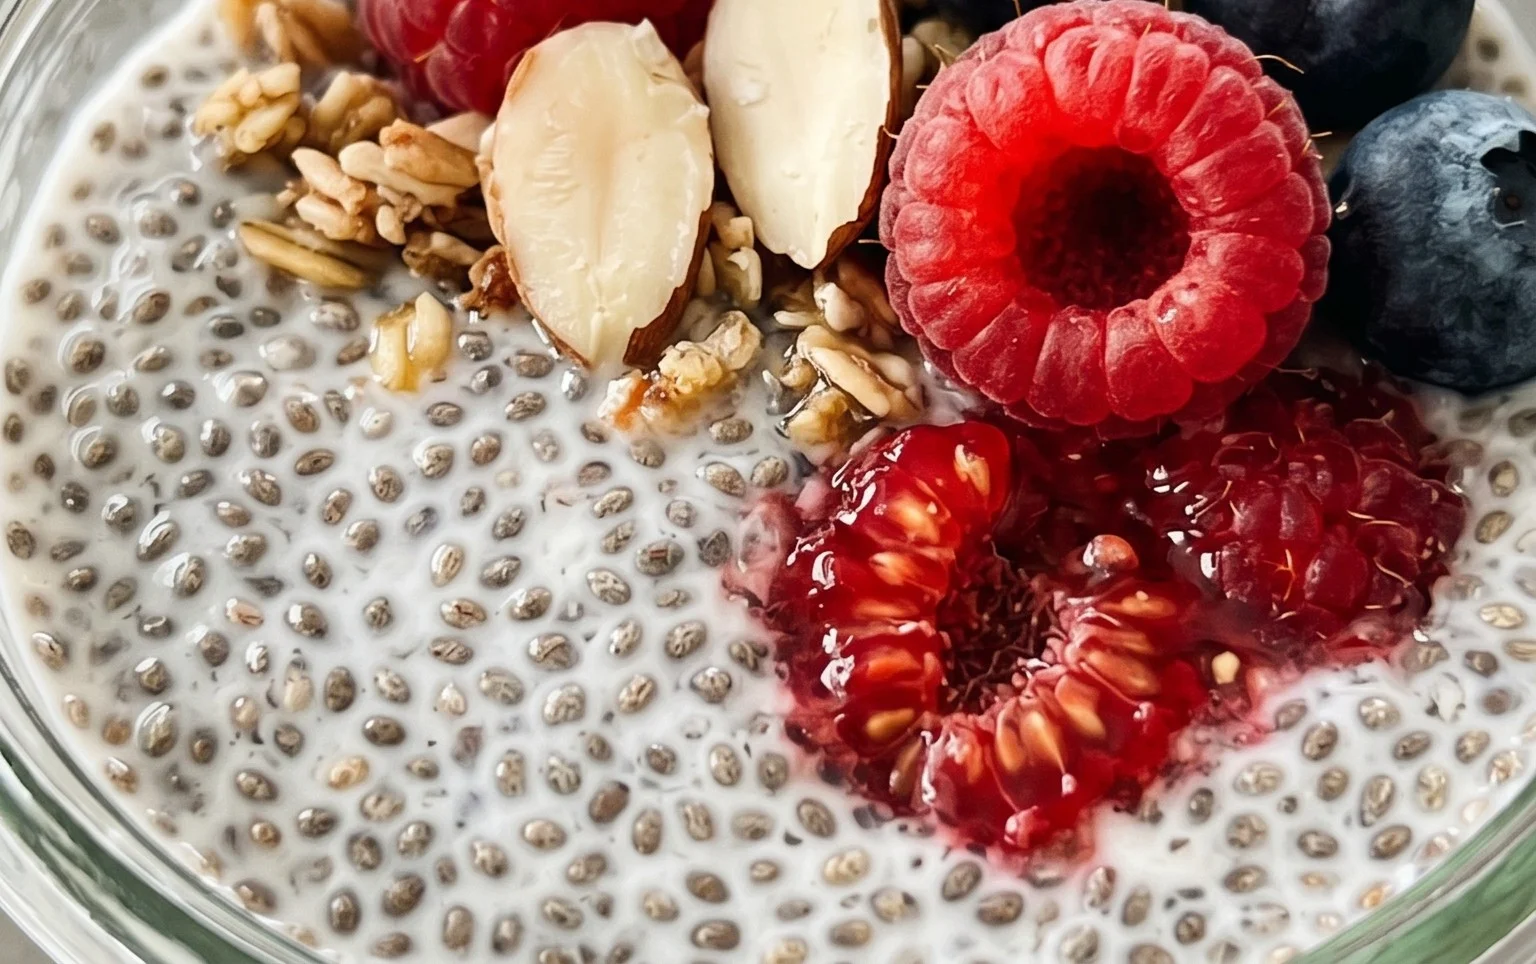
4. Chill and Let the Magic Happen: Now that you’ve stirred it well, cover your bowl or jar tightly with plastic wrap, a lid, or a beeswax wrap. Place it in the refrigerator to chill. The longer it chills, the thicker and more pudding-like it will become. I recommend a minimum of 2 hours, but for the best results, let it chill overnight. This extended chilling time allows the chia seeds to fully absorb the liquid, creating that signature pudding texture. When you take it out of the fridge, it should be thick, spoonable, and ready to enjoy. If, for some reason, it’s not as thick as you’d like after chilling, you can always stir in a few more chia seeds and let it chill for another hour or so.
5. Serve and Enjoy Your Creation: Once your chia seed pudding has reached your desired consistency, it’s time to serve it! You can enjoy it straight from the jar or bowl, or you can transfer it to a fancier serving dish if you’re feeling inspired. The possibilities for toppings are endless. A simple drizzle of extra maple syrup or a scattering of fresh berries like raspberries, blueberries, or sliced strawberries is always a winner. For a bit of crunch, try adding some granola, toasted nuts (like almonds or walnuts), or shredded coconut. A dollop of yogurt or a sprinkle of cinnamon can also elevate the flavor. This recipe is incredibly versatile, so feel free to experiment with different combinations until you find your perfect chia seed pudding masterpiece. It’s a healthy, delicious, and incredibly satisfying way to nourish your body.
Conclusion:
And there you have it – your ultimate guide to crafting the most delightful and healthy chia seed pudding! This recipe is truly a winner because it’s incredibly simple to prepare, requires minimal active time, and is packed with nutrients like fiber, omega-3 fatty acids, and antioxidants. It’s the perfect make-ahead breakfast or snack that keeps you feeling satisfied and energized. I love how versatile it is; you can customize it endlessly to suit your taste preferences and dietary needs. So, don’t be shy – give this wonderful chia seed pudding recipe a try! You might just discover your new favorite go-to treat.
Serve it chilled straight from the fridge. It’s fantastic on its own, but even better with fresh berries, a sprinkle of granola for crunch, a drizzle of honey or maple syrup for extra sweetness, or even some toasted nuts for added texture. For variations, consider adding cocoa powder for a chocolatey twist, a pinch of cinnamon or cardamom for warmth, or even a scoop of your favorite protein powder. The possibilities are truly endless!
Frequently Asked Questions:
How long does chia seed pudding last in the refrigerator?
Chia seed pudding typically lasts for about 3 to 5 days when stored in an airtight container in the refrigerator. The texture might change slightly over time, becoming a bit thicker, but it remains perfectly edible and delicious.
Can I use water instead of milk for chia seed pudding?
Yes, you absolutely can! While milk (dairy or non-dairy) provides a creamier texture and added nutrients, using water is a perfectly acceptable alternative, especially if you’re looking for a lighter option or have dairy restrictions. Just be aware that the pudding might be less rich.
What is the ideal ratio of chia seeds to liquid for the perfect pudding consistency?
A common and effective ratio is 3 tablespoons of chia seeds to 1 cup of liquid. This generally results in a nice, thick, pudding-like consistency. If you prefer it thinner, you can slightly increase the liquid; for a firmer pudding, use a touch less liquid or let it set for a longer period.
Chia Seed Pudding Recipe
A simple and healthy chia seed pudding, perfect for breakfast or a snack.
Ingredients
-
3 tablespoons chia seeds
-
1 tablespoon maple syrup
-
1 teaspoon vanilla
-
3/4 cup almond milk
-
1/4 cup fresh berries
-
1 tablespoon shredded coconut
Instructions
-
Step 1
In a bowl or jar, combine the chia seeds, maple syrup, and vanilla. -
Step 2
Pour in the almond milk and stir well to combine. Make sure there are no clumps. -
Step 3
Let the mixture sit for 5 minutes, then stir again to break up any clumps that may have formed. -
Step 4
Cover the bowl or jar and refrigerate for at least 2 hours, or until thickened to your desired consistency. -
Step 5
Before serving, top with fresh berries and shredded coconut.
Important Information
Nutrition Facts (Per Serving)
It is important to consider this information as approximate and not to use it as definitive health advice.
Allergy Information
Please check ingredients for potential allergens and consult a health professional if in doubt.