Quick One Hour French Bread- Easy & Delicious
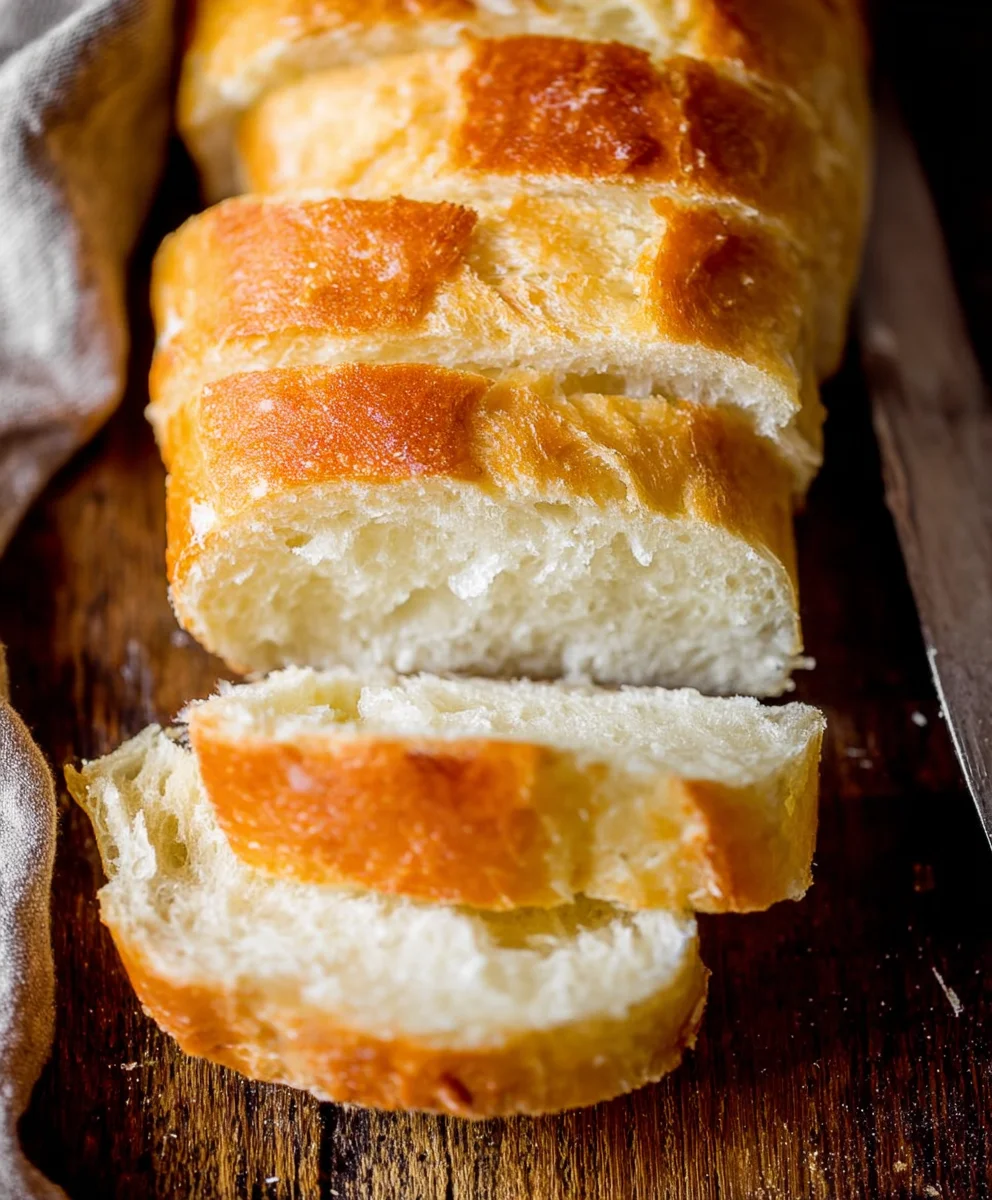
One Hour French Bread Recipe – Does that sound too good to be true? I know, it did to me too! For years, I’ve dreamt of the aroma of freshly baked bread filling my kitchen, the kind with a perfectly crisp crust and a wonderfully soft, airy interior, reminiscent of a Parisian boulangerie. But the reality of lengthy proofing times and complicated techniques often felt daunting. That’s precisely why this sensational One Hour French Bread Recipe has become my absolute go-to. It’s the answer for busy weeknights, spontaneous dinner guests, or simply when that irresistible craving for homemade bread strikes without the patience for traditional methods. What truly sets this recipe apart is its ingenious approach to rapid yeast activation and minimal kneading, allowing you to enjoy warm, crusty, homemade French bread in a fraction of the time you’d expect. Prepare to be amazed by how quickly you can achieve bakery-quality results right in your own oven!
Ingredients:
- 1 & 1/2 cups warm water
- 1 tablespoon white sugar
- 1 & 1/2 tablespoons dry yeast
- 1 & 1/2 teaspoons salt
- 1 & 1/2 tablespoons butter, softened
- 3-4 cups all purpose flour, spooned and leveled
- 1 egg white, optional (for brushing)
Getting Started: Activating the Yeast
The foundation of any good bread is well-activated yeast, and for this One Hour French Bread Recipe, it’s no different. To begin extract, I like to use a medium-sized bowl, one that gives the yeast plenty of room to work its magic. Pour your 1 & 1/2 cups of warm water into this bowl. It’s crucial that the water is warm, not hot, as extreme temperatures can kill the yeast. Think of it like a comfortable bath – around 105-115°F (40-46°C) is ideal. You can test this by dipping your finger in; it should feel pleasantly warm, not scalding. Next, sprinkle the 1 tablespoon of white sugar over the water. The sugar is food for the yeast, giving it the energy it needs to get bubbly and active. Finally, gently stir in the 1 & 1/2 tablespoons of dry yeast. Don’t overmix here; just a gentle swirl to ensure the yeast is mostly submerged. Now, the important part: let this mixture sit undisturbed for about 5-10 minutes. You’re looking for a foamy, bubbly layer to form on the surface. This is a visual cue that your yeast is alive and ready to create a beautiful loaf. If you don’t see any activity, it might mean your yeast is old or the water wasn’t the right temperature, and it’s best to start again with fresh yeast.
Building the Dough: Combining and Kneading
Once your yeast mixture is beautifully foamy, it’s time to bring the rest of the ingredients together. To the yeast mixture, add the 1 & 1/2 teaspoons of salt and the 1 & 1/2 tablespoons of softened butter. The salt adds flavor and also helps to control the yeast’s activity, preventing it from rising too quickly. The butter contributes to a tender crum extractb and a rich flavor.gin extractw, begin adding the 3-4 cups of all-purpose flour. I recommend starting with 3 cups. Add the flour gradually, stirring with a wooden spoon or a sturdy spatula until agin extractaggy dough begins to form. It might seem a bit sticky at this stage, and that’s perfectly fine. Once it’s too difficult to stir, turn the dough out onto a lightly floured surface. This is where the kneading comes in, and it’s an essential step for developing the gluten structure, which gives French bread its characteristic chewy texture. Push the dough away from you with the heel of your hand, then fold it back towards you. Rotate the dough a quarter turn and repeat. Continue this process for about 5-7 minutes. You’re aiming for a dough that is smooth, elastic, and no longer excessively sticky. If the dough is still quite sticky after a few minutes of kneading, gradually add more flour, a tablespoon at a time, until it reaches that desired consistency. Be careful not to add too much flour, as this can result in a dense loaf.
The First Rise: Letting the Dough Expand
Now that you have a beautifully kneaded dough, it’s time to let it rise. Lightly grease a clean, medium-sized bowl with a little bit of oil or cooking spray. Place the dough into the greased bowl, turning it to coat all sides with the oil. This prevents the dough from drying out as it rises. Cover the bowl tightly with plastic wrap or a clean, damp kitchen towel. Find a warm, draft-free spot for your dough to rise. An oven that has been turned on for a minute and then turned off, or a warm spot near a radiator, works wonderfully. The goal is to create a cozy environment for the yeast to do its work. Allow the dough to rise for about 30-45 minutes, or until it has doubled in size. The exact time will depend on the temperature of your kitchen. You’ll notice the dough becoming noticeably puffy and airy, a testament to the yeast’s activity. This first rise is crucial for developing flavor and texture.
Shaping the Loaves: Creating that French Bread Form
Once your dough has impressively doubled in size, it’s time to gently deflate it and get it ready for its final shape. Turn the risen dough out onto your lightly floured work surface. You’ll want to gently punch down the dough to release the air bubbles that have formed. This process is sometimes called “degassing” the dough. Now, you can divide your dough into two equal portions if you’re making two smaller French loaves, or keep it as one large loaf. For a classic French baguette shape, gently flatten each portion into a rectangle. Then, starting from one of the long edges, tightly roll the dough up into a log. Pinch the seam closed to ensure it doesn’t open up during baking. Gently tuck the ends under to create a more uniform shape. Place the shaped loaves onto a baking sheet lined with parchment paper. If you’re making baguettes, you might want to use a special baguette pan or create pleats in the parchment paper to support their elongated shape. Give the loaves a little bit of breathing room from each other on the baking sheet so they can expand without touching.
The Final Proof and Baking: Achieving Golden Perfection
After shaping your loaves, they need a final, shorter rise, often referred to as the “proofing” stage. Cover the shaped loaves loosely with plastic wrap or a clean kitchen towel and let them rest in a warm place for another 15-20 minutes. This allows the gluten to relax and the loaves to puff up slightly before baking, contributing to a lighter, airier interior. While the loaves are proofing, preheat your oven to 400°F (200°C). For that signature crispy crust, it’s a great idea to create some steam in your oven. You can do this by placing an oven-safe pan filled with hot water on the bottom rack of your oven as it preheats. Just before baking, if you’re using it, whisk the optional egg white with a tablespoon of water and gently brush it over the tops of the loaves. This will give them a beautiful golden sheen and a slightly crispier crust. Using a sharp knife or a lame, make a few shallow diagonal slashes across the top of each loaf. These “scoring” marks not only look attractive but also allow the bread to expand evenly in the oven without bursting. Carefully slide the baking sheet into the preheated oven. Bake for 20-25 minutes, or until the loaves are a deep golden brown and sound hollow when tapped on the bottom. The steam from the water pan should help create a wonderful crust. Once baked, transfer the French bread to a wire rack to cool completely. The aroma alone is worth the effort!
Conclusion:
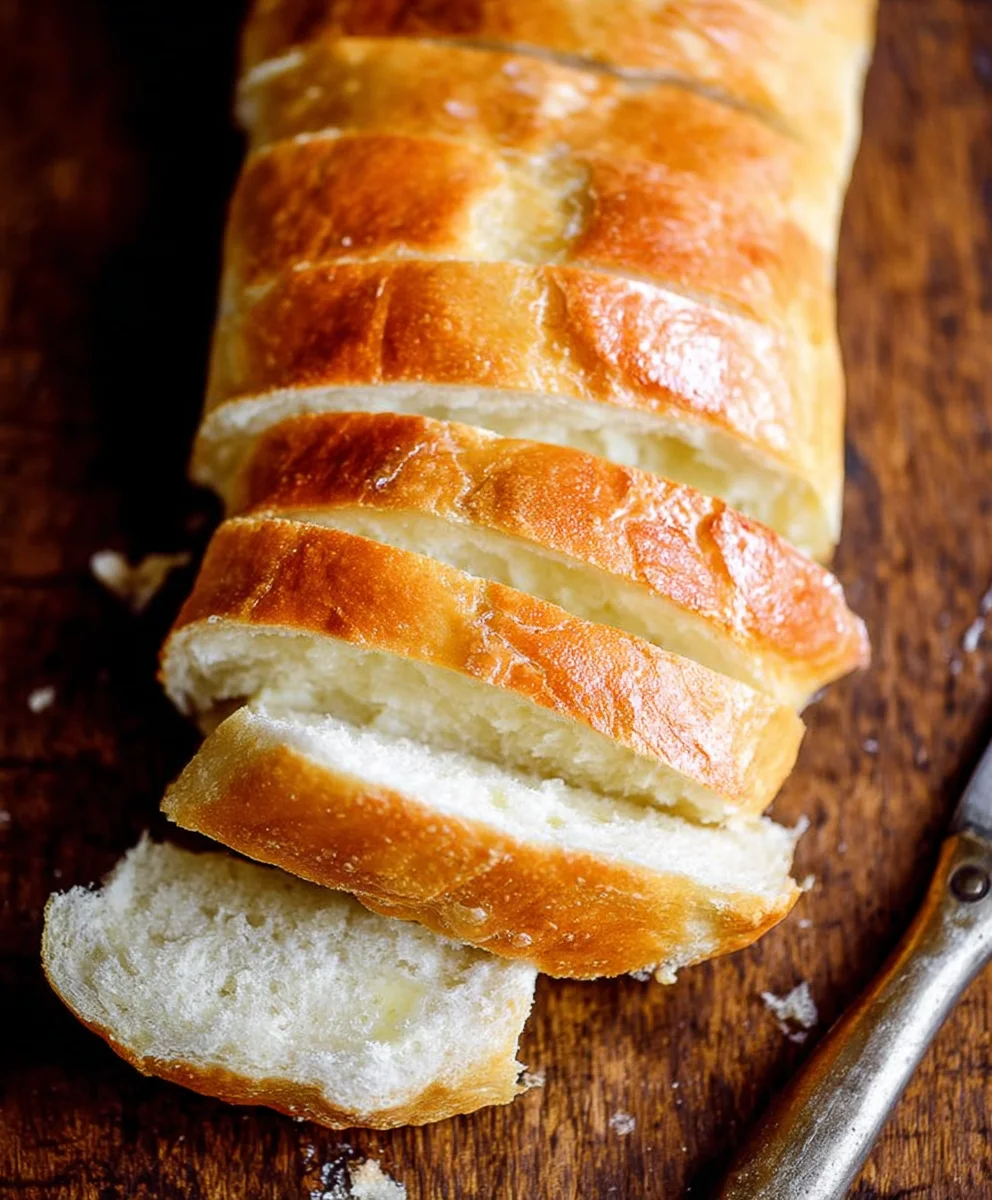
And there you have it! Your very own delicious, crusty, and wonderfully aromatic One Hour French Bread Recipe is ready to impress. We’ve walked through each simple step, proving that homemade French bread doesn’t need to be a time-consuming endeavor. The satisfaction of pulling this golden loaf from your oven, its warm scent filling your kitchen, is truly unparalleled. This recipe is perfect for weeknight dinners, weekend brunches, or anytime you crave a taste of classic bakery goodness without the wait.
This versatile One Hour French Bread Recipe is fantastic served warm with a dollop of butter, alongside your favorite soups and stews, or as the base for amazing sandwiches. For a delightful twist, consider adding herbs like rosemary or thyme to the dough, or brushing the crust with garlic butter after baking.
Don’t be afraid to experiment and make this recipe your own. The joy of baking lies in its adaptability! We encourage you to try it, share it with loved ones, and savor every bite. Happy baking!
Frequently Asked Questions:
Q: My loaf didn’t rise as much as I expected. What could have gone wrong with my One Hour French Bread Recipe?
A: Several factors can affect bread rise. Ensure your yeast was fresh and active. If using active dry yeast, it’s a good idea to proof it in warm water with a pinch of sugar for about 5-10 minutes until it foams. Also, make sure your water temperature was lukewarm (around 105-115°F or 40-46°C), as water that’s too hot can kill the yeast, and water that’s too cool won’t activate it effectively. Room temperature can also play a role; warmer environments generally help dough rise faster.
Q: Can I make this One Hour French Bread Recipe ahead of time?
A: While this recipe is designed for speed, you can bake the loaves and then let them cool completely. Once cooled, they can be stored in an airtight bag or container at room temperature for 1-2 days. For longer storage, you can wrap them tightly in plastic wrap and then aluminum foil and freeze them for up to 2-3 months. Thaw at room temperature and reheat briefly in a warm oven to refresh the crust.
Quick One Hour French Bread- Easy & Delicious
A simple and delicious recipe for making French bread from scratch in under an hour.
Ingredients
-
1 1/2 cups warm water
-
1 tablespoon white sugar
-
1 1/2 tablespoons dry yeast
-
1 1/2 teaspoons salt
-
1 1/2 tablespoons butter, softened
-
3-4 cups all purpose flour, spooned and leveled
-
1 egg white, optional (for brushing)
Instructions
-
Step 1
Activate the yeast by combining warm water (105-115°F), sugar, and dry yeast in a bowl. Let sit for 5-10 minutes until foamy. -
Step 2
Add salt and softened butter to the yeast mixture. Gradually add 3 cups of flour, stirring until a shaggy dough forms. Turn out onto a floured surface and knead for 5-7 minutes until smooth and elastic, adding more flour as needed. -
Step 3
Place the kneaded dough in a lightly greased bowl, cover, and let rise in a warm, draft-free spot for 30-45 minutes, or until doubled in size. -
Step 4
Gently punch down the dough and divide it into two equal portions (or keep as one large loaf). Flatten each portion into a rectangle and tightly roll into a log. Pinch the seam closed and tuck the ends under. Place on a parchment-lined baking sheet. -
Step 5
Cover the shaped loaves loosely and let proof for 15-20 minutes in a warm place. Preheat oven to 400°F (200°C) with a pan of hot water on the bottom rack for steam. -
Step 6
Optional: Brush loaves with an egg white wash. Score the tops with a sharp knife. Bake for 20-25 minutes until deep golden brown and hollow-sounding. Cool completely on a wire rack.
Important Information
Nutrition Facts (Per Serving)
It is important to consider this information as approximate and not to use it as definitive health advice.
Allergy Information
Please check ingredients for potential allergens and consult a health professional if in doubt.