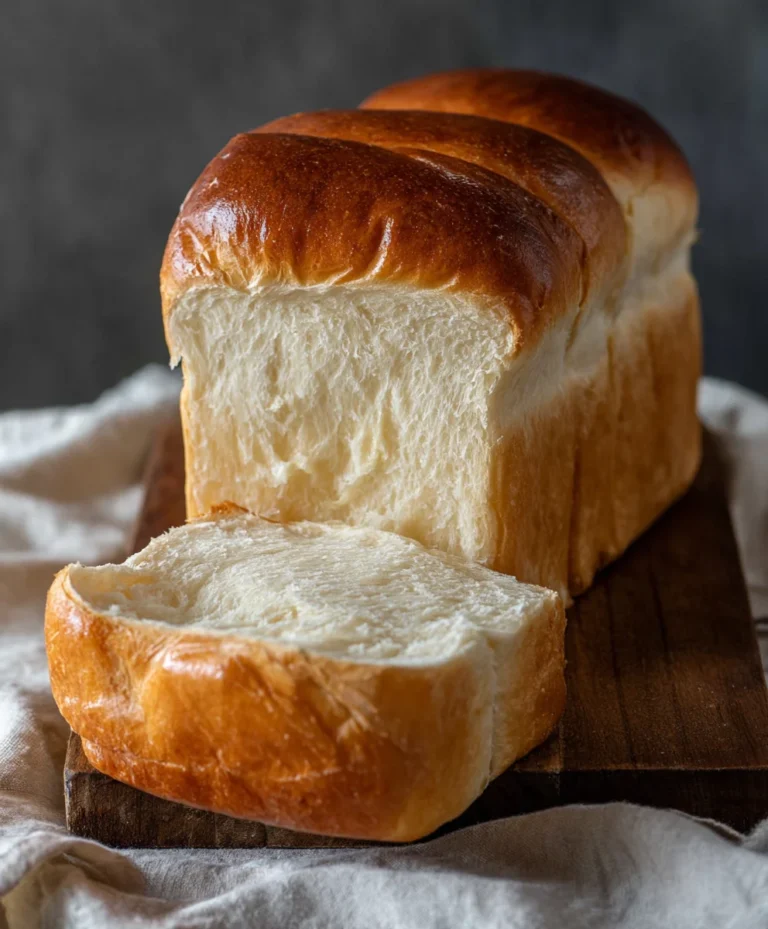
Easy Homemade Bread Recipe- Deliciously Simple Baking
Homemade bread. Just the thought of it conjures images of warm kitchens, the comforting aroma filling every corner, and the sheer satisfaction of creating something so fundamental and delicious from scratch. There’s an undeniable magic in transforming simple ingredients – flour, water, yeast, and salt – into a crusty, airy loaf. People have been baking homemade bread for millennia, and for good reason. It’s more than just sustenance; it’s a ritual, a connection to our ancestors, and a profoundly rewarding experience. The best part? It’s incredibly accessible. Forget those intimidating bakery displays; with a little patience and a dash of love, you too can master the art of crafting your very own perfect loaf of homemade bread. This recipe breaks down the process into easy steps, ensuring even begin extractners can achieve bakery-quality results. Get ready to impress yourself and everyone you share it with!
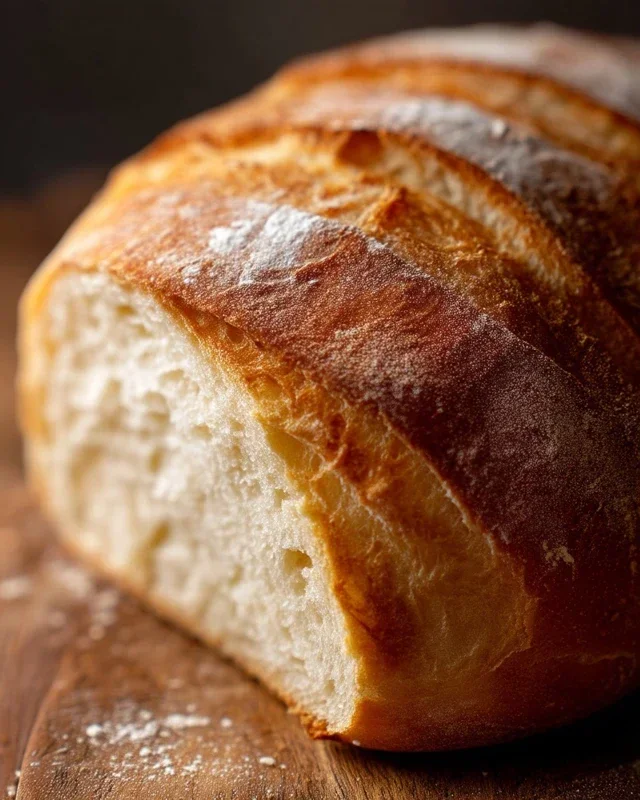
Homemade Bread
There’s a certain magic that happens when you bake your own bread. The aroma that fills your home is unparalleled, a warm invitation to gather and share. The satisfaction of transforming simple ingredients into a crusty, soft, and delicious loaf is incredibly rewarding. Forget those store-bought loaves that often lack soul; this recipe will guide you through creating a truly exceptional homemade bread that will have everyone asking for your secret. It’s a process that’s surprisingly simple and, once you’ve done it a few times, will become a comforting ritual. Don’t be intimidated by the thought of yeast; it’s a living ingredient that, with a little warmth and food, will do all the heavy lifting for you. This recipe yields a wonderfully versatile bread, perfect for sandwiches, toasting, or simply enjoyed with a generous smear of butter.
Ingredients:
Getting Started: Activating the Yeast
The first crucial step in making any yeasted bread is to ensure your yeast is alive and well. This is where the warm water and your choice of sweetener come in. In a large mixing bowl, combine the 2 cups of warm water. It’s important that the water is between 105 and 115 degrees Fahrenheit. Too cold, and the yeast won’t activate; too hot, and you’ll kill it. You can test this by dipping your finger in – it should feel comfortably warm, like a baby’s bathwater. To this warm water, add your 1 Tablespoon of active dry yeast and the 1/4 cup of honey (or sugar). Give it a gentle stir to help dissolve the sweetener. Now, let this mixture sit undisturbed for about 5 to 10 minutes. You should start to see a foamy, bubbly layer form on the surface. This “bloom” is your visual confirmation that the yeast is active and ready to work its magic. If you don’t see any foam, your yeast might be old or the water temperature was off, and it’s best to start over with fresh yeast.
Building the Dough: Combining the Ingredients
Once your yeast has bloomed, it’s time to bring the other components together. To the foamy yeast mixture, add the 2 teaspoons of salt and the 2 Tablespoons of oil. The salt acts as a flavor enhancer and also helps to control the yeast’s activity, preventing it from fermenting too quickly. The oil adds a touch of richness and tenderness to the finished bread. Now, it’s time to introduce the flour. Start by adding about 4 cups of your all-purpose or bread flour to the wet ingredients. Use a sturdy spoon or a dough whisk to mix everything together until a shaggy dough begin extracts to form. At this stage, the dough will be quite sticky.
Kneading the Dough: Developing Gluten
This is where the real work begin extracts, and it’s a surprisingly therapeutic part of bread making. Gradually add more flour, about 1/2 cup at a time, until the dough starts to pull away from the sides of the bowl and becomes manageable. You’re aiming for a dough that is slightly sticky but not so wet that it clings excessively to your hands. Turn the dough out onto a lightly floured surface. Now, it’s time to knead. To knead, push the dough away from you with the heels of your hands, then fold it back over itself and give it a quarter turn. Repeat this motion. The goal of kneading is to develop the gluten in the flour. Gluten is what gives bread its structure and chewy texture. Continue kneading for about 8 to 10 minutes. You’ll know you’ve kneaded enough when the dough is smooth, elastic, and springs back slowly when you gently poke it. If you have a stand mixer with a dough hook, you can use that for about 6-8 minutes on medium speed, adding flour gradually as needed.
The First Rise: Letting the Dough Proof
Once your dough is beautifully kneaded, it’s time to let it rest and rise. Lightly grease a clean large bowl with a little oil. Place the dough into the greased bowl, turning it once to coat the entire surface with oil. This prevents a dry skin from forming as it rises. Cover the bowl tightly with plastic wrap or a clean kitchen towel. Find a warm, draft-free spot for your dough to rise. An oven that’s been turned off (but is still slightly warm from a previous use) is often a good choice, or simply on your countertop if your kitchen is warm. Let the dough rise for about 1 to 1.5 hours, or until it has doubled in size. This is the “proofing” stage, where the yeast consumes sugars and produces carbon dioxide gas, causing the dough to expand.
Shaping and the Second Rise
After the first rise, gently punch down the dough to release the air. Turn the dough out onto a lightly floured surface again and shape it into your desired loaf form. You can make a classic round loaf, a long baguette, or even divide it to make rolls. For a standard loaf, gently flatten the dough into a rectangle, then tightly roll it up like a jelly roll, pinching the seam to seal it. Place the shaped loaf into a greased loaf pan or onto a baking sheet lined with parchment paper. Cover it loosely with plastic wrap or a clean kitchen towel and let it rise for a second time in a warm place for about 30 to 45 minutes, or until it has nearly doubled in size. This second rise is important for creating a light and airy interior.
Baking the Perfect Loaf
Preheat your oven to 375 degrees Fahrenheit (190 degrees Celsius) during the second rise. Once the loaf has finished its second rise, you can optionally brush the top with a little egg wash or milk for a golden sheen, and make a few shallow slashes on the top with a sharp knife or razor blade (this allows the bread to expand evenly in the oven). Carefully place the loaf into the preheated oven. Bake for 30 to 40 minutes, or until the crust is golden brown and the loaf sounds hollow when tapped on the bottom. If the crust starts to brown too quickly, you can tent it loosely with aluminum foil.
Cooling and Enjoying
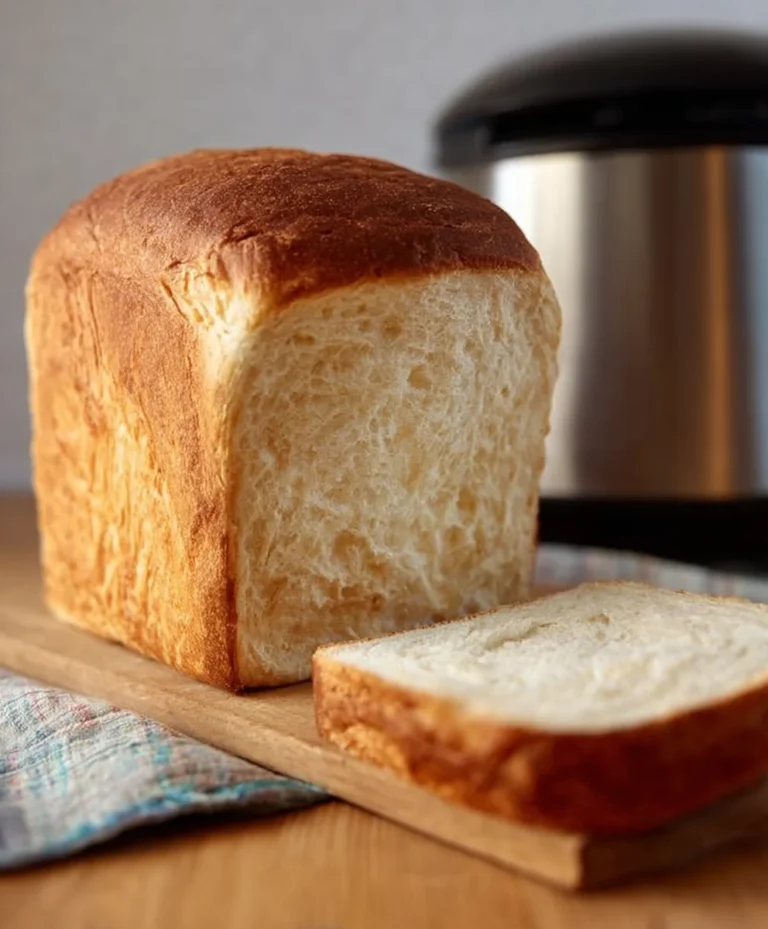
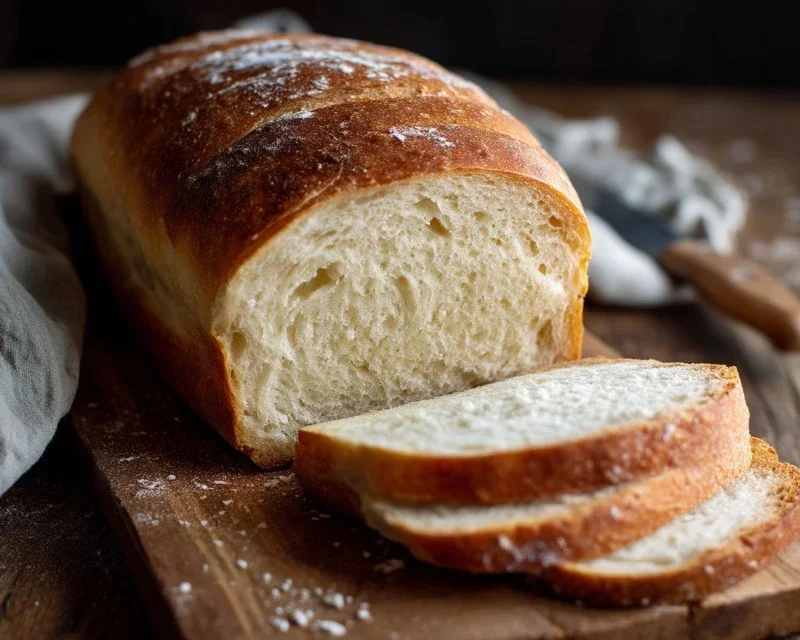
Once baked to perfection, carefully remove the bread from the oven and immediately transfer it to a wire rack to cool completely. This is perhaps the hardest part – waiting! Allowing the bread to cool completely is crucial. The internal structure continues to set as it cools, and cutting into it too early can result in a gummy texture. Once cooled, slice it with a serrated knife and savor the fruits of your labor. The smell, the texture, the taste – it’s a homemade masterpiece. Enjoy every delicious bite!
Conclusion:
And there you have it! Crafting your own homemade bread from scratch is a rewarding experience that fills your home with an irresistible aroma and delivers a taste far superior to anything store-bought. This recipe is wonderfully versatile, perfect for begin extractners yet satisfying for seasoned bakers. The magic lies in its simplicity – a few basic ingredients and a little patience transform flour, water, yeast, and salt into a glorious, crusty loaf. Embrace the process, and you’ll discover the joy of creating something truly delicious with your own two hands.
Once your beautiful loaf is out of the oven, the possibilities for enjoyment are endless. Slice it thick and slather it with butter, use it for hearty sandwiches, or serve it alongside your favorite soups and stews. For a touch of elegance, consider brushing the crust with garlic-infused olive oil after baking, or sprinkle it with herbs like rosemary or thyme before it goes into the oven.
Don’t be afraid to experiment with variations! You can introduce seeds like sesame or poppy, add a handful of chopped olives or sun-dried tomatoes to the dough, or even try a touch of honey or maple syrup for a hint of sweetness. The key is to have fun and make this recipe your own.
So, I truly encourage you to give this homemade bread recipe a try. It’s a culinary adventure that’s well worth the effort, and the resulting warm, crusty perfection will undoubtedly become a staple in your kitchen.
Frequently Asked Questions:
Why is my homemade bread dense?
Density in homemade bread often comes down to a few factors. Ensure your yeast is active and fresh – older yeast may not produce enough lift. Proper kneading is crucial to develop gluten, which traps the gases produced by the yeast, creating a lighter texture. Over-proofing or under-proofing the dough can also lead to a dense loaf.
Can I freeze homemade bread?
Absolutely! Homemade bread freezes wonderfully. Once your loaf has completely cooled, slice it into portions or leave it whole. Wrap it tightly in plastic wrap, then in aluminum foil or a freezer-safe bag to prevent freezer burn. Thaw at room temperature or reheat slices in the oven or toaster.
Homemade Bread
A simple recipe for delicious homemade bread, perfect for sandwiches or toasting.
Ingredients
-
2 cups warm water (105-115 degrees)
-
1 Tablespoons active dry yeast
-
1/4 cup honey
-
2 teaspoons salt
-
2 Tablespoons canola oil
-
4 – 5 1/2 cups all-purpose flour
Instructions
-
Step 1
In a large bowl, combine the warm water, honey, and yeast. Let it sit for 5-10 minutes until foamy. -
Step 2
Stir in the salt and canola oil. -
Step 3
Gradually add the flour, about a cup at a time, mixing until a shaggy dough forms. Turn the dough out onto a lightly floured surface and knead for 8-10 minutes until smooth and elastic. -
Step 4
Place the dough in a lightly oiled bowl, turning to coat. Cover with plastic wrap or a clean kitchen towel and let rise in a warm place for 1 to 1.5 hours, or until doubled in size. -
Step 5
Punch down the dough and shape it into a loaf. Place it in a greased loaf pan. -
Step 6
Cover the loaf pan and let the dough rise for another 30-45 minutes, or until it has nearly doubled in size. -
Step 7
Preheat oven to 375 degrees F (190 degrees C). Bake for 30-35 minutes, or until the crust is golden brown and the bread sounds hollow when tapped. -
Step 8
Remove the bread from the pan and let it cool completely on a wire rack before slicing.
Important Information
Nutrition Facts (Per Serving)
It is important to consider this information as approximate and not to use it as definitive health advice.
Allergy Information
Please check ingredients for potential allergens and consult a health professional if in doubt.