Crunchy Cottage Cheese Chips-Healthy Snack
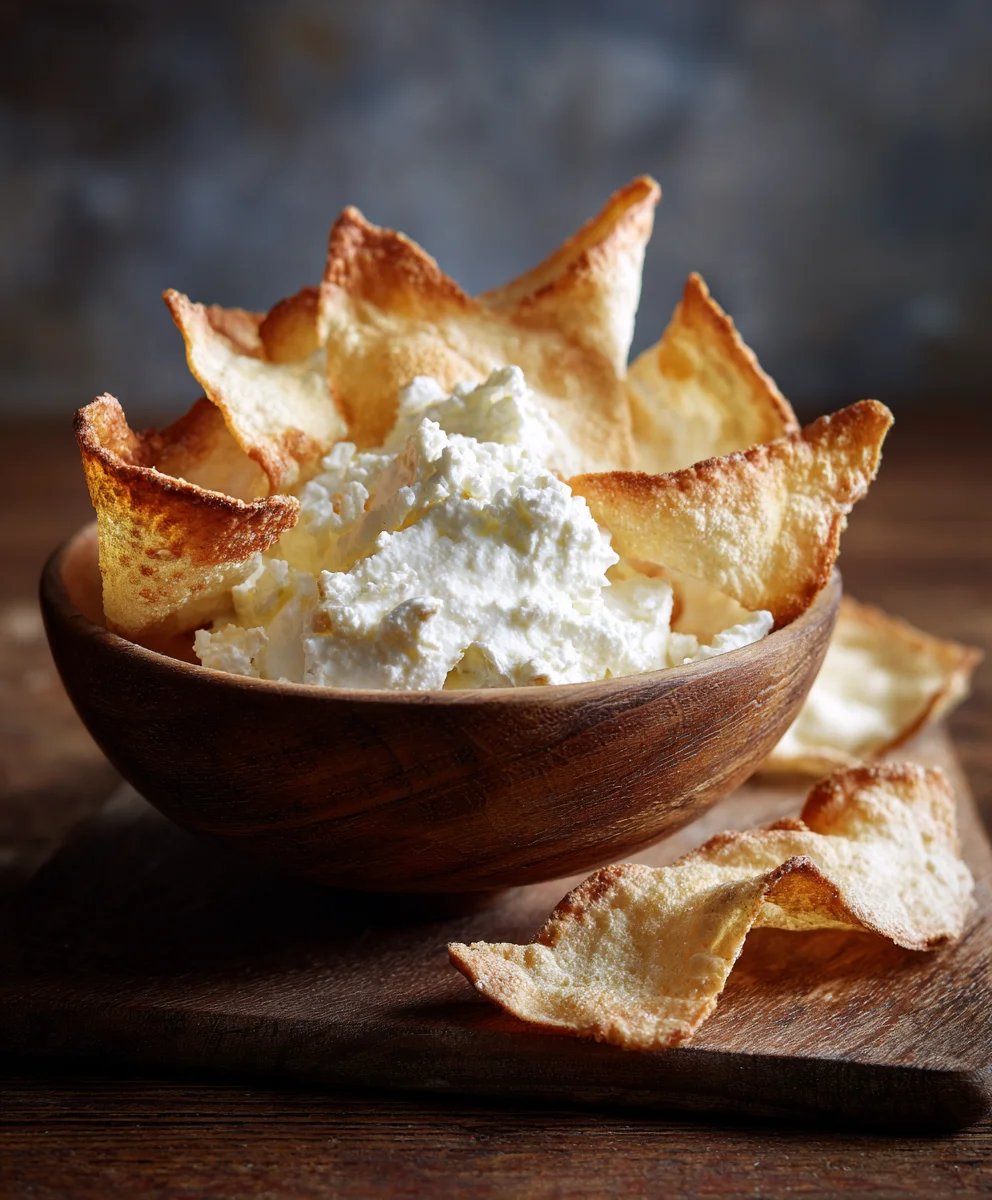
Cottage cheese chips, the unlikely hero of the snack world, are rapidly taking the culinary scene by storm, and for good reason! Forget everything you thought you knew about cottage cheese; this versatile ingredient has been transformed into a crispy, dippable delight that’s both incredibly satisfying and surprisingly healthy. What’s not to love about a snack that delivers that satisfying crunch without the guilt? People are absolutely raving about cottage cheese chips because they offer a perfect balance of protein and flavor, making them an ideal choice for anyone seeking a smart and delicious alternative to traditional fried snacks. What truly sets these apart is their incredible versatility – whether you’re enjoying them with a vibrant salsa, a creamy guacamole, or even a dollop of your favorite dip, they become an instant crowd-pleaser. Prepare to be amazed by how simple it is to create these game-changin extractg cottage cheese chips in your own kitchen, unlocking a world of healthy snacking possibilities.
Ingredients:
- 1 cup (240g) full-fat cottage cheese
- 1 large egg
- 1 tablespoon nutritional yeast
- 1/2 teaspoon garlic powder
- 1/4 teaspoon onion powder
- 1/4 teaspoon smoked paprika
- Pinch of cayenne pepper (optional, for a little heat)
- Salt, to taste
- Black pepper, to taste
- Optional additions: dried herbs like rosemary or chives, a sprinkle of shredded cheese like Parmesan or cheddar
Preparing the Cottage Cheese Base
Mixing the Dough
This is where the magic for our Cottage Cheese Chips begin extracts. You’ll want to start with a good quality full-fat cottage cheese. The fat content is important for achieving a crispy texture and good flavor. Place the 1 cup (240g) of full-fat cottage cheese into a medium-sized mixing bowl. Next, crack in the 1 large egg. This egg will act as a binder, helping to hold everything together and contributing to the structure of the chips. Now, it’s time to add the flavor enhancers. Sprinkle in the 1 tablespoon of nutritional yeast. Nutritional yeast is a fantastic ingredient that imparts a cheesy, umami flavor without any dairy, which is perfect for adding depth to our chips. Follow this with the 1/2 teaspoon of garlic powder and the 1/4 teaspoon of onion powder. These aromatics provide a savory foundation. For a hint of smokiness and color, add the 1/4 teaspoon of smoked paprika. If you enjoy a bit of warmth, now is the time to add a pinch of cayenne pepper. Season generously with salt and freshly ground black pepper to your liking.
Achieving the Right Consistency
Once all your ingredients are in the bowl, it’s time to get them well combined. Using a fork or a small whisk, vigorously mix and mash the cottage cheese, egg, and seasonings together. Your goal here is to break down the cottage cheese curds as much as possible and create a relatively smooth, uniform batter. Don’t worry if it’s not perfectly smooth; a few small curds are okay. The batter should be thick but spreadable, similar in consistency to a thick pancake batter or a very dense cookie dough. If the mixture seems a little too wet, you can let it sit for a minute or two; sometimes the cottage cheese will release a bit more liquid. Conversely, if it seems unusually dry, you can add another teaspoon of cottage cheese. This stage is crucial for ensuring your chips bake evenly and develop that desirable crispness. If you’re planning to add any optional ingredients like dried herbs or a sprinkle of shredded cheese, this is the time to gently fold them into the batter. Be careful not to overmix once you’ve added shredded cheese, as it can start to clump.
Shaping and Baking the Cottage Cheese Chips
Spreading the Batter
Preheat your oven to 350°F (175°C). Line a large baking sheet with parchment paper. This is essential to prevent the chips from sticking and to make cleanup a breeze. Now, take your cottage cheese batter and spread it thinly and evenly onto the prepared baking sheet. You can use the back of a spoon or a small offset spatula for this. Aim for a thickness of about 1/8 to 1/4 inch. The thinner you spread the batter, the crispier your chips will be. Try to create as uniform a thickness as possible across the entire sheet. This will ensure that all your chips bake at the same rate and achieve an even level of crispness. You can spread it out in one large rectangle or create smaller, individual portions if you prefer. Just remember to leave a little space between them if you’re making distinct shapes, as they can spread slightly as they bake.
Baking for Crispiness
Place the baking sheet into your preheated oven. Bake for approximately 20 to 25 minutes. However, oven temperatures can vary, so it’s important to keep a close eye on them, especially towards the end of the baking time. You’re looking for the edges to turn golden brown and slightly crisp. The center should also appear set and slightly dried out. If you notice some areas browning faster than others, you can carefully rotate the baking sheet halfway through the baking process. For extra crispness, you can even flip the chips over after about 15 minutes and bake for another 5-10 minutes on the other side. This second bake, especially if done uncovered, will really help draw out any remaining moisture and achieve that satisfying crunch. The key to perfect Cottage Cheese Chips is patience and observation.
Cooling and Enjoying
Once your Cottage Cheese Chips have reached your desired level of golden-brown crispness, carefully remove the baking sheet from the oven. Allow the chips to cool completely on the baking sheet. This cooling process is just as important as the baking for achieving ultimate crispness. As they cool, they will continue to firm up and become wonderfully brittle. Once they are fully cooled, you can break them apart if you spread them as one large sheet, or simply lift them off the parchment paper if you made individual shapes. Serve them immediately for the best texture and flavor. These Cottage Cheese Chips are fantastic on their own as a healthy snack, or they can be paired with your favorite dips like guacamole, hummus, or a creamy yogurt dip. They also make a great crunchy topping for salads or soups. Store any leftovers in an airtight container at room temperature for a few days, although they are best enjoyed fresh.
Conclusion:
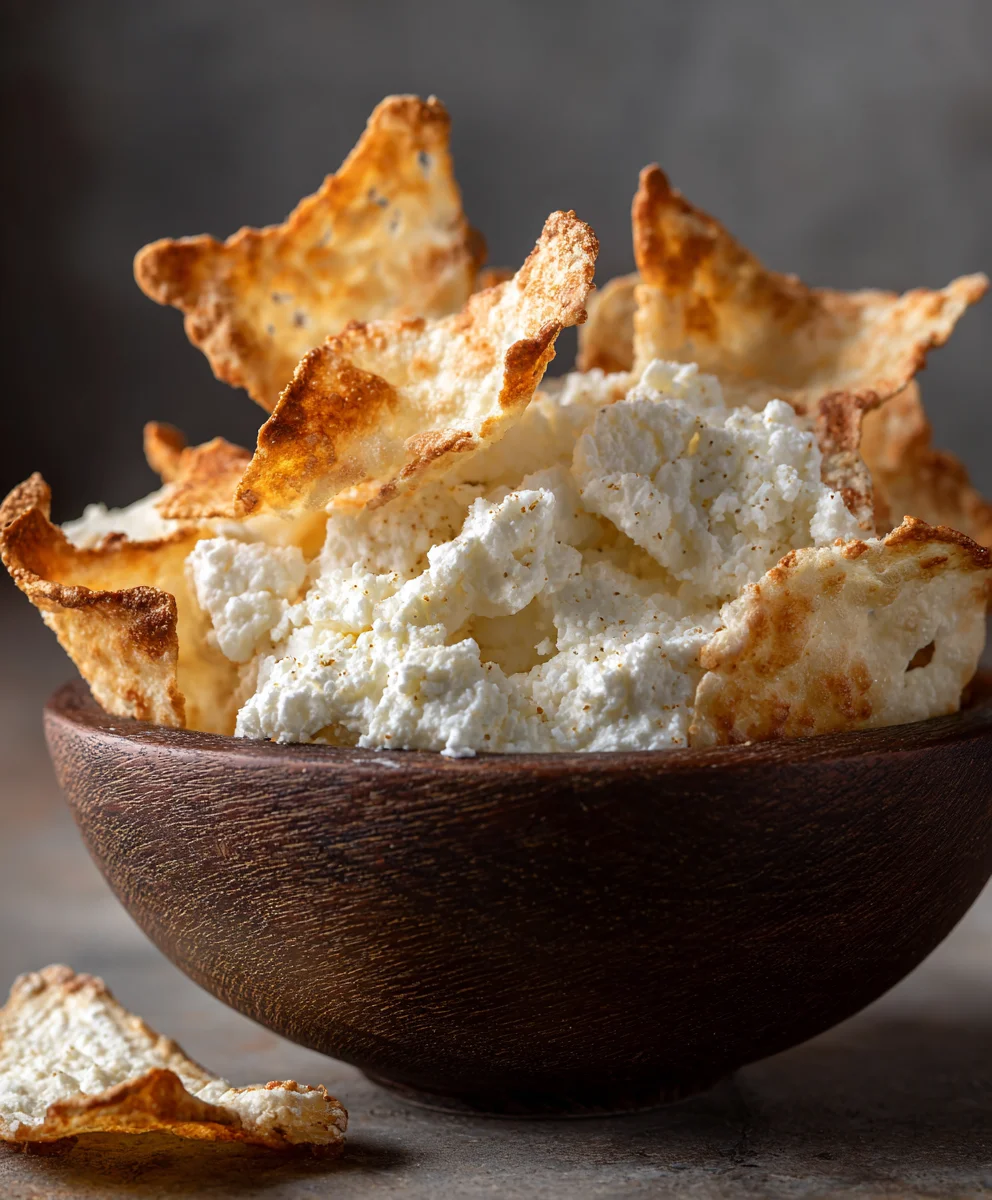
And there you have it – your very own batch of delicious and surprisingly healthy Cottage Cheese Chips! We hope you enjoyed this simple yet incredibly satisfying recipe. These chips are a fantastic alternative to traditional fried snacks, offering a protein boost and a satisfying crunch without the guilt. We encourage you to give them a try and experience the magic of transforming humble cottage cheese into a delightful treat.
These Cottage Cheese Chips are wonderfully versatile. Enjoy them on their own as a light snack, or get creative with your serving suggestions! They pair beautifully with your favorite dips, such as hummus, guacamole, or a creamy ranch dressing. Crush them up and use them as a crunchy topping for salads or soups, or even as a flavorful breading for chicken or fish. Don’t be afraid to experiment with different seasonings in the base mixture – consider adding garlic powder, onion powder, smoked paprika, or a sprinkle of chili flakes for a spicy kick. The possibilities are truly endless!
Frequently Asked Questions about Cottage Cheese Chips:
Can I make these Cottage Cheese Chips ahead of time?
Yes, you absolutely can! Once cooled completely, store your Cottage Cheese Chips in an airtight container at room temperature for up to 3-4 days. They might lose a tiny bit of their crispness over time, but they’ll still be delicious.
What if my Cottage Cheese Chips aren’t crisping up?
Ensure your oven temperature is accurate and that the chips are spread thinly and evenly on the baking sheet. Overcrowding the pan can also lead to steaming rather than crisping. Sometimes, a slightly longer baking time at a slightly lower temperature can help achieve that perfect crunch.
Crunchy Cottage Cheese Chips
Healthy and crispy baked chips made from cottage cheese, a simple and delicious snack.
Ingredients
-
1 cup (240g) full-fat cottage cheese
-
1 large egg
-
1 tablespoon nutritional yeast
-
1/2 teaspoon garlic powder
-
1/4 teaspoon onion powder
-
1/4 teaspoon smoked paprika
-
Pinch of cayenne pepper (optional)
-
Salt, to taste
-
Black pepper, to taste
Instructions
-
Step 1
In a medium bowl, combine 1 cup full-fat cottage cheese, 1 large egg, 1 tablespoon nutritional yeast, 1/2 teaspoon garlic powder, 1/4 teaspoon onion powder, 1/4 teaspoon smoked paprika, a pinch of cayenne pepper (if using), salt, and black pepper. Mix vigorously with a fork or whisk until well combined and the cottage cheese curds are broken down, creating a thick but spreadable batter. -
Step 2
Preheat your oven to 350°F (175°C). Line a large baking sheet with parchment paper. -
Step 3
Spread the cottage cheese batter thinly and evenly onto the prepared baking sheet, aiming for a thickness of about 1/8 to 1/4 inch. The thinner the spread, the crispier the chips will be. -
Step 4
Bake for 20 to 25 minutes, or until the edges turn golden brown and crisp. Keep a close eye on them as oven temperatures can vary. Rotate the baking sheet halfway through if needed. -
Step 5
For extra crispness, you can carefully flip the chips after about 15 minutes and bake for another 5-10 minutes on the other side. -
Step 6
Remove from the oven and allow the chips to cool completely on the baking sheet. They will continue to crisp up as they cool. Once cooled, break them apart into chips.
Important Information
Nutrition Facts (Per Serving)
It is important to consider this information as approximate and not to use it as definitive health advice.
Allergy Information
Please check ingredients for potential allergens and consult a health professional if in doubt.